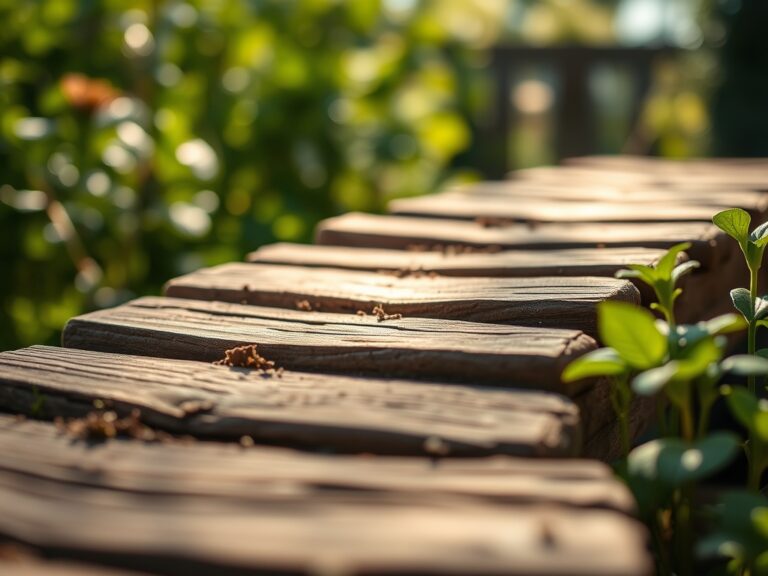
6 Steps to Prepare a Level Professional Garden Deck Site
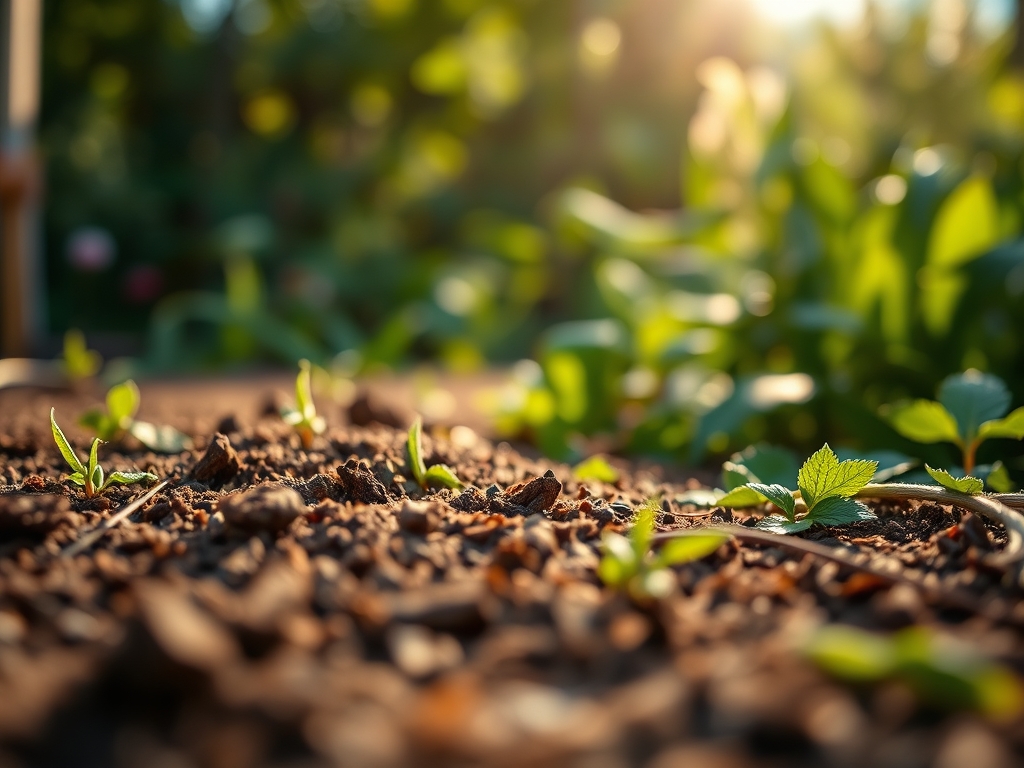
The scent of damp, anaerobic clay indicates a site with poor drainage that will eventually rot your structural footings. When learning how to prepare a site for a garden deck, you must prioritize soil stability and moisture management over aesthetics. A successful installation begins with the turgor of the surrounding flora; if your nearby perennials show signs of root hypoxia, your deck site requires significant remediation. You are not just building a platform; you are altering the hydrology of a specific microclimate. Success requires a baseline understanding of soil compaction and the Cation Exchange Capacity (CEC) of the substrate beneath your joists.
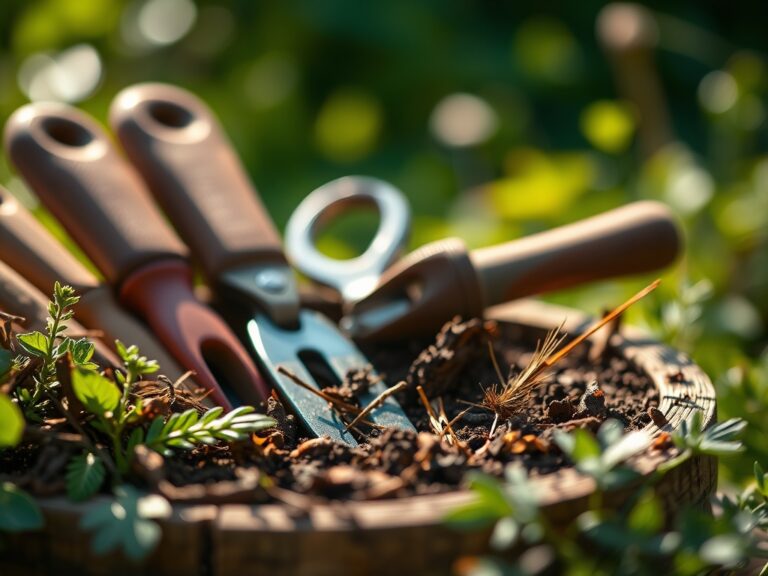
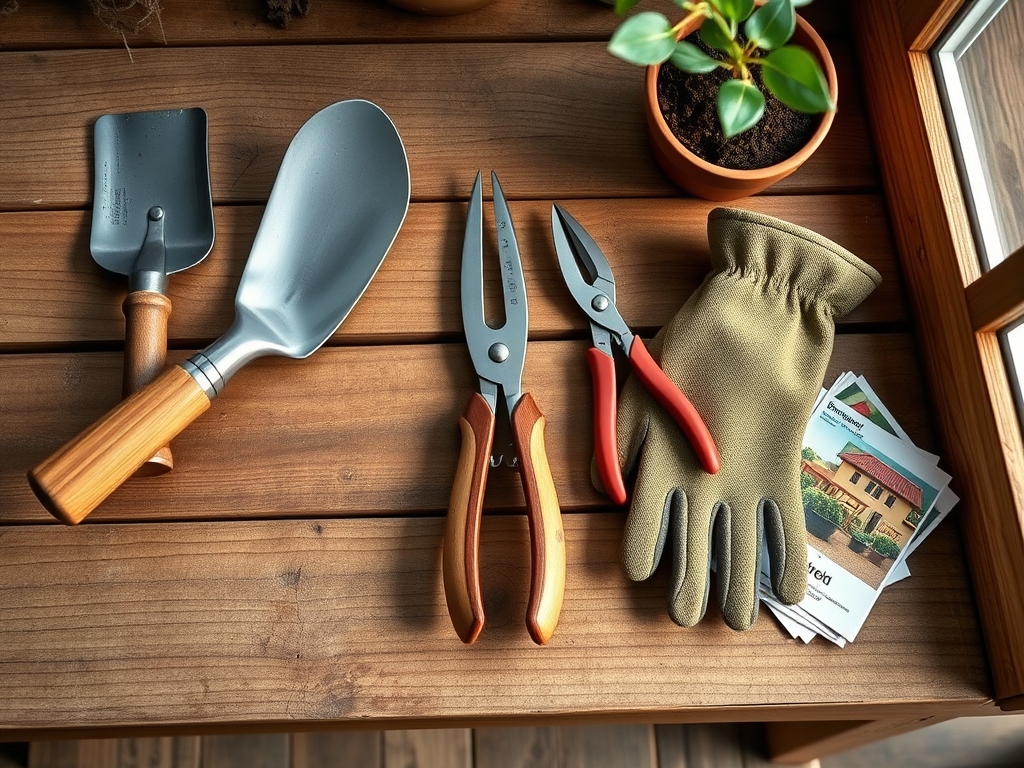
Materials:
Before the first shovel hit, analyze the soil profile. The ideal substrate is a **friable loam** with a **pH between 6.0 and 7.0**. High acidity (low pH) can accelerate the corrosion of galvanized fasteners, while high alkalinity can inhibit the growth of the peripheral screening plants you intend to install later.
For the surrounding vegetation, maintain a nutrient balance of 10-10-10 NPK for general establishment. However, if you are planting heavy feeders near the deck perimeter, transition to a 5-10-10 NPK ratio to encourage root development over excessive leaf biomass. High nitrogen levels (the first number) can lead to succulent growth that attracts pathogens in the shaded, high-humidity environment under a deck. Ensure the soil has a high CEC, typically found in soils with at least 5 percent organic matter, to ensure nutrients remain available in the rhizosphere rather than leaching away during heavy rain events.
Timing:
In Hardiness Zones 5 through 7, the window for site preparation opens when the soil temperature consistently reaches 50 degrees Fahrenheit. Attempting to grade or compact soil while it is saturated or frozen destroys soil structure, leading to permanent compaction that prevents gas exchange.
The "Biological Clock" of your garden dictates that heavy site work should occur during the dormant season or early spring before the vegetative stage of local perennials begins. Disrupting the soil during the reproductive stage (flowering) induces high levels of abscisic acid, causing plants to drop buds or enter premature senescence. Aim to complete all heavy excavation at least three weeks before the last frost date to allow the soil to settle before the primary growing season.
Phases:

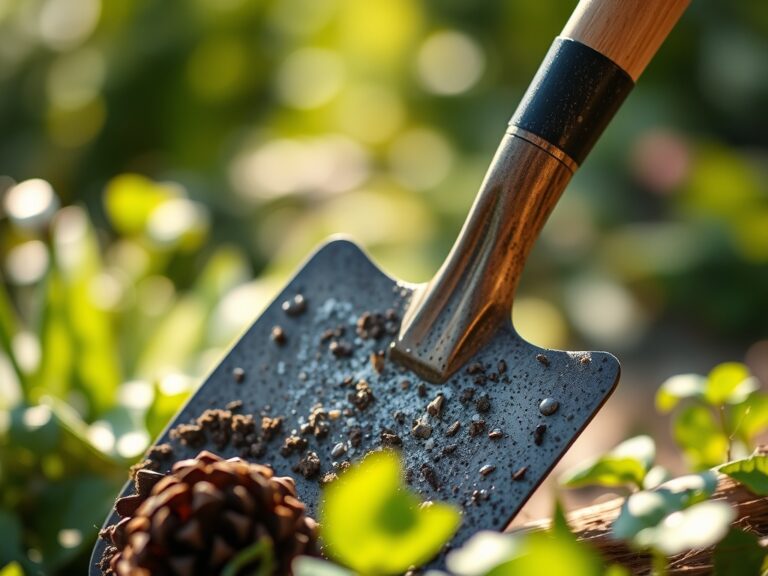
Sowing and Clearing
Remove all organic debris and turf. Strip the sod to a depth of 3 to 4 inches to remove the majority of the weed seed bank. If you are sowing a "green screen" around the deck, use a seed drill to ensure a depth of 0.25 inches for small seeds.
Pro-Tip: Clear the site of all broadleaf weeds to prevent auxin suppression. Many common weeds release allelopathic chemicals that inhibit the root growth of your desired landscape plants, a biological defense mechanism that ensures the weed's dominance over soil resources.
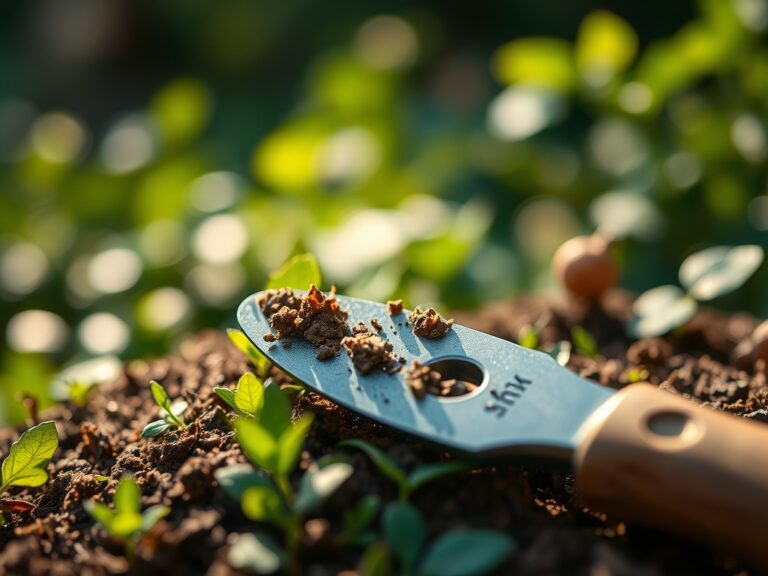
Transplanting and Grading
Grade the site with a 2 percent slope away from any permanent structures. When moving existing plants to make room for the deck, keep the root ball intact and moist to maintain turgor pressure.
Pro-Tip: When transplanting, apply a mycorrhizal inoculant to the root zone. This creates a mycorrhizal symbiosis where fungal filaments extend the reach of the root system, increasing the plant's ability to absorb phosphorus and water in the disturbed soil.
Establishing the Base
Lay a heavy-duty geotextile fabric over the graded site. Cover this with 3 inches of crushed stone (3/4-inch minus). This prevents "frost heave" and suppresses weed germination by eliminating light, which halts the photomorphogenesis of buried seeds.
Pro-Tip: Ensure the stone layer is level to prevent water pooling. Standing water under a deck creates a localized high-humidity zone that encourages fungal sporulation, which can migrate from the soil to the wooden deck members and surrounding foliage.
The Clinic:
Physiological disorders often arise from the stress of site construction. Observe these symptoms carefully.
- Symptom: Interveinal chlorosis on new leaves.
- Solution: This indicates Iron deficiency, often caused by high soil pH from concrete runoff during footing installation. Apply chelated iron to the soil.
- Symptom: Leaf wilting despite moist soil.
- Solution: This is Root Rot (Phytophthora). The soil is likely over-compacted from construction equipment, preventing oxygen from reaching the roots. Incorporate perlite or coarse sand to improve aeration.
- Symptom: Stunted growth and purple-tinted foliage.
- Solution: Phosphorus deficiency. This occurs in cold, wet soils. Increase soil temperature with organic mulch and apply a high-phosphate starter fertilizer.
Fix-It: For Nitrogen chlorosis (yellowing of older leaves), apply a quick-release liquid fertilizer with a 20-0-0 NPK ratio to rapidly restore chlorophyll production.
Maintenance:
Post-construction maintenance is a matter of precision. Use a soil moisture meter to verify that the perimeter plants receive exactly 1.5 inches of water per week at the drip line. Do not water the foliage; apply water directly to the soil to prevent powdery mildew.
Keep your bypass pruners sharp to ensure clean cuts that heal quickly. Use a hori-hori knife to remove any weeds that penetrate the gravel border. Monitor the photoperiod of the site; as the deck creates new shade patterns, you may need to adjust your planting scheme to include species that thrive in lower light intensities.
The Yield:
If your deck site includes integrated planters for herbs or edibles, harvest during the early morning when turgor pressure is at its peak. For woody herbs like rosemary, use sharp snips to cut just above a node to encourage lateral branching.
To maintain "day-one" freshness, immediately submerge the cut stems in 40-degree Fahrenheit water. This slows the metabolic rate and delays the onset of senescence, ensuring the cell walls remain rigid and the flavor profiles remain concentrated.
FAQ:
How deep should I dig for deck footings?
Dig footings at least 12 inches below the frost line for your specific region. This prevents the soil from shifting during freeze-thaw cycles, which can destabilize the deck frame and damage surrounding plant root systems.
What is the best weed barrier for under a deck?
Use a non-woven geotextile fabric rated for at least 20 years. Unlike plastic, it allows for gas exchange and water drainage, maintaining the health of the underlying soil microbes while effectively blocking all light for weed suppression.
Can I use mulch instead of gravel under my deck?
Gravel is superior to mulch for under-deck applications. Mulch retains excessive moisture and breaks down into organic matter, eventually creating a seedbed for weeds and fostering fungal pathogens that can damage both the wood and nearby plants.
How do I fix compacted soil after construction?
Use a broadfork or core aerator to fracture the soil structure without inverting the layers. Incorporate organic matter to improve the Cation Exchange Capacity and restore the pore space necessary for root respiration and water infiltration.