6 Steps to Prepare Your Workspace for a Tool Organization Trick
The scent of petrichor signifies the activation of geosmin-producing bacteria in a friable loam, a signal that the soil is ready for mechanical intervention. High turgor pressure in nearby perennials indicates sufficient hydration, yet a cluttered workspace threatens the efficiency of seasonal maintenance. Understanding how to prepare a garden for a tool organization trick requires more than a simple cleaning; it demands a systematic assessment of the workspace footprint to ensure that ergonomic flow matches the biological needs of the plants. Efficiency in the field is dictated by the proximity of high-carbon steel to the rhizosphere. By establishing a dedicated staging zone, you prevent soil compaction in high-traffic areas where bulk density should remain below 1.33 g/cm3. This preparation ensures that every pruning cut or soil amendment is executed with precision, reducing the risk of pathogen entry through jagged tissue tears. A structured environment allows the horticulturist to focus on the physiological state of the crop rather than the location of a misplaced spade.
Materials:
Substrate preparation requires a friable loam with a Cation Exchange Capacity (CEC) between **15 and 25 meq/100g**. The workspace floor must be stabilized to prevent mud tracking. For the surrounding beds, maintain a soil pH of **6.2 to 6.8** to optimize nutrient bioavailability. Specific NPK requirements for the preparatory phase include:
* **Nitrogen (N):** 10 percent for vegetative vigor.
* **Phosphorus (P):** 20 percent for robust root architecture.
* **Potassium (K):** 10 percent for cellular osmotic regulation.
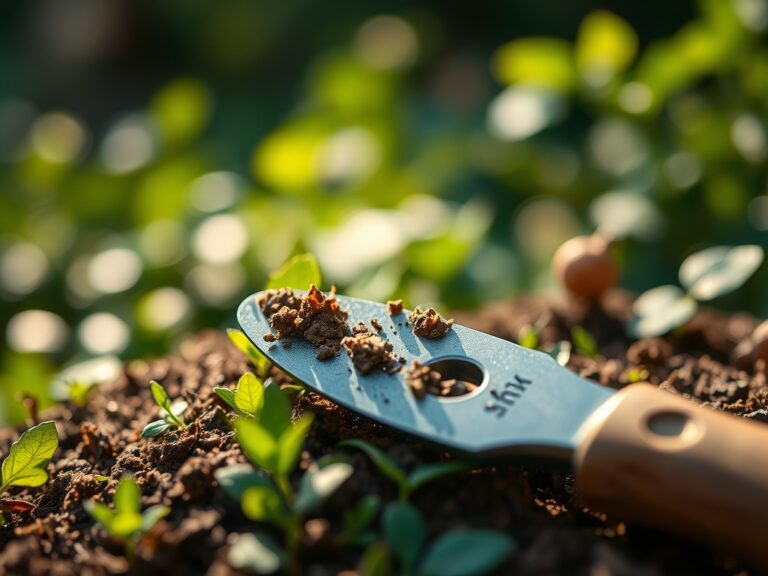
Utilize a coarse-grained horticultural sand for tool cleaning stations, as the abrasive texture removes oxidized metal without compromising the blade edge. The ideal substrate texture feels gritty but holds a cast when squeezed, indicating a balance of 40 percent sand, 40 percent silt, and 20 percent clay.
Timing:
Successful organization must align with the USDA Hardiness Zones. In Zones 5 through 7, the window for workspace overhaul opens 21 days before the local mean last frost date. This timing coincides with the "Biological Clock" of the garden, specifically the transition from winter dormancy to the early vegetative stage. As soil temperatures reach a consistent 50 degrees Fahrenheit, microbial activity increases, and the demand for precise tool application rises. You must complete the setup before the photoperiod exceeds 12 hours, as this light threshold triggers rapid auxinic growth in many temperate species, requiring immediate structural support and pruning.
Phases:

Sowing
Clear a 5-foot by 5-foot perimeter around the primary seeding beds. This space acts as a buffer to prevent accidental crushing of emerging hypocotyls. Ensure the area is level to prevent runoff of top-dressed amendments.
Pro-Tip: Maintain a clear radius to avoid disrupting the rhizosphere. Mycorrhizal symbiosis relies on undisturbed fungal hyphae to transport phosphorus to the root cortex; foot traffic near the sowing zone shears these delicate filaments.
Transplanting
Designate a specific "staging bench" at waist height to minimize the time roots are exposed to the air. This reduces transplant shock by maintaining root hair hydration.
Pro-Tip: Minimize the interval between unpotting and planting to prevent auxin suppression. When a plant remains unanchored, the disruption of gravitropism can stall growth for up to 72 hours as the plant recalibrates its hormonal balance.
Establishing
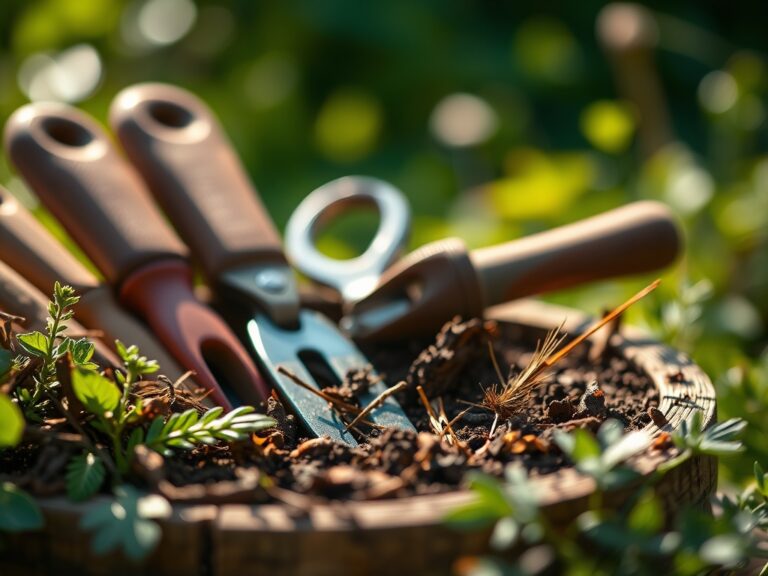
Install a vertical tool rack or a sand-filled bucket for immediate tool storage. This ensures that the hori-hori knife used for weeding is never placed directly on the soil surface, where it can pick up soil-borne pathogens like Fusarium.
Pro-Tip: Use sharp, sterilized blades to ensure rapid callusing. Clean cuts trigger a localized oxidative burst that seals the wound, whereas dull tools cause cell crushing that invites bacterial soft rot.
The Clinic:
Physiological disorders often stem from poor tool hygiene or improper workspace management. Observe the plant tissue for these specific indicators:
- Symptom: Interveinal chlorosis on older leaves.
Solution: This indicates Nitrogen deficiency. Apply a water-soluble fertilizer with a 5-0-0 ratio to provide immediate nitrate availability. - Symptom: Necrotic leaf margins and weak stems.
Solution: This suggests Potassium deficiency. Supplement with sulfate of potash to improve turgor pressure and enzyme activation. - Symptom: Blossom end rot in fruiting crops.
Solution: This is a Calcium transport issue. Ensure consistent irrigation to facilitate the movement of calcium through the xylem; do not simply add more calcium to the soil. - Symptom: Stunted growth and purplish tinting on the underside of leaves.
Solution: This signals Phosphorus deficiency, often caused by cold soil temperatures below 55 degrees Fahrenheit which inhibits uptake.
Maintenance:
Precision maintenance requires a soil moisture meter to ensure the root zone stays within the "available water" capacity. Apply exactly 1.5 inches of water per week at the drip line; avoid wetting the foliage to prevent fungal sporulation. Use bypass pruners for live green tissue to ensure a clean scissor-like action. For stubborn taproots, the hori-hori knife should be inserted at a 75-degree angle to sever the root below the crown. Every 30 days, calibrate your equipment and check the workspace for structural integrity, ensuring no metal components are showing signs of galvanic corrosion.
The Yield:
Harvesting is the culmination of organized horticultural practice. For leafy greens, harvest when the dew point is high and temperatures are below 65 degrees Fahrenheit to ensure maximum crispness. Use a sterilized harvesting knife to make a single, clean cut. To maintain "day-one" freshness, immediately submerge the cut ends in 40-degree Fahrenheit water to remove field heat. This process, known as hydro-cooling, slows down the rate of respiration and prevents the rapid breakdown of sugars and vitamins, extending the shelf life of the produce by up to 40 percent.
FAQ:
How does soil pH affect tool maintenance?
Acidic soils with a pH below 5.5 accelerate the oxidation of steel tools. Always wipe tools with a basic solution or specialized oil after working in low-pH environments to prevent rust and structural degradation of the metal.
What is the best way to clean a hori-hori knife?
Remove macroscopic debris with a stiff brush. Submerge the blade in a 10 percent bleach solution or 70 percent isopropyl alcohol for 60 seconds to eliminate pathogens like Botrytis. Dry immediately and apply a thin coat of mineral oil.
Why is soil compaction a concern in the workspace?
High bulk density reduces macropore space, limiting oxygen diffusion to the roots. This leads to anaerobic conditions and root asphyxiation. Maintaining a designated, uncompacted workspace ensures that the surrounding soil remains porous and biologically active for optimal growth.
When should I sharpen my bypass pruners?
Sharpen the blade every 100 cuts or whenever you notice the tool is pinching rather than slicing the plant tissue. A sharp blade ensures a clean cut that heals quickly, reducing the plant's metabolic energy expenditure during the recovery phase.