9 Tips to Use a Precision Spade for Professional Landscape Design
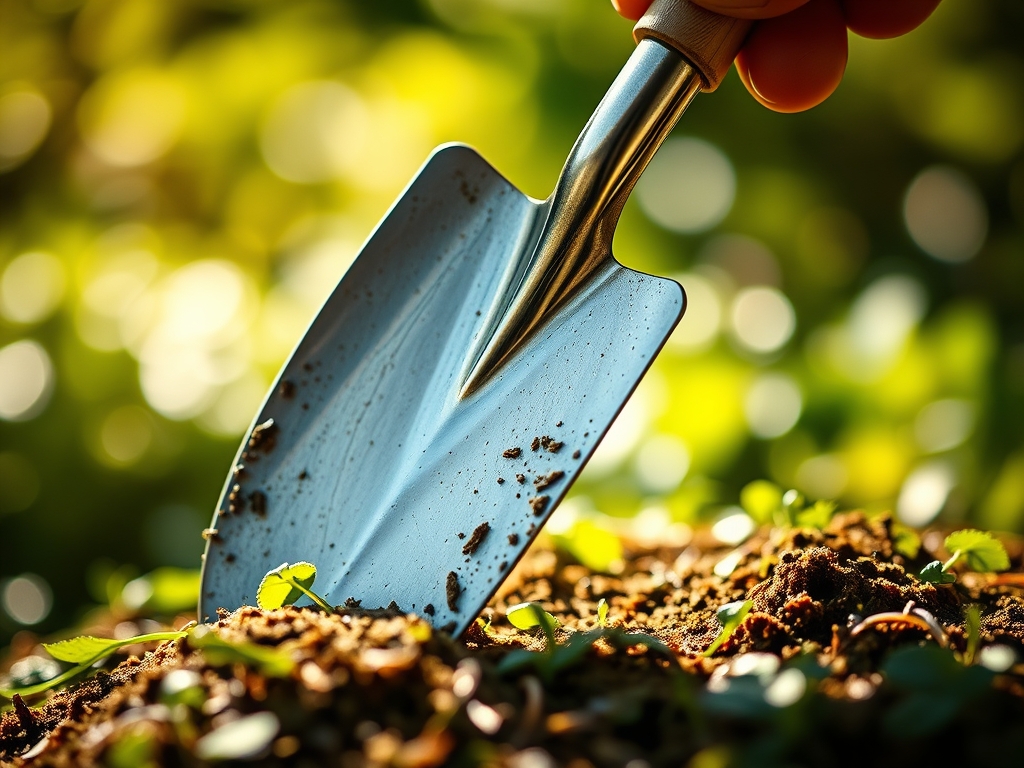
The scent of damp, disturbed earth signals the beginning of a structural transformation. When the spade blade slices through the upper organic horizon, it meets the resistance of a healthy root system under high turgor pressure. This mechanical interaction is the foundation of site preparation. Using a spade for professional design requires more than brute force; it demands an understanding of soil physics and plant physiology. A sharp, high-carbon steel blade allows for surgical precision when defining the transition between turfgrass and ornamental beds. This tool is the primary instrument for managing the rhizosphere, ensuring that the interface between the root ball and the native soil remains permeable to water and gas exchange. By mastering the geometry of the cut and the timing of the lift, a landscaper maintains the structural integrity of the soil profile. Precision digging prevents the compaction of macropores, which are essential for the aerobic respiration of soil microbes. Every strike must be intentional, calculated to minimize root trauma while maximizing the aesthetic clarity of the landscape lines.
Materials:
Professional results depend on the chemical and physical properties of the substrate. The ideal medium for precision spade work is a **friable loam** with a Cation Exchange Capacity (CEC) between **15 and 25 meq/100g**. This ensures the soil holds sufficient nutrients while maintaining a bulk density low enough for clean slicing.
Before breaking ground, verify the soil pH. Most ornamental landscapes thrive in a range of 6.0 to 7.0. If the pH falls below 5.5, aluminum toxicity can inhibit root elongation. Conversely, a pH above 7.5 often leads to iron and manganese deficiencies. Nutrient loading should follow specific NPK ratios based on the growth stage. For initial bed establishment, a 10-20-10 ratio provides the phosphorus necessary for rapid ATP production and root development. If the soil is heavy clay, incorporate sharp sand and organic matter to increase the infiltration rate to at least 1 inch per hour. This structural modification prevents the "bathtub effect" where water stagnates in the planting hole, leading to anaerobic conditions and root rot.
Timing:
The biological clock of the plant dictates the window for heavy spade work. In Hardiness Zones 5 through 7, the primary window for transplanting and edging opens when the soil temperature reaches a consistent 45 degrees Fahrenheit. This usually occurs 2 to 3 weeks after the final frost date. During this period, plants are transitioning from winter dormancy to the vegetative stage, but have not yet reached the high-transpiration demands of the reproductive stage.
Avoid using a spade during the "soft" period of late spring when new succulent growth is most susceptible to wilting. The ideal time for major renovations is early autumn, specifically September through October. During this phase, decreasing day lengths trigger the plant to shift energy from foliage production to root expansion. Soil temperatures remain warm enough for microbial activity, while lower ambient air temperatures reduce the risk of desiccation. Digging during this window allows the root system to establish a symbiotic relationship with native mycorrhizae before the ground freezes, ensuring a robust spring flush.
Phases:
Sowing and Bed Preparation
Preparation begins with a "vertical edge" cut. Drive the spade 6 to 8 inches deep at a 90-degree angle to the surface. This creates a physical barrier that prevents the lateral spread of rhizomatous grasses into the planting zone. Clear the debris and level the interior with a steel rake to ensure a uniform sowing depth.
Pro-Tip: Maintaining a clean vertical edge utilizes auxin suppression. By physically severing the stolons and rhizomes of invasive turf, you disrupt the hormonal flow that encourages lateral expansion, forcing the grass to redirect energy into localized leaf density rather than encroachment.
Transplanting
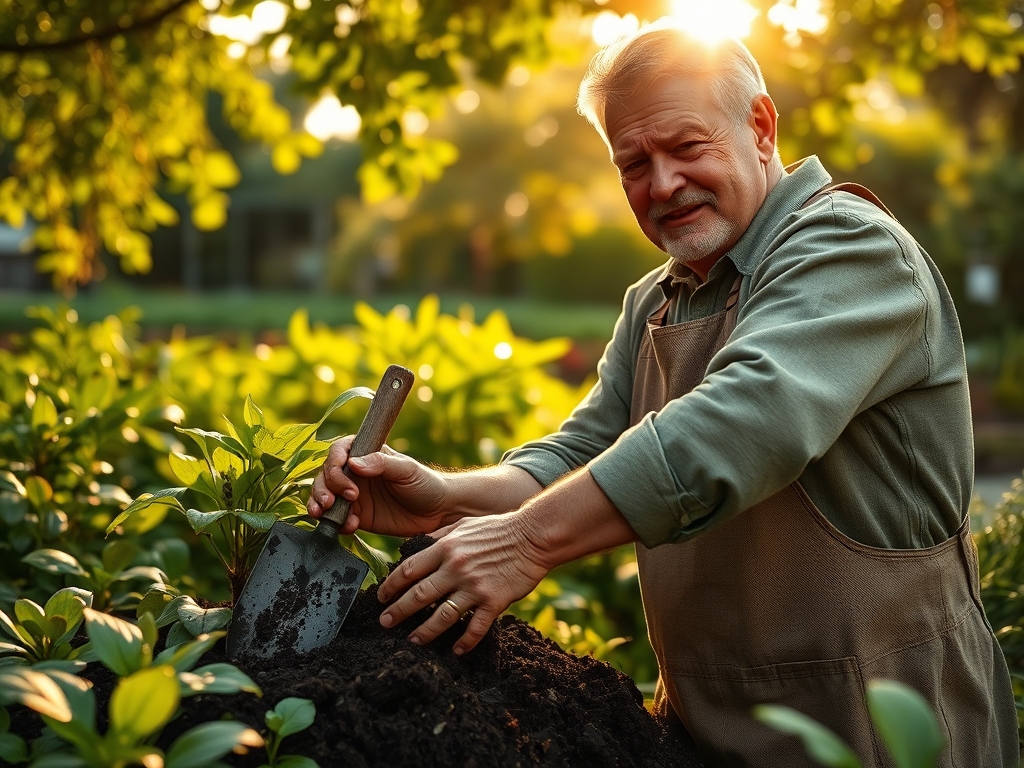
When moving established specimens, the spade must be used to create a root ball that is at least 12 inches in diameter for every 1 inch of trunk caliper. Start by "trenching" around the drip line. Slice downward without prying to avoid shattering the soil peds. Once the circle is complete, undercut at a 45-degree angle to sever the taproot or deep lateral roots.
Pro-Tip: Immediate hydration after transplanting is critical to restore turgor pressure. When roots are cut, the plant loses its ability to pull water to the canopy. Reducing the leaf surface area by 10 percent via selective pruning can balance the transpiration rate with the reduced root capacity.
Establishing
After the plant is placed, use the spade to backfill in layers. Lightly tamp the soil with the flat of the blade to remove large air pockets without crushing the soil structure. The goal is to achieve a soil-to-root contact that facilitates mycorrhizal symbiosis, where fungal hyphae extend the reach of the root system for phosphorus uptake.
Pro-Tip: Avoid "volcano mulching" against the trunk. Keeping the root flare exposed prevents the bark from staying saturated, which would otherwise lead to the degradation of the phloem and eventual senescence of the entire plant.
The Clinic:
Physiological disorders often manifest as visual cues in the foliage. Use these diagnostics to adjust your soil management.
- Symptom: Interveinal chlorosis on young leaves (yellowing between green veins).
- Solution: This indicates Iron (Fe) deficiency, often caused by high pH. Apply chelated iron or lower the pH with elemental sulfur to a range of 6.0 to 6.5.
- Symptom: Purplish tint on older leaves and stunted growth.
- Solution: This is a classic Phosphorus (P) deficiency. It often occurs in cold, wet soils where P becomes chemically locked. Apply a high-phosphorus starter fertilizer (0-20-0) directly to the root zone.
- Symptom: Marginal necrosis (browning of leaf edges) on established plants.
- Solution: This suggests Potassium (K) deficiency or salt toxicity. Flush the soil with 2 inches of water to leach excess salts and apply potassium sulfate to improve water regulation within the plant cells.
Fix-It for Nitrogen Chlorosis: If the entire plant is pale green or yellow, it lacks Nitrogen. Apply a quick-release nitrate-based fertilizer at a rate of 1 pound of actual N per 1,000 square feet to rapidly restore chlorophyll production.
Maintenance:
Precision design requires consistent monitoring. Use a soil moisture meter daily for the first 14 days after using a spade for transplanting. Maintain a moisture level of 60 to 80 percent of field capacity. For established beds, provide 1.5 inches of water per week at the drip line, delivered via drip irrigation to minimize evaporation.
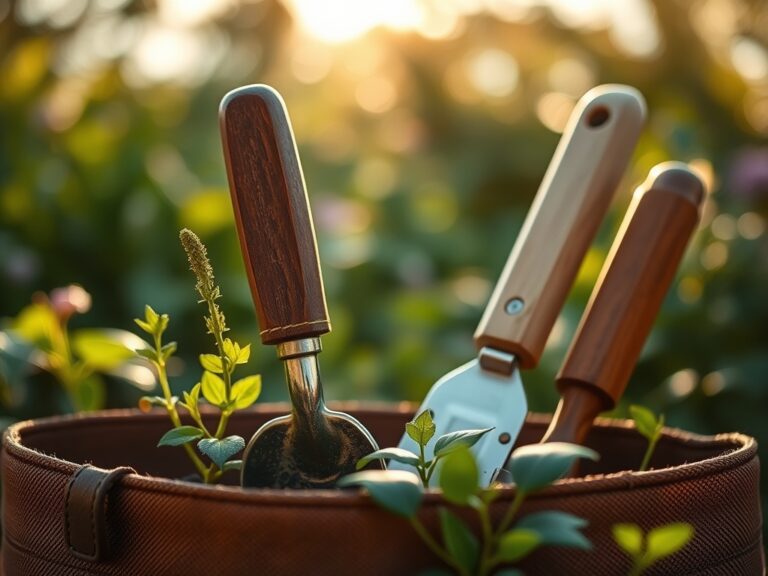
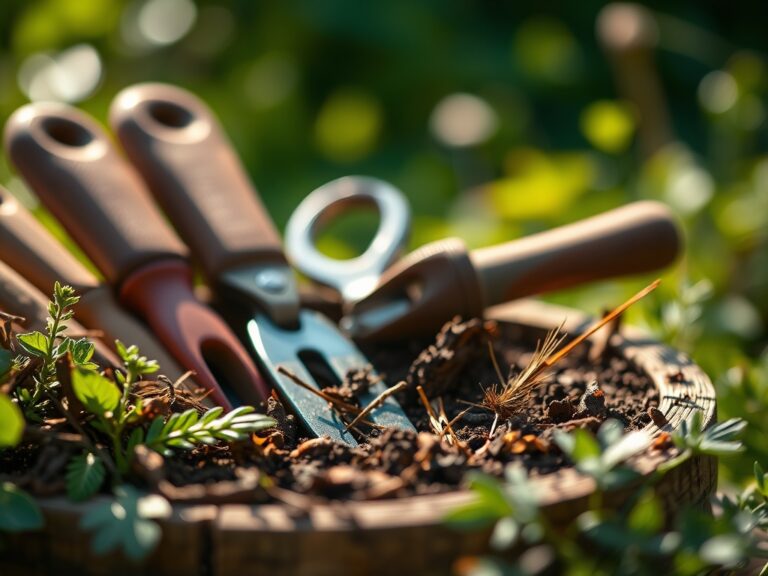
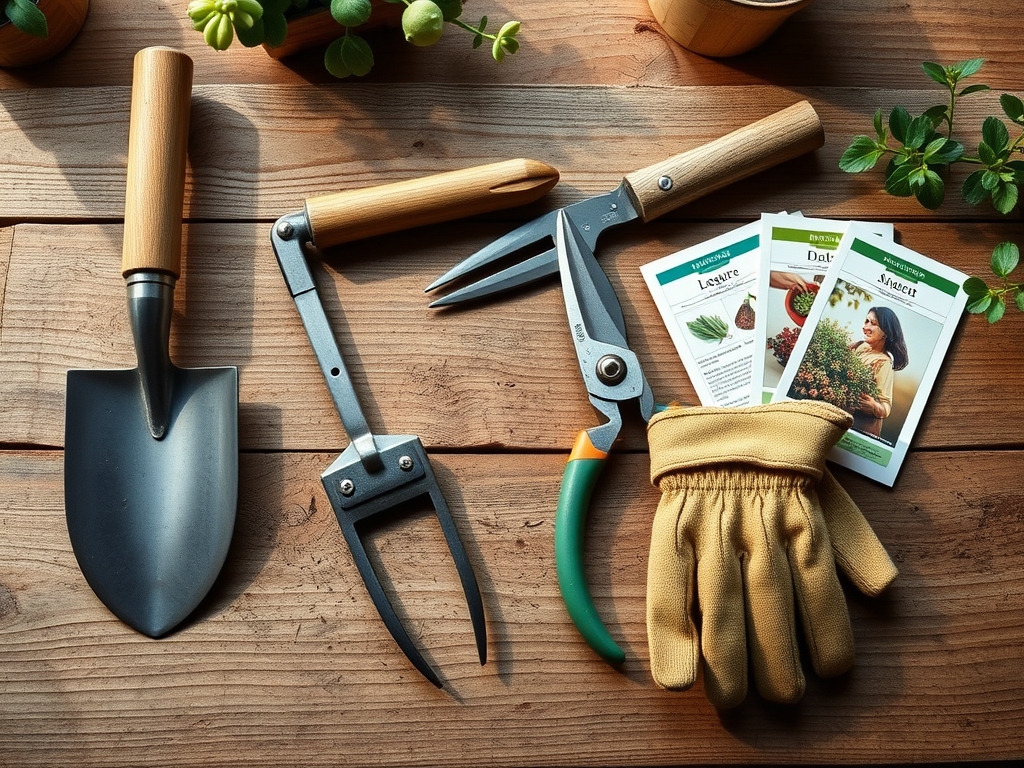
Keep your tools in professional condition. Use a mill file to maintain a 20-degree bevel on your spade blade; a dull edge tears roots rather than cutting them, creating entry points for pathogens. Utilize a hori-hori knife for fine root pruning in tight spaces and bypass pruners for any woody roots larger than 0.5 inches in diameter. Clean all tools with a 10 percent bleach solution between sites to prevent the spread of soil-borne fungi.
The Yield:
When harvesting woody ornamentals or perennials for relocation, timing is everything. Harvest during the "cool of the day," typically before 8:00 AM, when the plant is at maximum turgidity. For cut flowers, use a sharp blade to make a slanted cut, increasing the surface area for water uptake.
Post-harvest handling is vital for "day-one" freshness. Immediately plunge the stems or root balls into water buffered to a pH of 4.0 to 5.0. This acidity inhibits bacterial growth and improves the flow of water through the xylem. Keep the harvested material in a shaded, low-wind environment to minimize the vapor pressure deficit and prevent wilting.
FAQ:
How deep should I edge a landscape bed?
A depth of 6 to 8 inches is standard. This depth is sufficient to sever the root systems of most cool-season grasses and create a clean visual break that prevents organic mulch from migrating into the turf.
Can I use a spade in frozen soil?
No. Digging in frozen soil destroys the soil structure and can shatter the blade. Wait until the soil is thawed and the moisture level is below field capacity to avoid heavy compaction and "clodding."
What is the best way to sharpen a spade?
Use a 10-inch mill file. Follow the existing factory bevel, usually 20 to 30 degrees, and file only the front side of the blade. A one-sided "chisel" edge provides the cleanest slice through dense root mats.
How do I prevent "transplant shock" after digging?
Maintain maximum turgor pressure by watering the plant 24 hours before digging. After moving, apply a root stimulant containing Vitamin B1 or seaweed extract to encourage rapid cell division in the meristematic tissue of the roots.