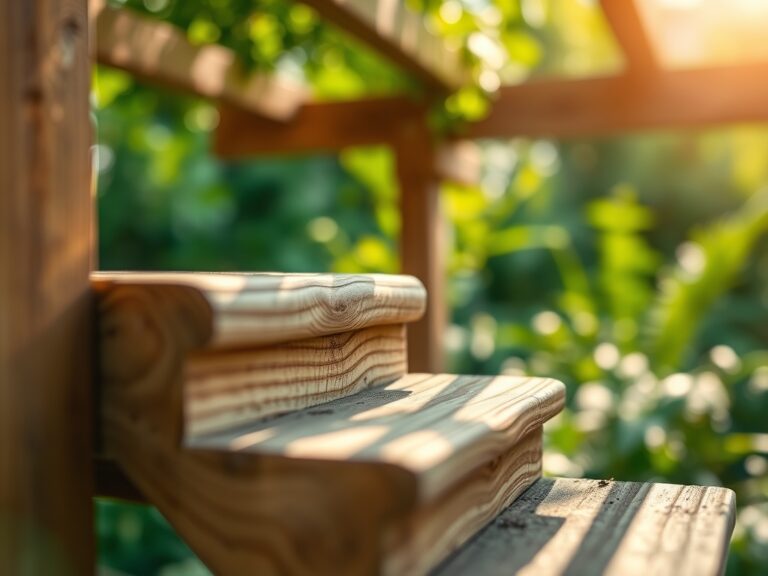
7 Steps to Prepare a Large Property Garden Shed Site
The smell of damp, anaerobic clay indicates a site with poor drainage that will inevitably rot the structural integrity of any timber foundation. A master gardener understands that the soil under a structure is just as critical as the soil in the beds; it must be stable, level, and free of organic matter that promotes fungal decay. Learning how to prepare a site for a garden shed requires a transition from botanical management to civil engineering within the landscape. You are not just clearing space. You are managing the hydrology and compaction of the earth to ensure that the surrounding rhizosphere remains undisturbed while the shed stays plumb. Success depends on the turgor of the surrounding vegetation and the mechanical stability of the substrate.
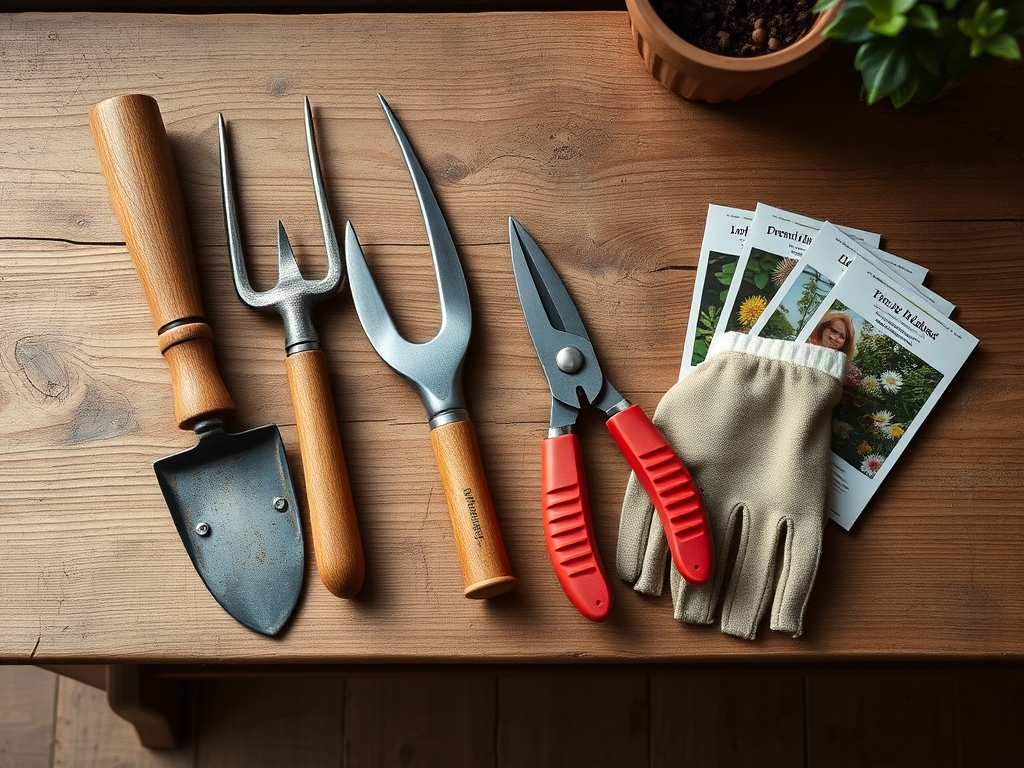
Materials:
The ideal substrate for the area immediately surrounding a shed site is a **friable loam** with a **pH between 6.0 and 7.0**. However, the footprint of the shed itself requires a different approach. You must strip the topsoil to reach the subsoil, which typically has a lower **Cation Exchange Capacity (CEC)** but higher structural load-bearing capacity.
For the surrounding ornamental or edible transition zones, maintain a nutrient profile of 10-10-10 NPK to support root re-establishment after the mechanical disturbance of construction. Use 3/4-inch crushed angular stone for the base. Unlike rounded pea gravel, angular stone locks together to prevent shifting. Incorporate a heavy-duty geotextile fabric with a flow rate of at least 100 gallons per minute per square foot to prevent the migration of fines into the drainage layer.
Timing:
In USDA Hardiness Zones 4 through 7, the window for site preparation is dictated by the frost line and soil moisture levels. You must wait until the soil is no longer plastic; if a handful of soil forms a solid ball that does not crumble when squeezed, it is too wet for compaction. The "Biological Clock" of your garden suggests performing this work during the late dormant season or early spring before the surge of auxin-driven vegetative growth.
By preparing the site before the photoperiod reaches 12 hours, you minimize the stress on nearby perennials that may have root systems extending into the construction zone. Avoid heavy excavation during the senescence phase of late autumn, as dormant plants have less metabolic energy to repair root damage caused by soil compaction or grade changes.
Phases:

Sowing the Perimeter
Once the site is leveled and the base is set, sow a low-profile fescue or clover mix around the perimeter to prevent erosion. Ensure the seed makes direct contact with the soil. Maintain a consistent moisture level of 0.5 inches every three days until germination occurs.
Pro-Tip: Utilize mycorrhizal inoculants during sowing. The Biological Why is based on mycorrhizal symbiosis; these fungi extend the reach of root systems, allowing plants to access phosphorus and water that would otherwise be unavailable in the compacted soils typical of construction sites.
Transplanting Disturbed Flora
If the shed footprint overlaps with existing specimens, transplant them using a root ball diameter 12 times the width of the trunk. Move these plants to a temporary "heeling-in" bed with high organic matter.
Pro-Tip: When transplanting, do not prune the canopy to "balance" the root loss. The Biological Why involves auxin suppression; the terminal buds produce auxins that signal the roots to grow. Removing branches reduces the hormonal drive for the plant to establish new roots in its new location.
Establishing the Grade
The site must slope away from the shed at a rate of 1 inch of drop for every 10 feet of run. This prevents water from pooling at the base, which would increase the local humidity and trigger fungal pathogens in the shed wood and nearby foliage.
Pro-Tip: Orient the shed to account for phototropism. The Biological Why is that the structure will cast a permanent shadow. Place the shed on the north side of the property to ensure that the sun-loving plants in your garden do not lean toward the light and become structurally weak or "leggy."
The Clinic:
Physiological disorders often arise when the soil environment is altered by construction.
- Symptom: Nitrogen Chlorosis. The older leaves turn pale yellow while veins remain green.
Solution: This is common when high-carbon mulch is mixed into the soil during excavation. Fix-It: Apply a quick-release high-nitrogen fertilizer (21-0-0) to compensate for nitrogen tie-up by soil microbes.
- Symptom: Iron Chlorosis. New growth is yellow with green veins, typically in high pH soils.
Solution: Construction debris like concrete dust can spike soil pH. Fix-It: Apply chelated iron and elemental sulfur to lower the pH to a range of 6.0 to 6.5.
- Symptom: Edema. Small bumps or blisters appear on the undersides of leaves.
Solution: This occurs when roots take up more water than the leaves can transpire, often due to altered drainage around the new shed. Fix-It: Improve soil porosity by incorporating expanded shale or fine gravel into the surrounding beds.
Maintenance:
Post-installation maintenance requires a rigorous schedule to ensure the site remains stable. Monitor the soil moisture around the shed foundation using a soil moisture meter; the goal is to maintain a steady state to prevent the soil from shrinking and swelling. Provide 1.5 inches of water per week at the drip line of any large trees within 20 feet of the shed to prevent their roots from diving deep under the foundation in search of moisture.
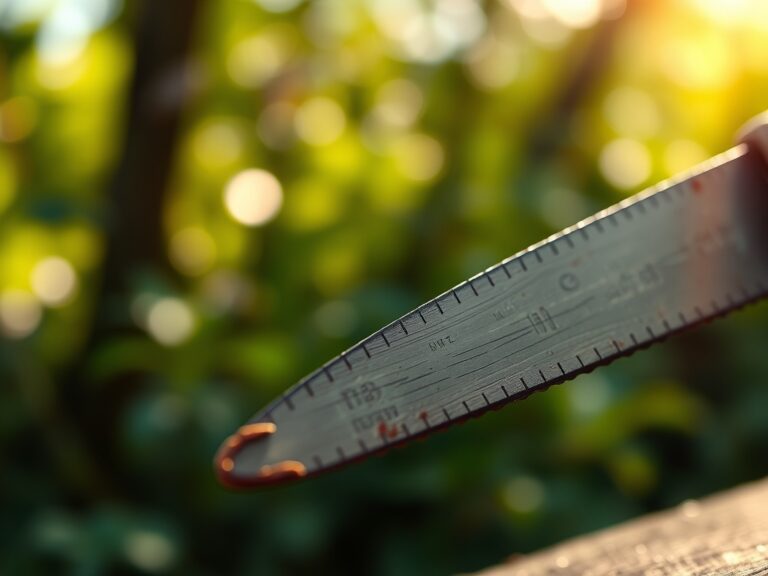
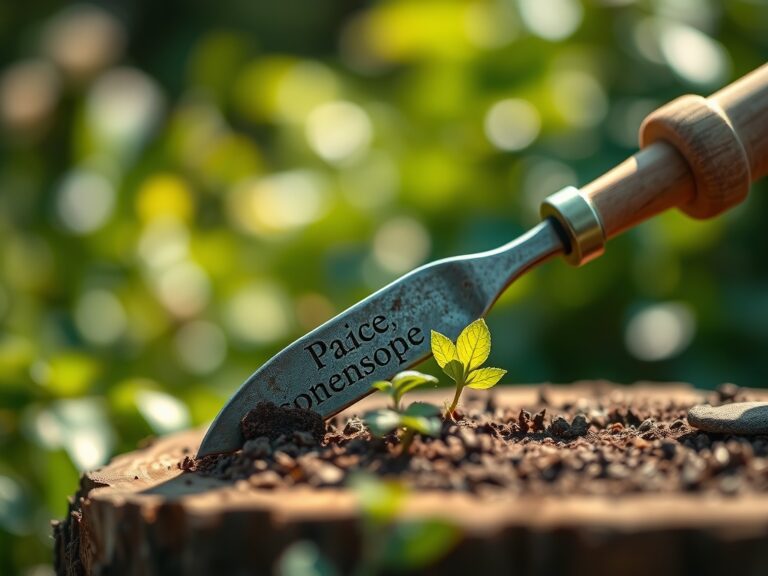
Use a hori-hori knife to remove deep-taproot weeds like dandelion that can penetrate the geotextile layer. Annually inspect the perimeter with bypass pruners to clear any encroaching vegetation that limits airflow. Proper airflow keeps the humidity below 60 percent, which is the threshold for most wood-decaying fungi.
The Yield:
While a shed site does not produce a crop, the "yield" is measured in the longevity of the structure and the health of the surrounding landscape. If you are planting a vertical garden or "green wall" on the shed, harvest herbs like rosemary or thyme when the essential oil concentration is highest, typically just before flowering in the early morning. Use sharp snips to ensure a clean cut that preserves the turgor pressure of the stems. Place harvested greens immediately into a cool, shaded environment to prevent rapid transpiration and wilting.
FAQ:
How deep should I dig for a shed base?
Remove all organic topsoil until you reach the firm subsoil. This is typically 4 to 6 inches deep. This prevents the structure from settling as organic matter decomposes over time.
What is the best material for a shed foundation?
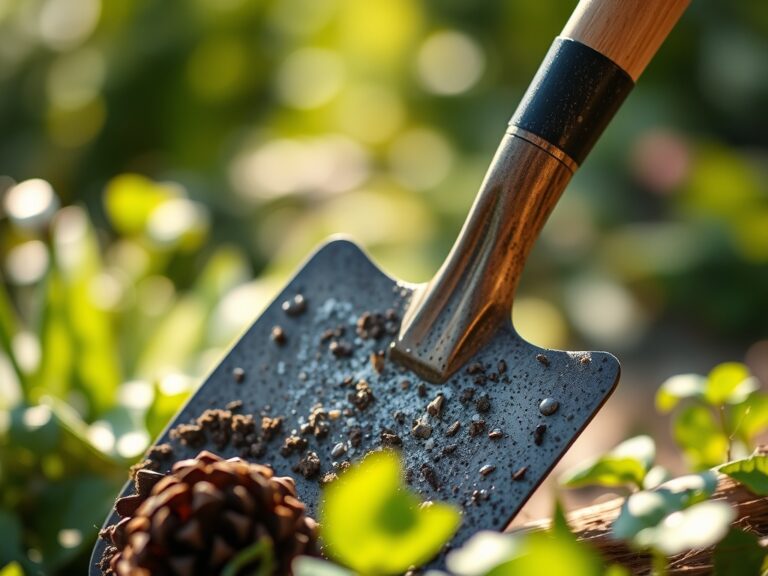
A compacted gravel pad using 3/4-inch angular crushed stone is superior to concrete for drainage. It allows water to percolate into the ground rather than creating runoff that erodes the surrounding garden.
Can I build a shed near large trees?
Keep the footprint outside the Critical Root Zone (CRZ). The CRZ is a radius of 1 foot for every inch of tree trunk diameter. Encroaching on this area causes significant root death and instability.
How do I stop weeds from growing under the shed?
Install a high-quality woven geotextile fabric over the bare soil before adding gravel. This blocks light and provides a physical barrier, preventing weed seeds from germinating in the subsoil.