8 Tips to Use a Long-Handled Shovel for Property Landscaping
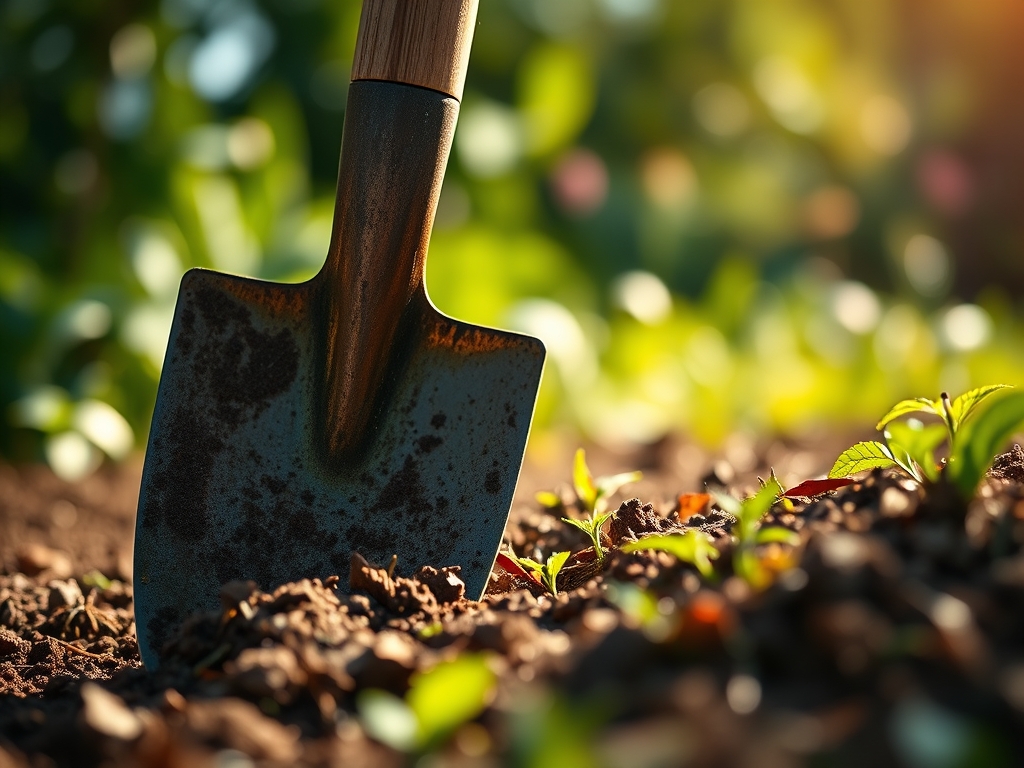
Damp earth releases a sharp, metallic scent of geosmin as the blade shears through the rhizosphere. You feel the resistance of compacted clay against the tempered steel. This is the raw physics of using a shovel for property landscaping. Success depends on mechanical advantage and an understanding of soil turgor pressure. A long-handled shovel is not merely a digging tool; it is a lever designed to disrupt soil aggregates while preserving the structural integrity of your lumbar spine. When the blade bites into a friable loam, the sound is crisp. When it hits a root, the vibration travels through the ash wood or fiberglass shaft, signaling the density of the subterranean environment. Proper execution requires a 15 degree angle of entry to maximize the shear force. You are managing the transition between undisturbed earth and a cultivated planting bed. Precision here prevents the unnecessary compaction of the surrounding soil, which would otherwise impede gas exchange and stifle root respiration. Using a shovel for property landscaping is the foundational act of any serious horticultural installation.
Materials:
The substrate dictates the tool choice. Ideal landscaping soil is a friable loam with a **pH between 6.0 and 7.0**. This range ensures maximum bioavailability of macronutrients. For new beds, target an initial **NPK ratio of 10-10-10** to provide a balanced baseline of nitrogen, phosphorus, and potassium. If your soil test reveals high clay content, the Cation Exchange Capacity (CEC) will be high, meaning the soil retains nutrients well but resists drainage. In these conditions, a round-point shovel with a forward-turned step is mandatory to apply maximum downward pressure. For sandy soils with low CEC, a square-point shovel is more efficient for moving bulk material. Ensure your soil moisture is at field capacity before digging; dry soil increases friction and heat, which can damage the delicate mycorrhizal networks essential for nutrient uptake.
Timing:
In USDA Hardiness Zones 5 through 7, the primary window for heavy shovel work opens after the first spring thaw when soil temperatures reach a consistent 50 degrees Fahrenheit. Digging in frozen or waterlogged soil destroys soil structure by collapsing the pore spaces required for oxygen. Observe the biological clock of your specimens. Perform major excavations during the dormant phase or the early vegetative stage to minimize transplant shock. For deciduous species, this is typically before bud break. If you are preparing beds for summer annuals, wait until the threat of frost has passed to ensure the soil has reached the 65 degree Fahrenheit threshold required for rapid root elongation and the establishment of turgor pressure in new stems.
Phases:

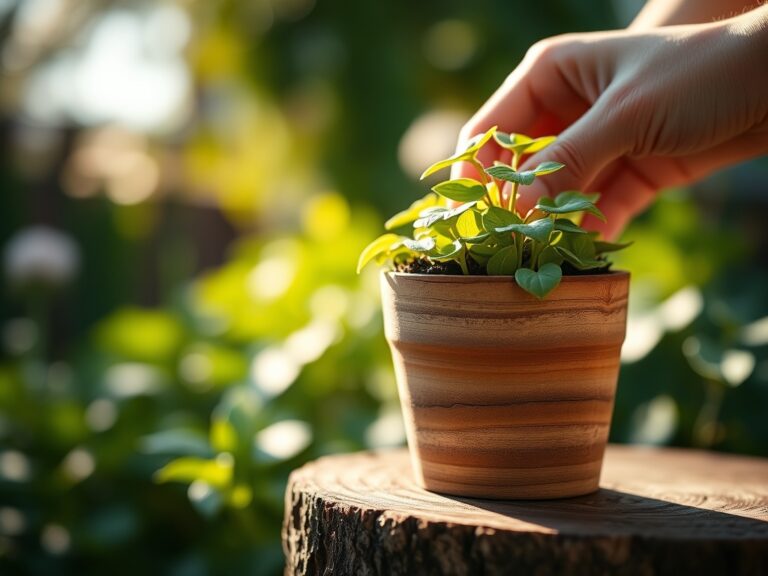
Sowing and Bed Preparation
Clear the surface of all detritus. Use the long-handled shovel to turn the soil to a depth of 12 inches. This depth ensures the primary taproots can penetrate the subsoil without hitting a hardpan layer. Incorporate organic matter to improve the soil's water-holding capacity.
Pro-Tip: Turning the soil oxygenates the rhizosphere, which stimulates aerobic microbial activity. This process accelerates the mineralization of organic nitrogen into ammonium and nitrate, making it immediately available for plant uptake.
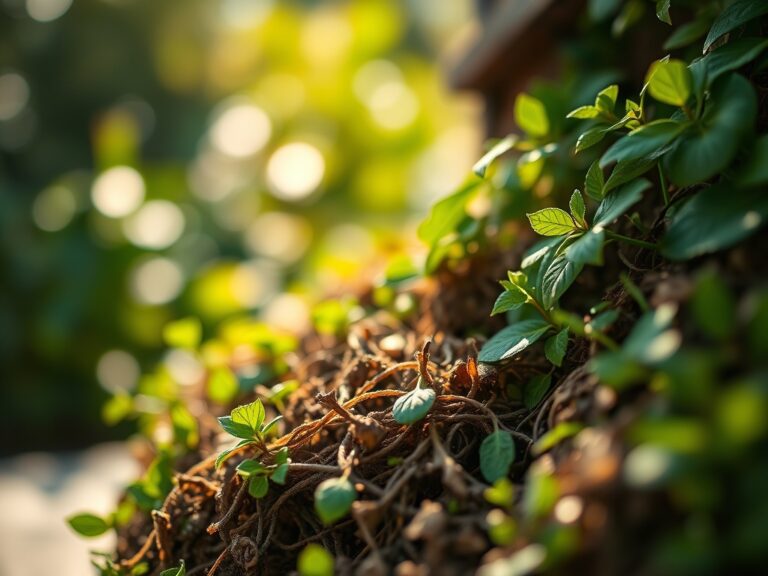
Transplanting
Dig a hole twice as wide as the root ball but no deeper. The flared base of the trunk must remain at or slightly above the soil line. Use the shovel to scarify the sides of the hole. This prevents "glazing," a condition in high-clay soils where the shovel blade creates a smooth, impenetrable wall that traps roots like a ceramic pot.
Pro-Tip: Scarifying the hole walls encourages lateral root growth and prevents "circling roots." This utilizes the principle of thigmotropism, where roots change direction upon contacting a physical barrier, ensuring better anchorage.
Establishing
Backfill the hole with native soil. Use the flat of the shovel blade to lightly tamp the surface. Do not use your feet; excessive pressure will collapse the macro-pores and lead to anaerobic conditions. Apply a 3-inch layer of organic mulch to regulate soil temperature and prevent moisture evaporation.
Pro-Tip: Maintaining soil porosity is vital for mycorrhizal symbiosis. These beneficial fungi require oxygen to extend their hyphae, which effectively increases the root surface area for phosphorus absorption by up to 1,000 percent.
The Clinic:
Physiological disorders often stem from improper shovel use during the planting phase.
- Symptom: Leaf Chlorosis (Yellowing). This often indicates Nitrogen deficiency or root suffocation. Solution: Check the planting depth. If the shovel was used to dig too deep, the plant may have settled, burying the root flare and causing hypoxia.
- Symptom: Marginal Leaf Burn. This suggests high salts or localized drought. Solution: Use a soil moisture meter to check the hydration at the 8-inch depth. If the shovel-turned soil was not properly integrated, "pockets" of dry air may be desiccating the roots.
- Symptom: Stunted Growth. This is a sign of soil compaction. Fix-It: Use a garden fork or the tip of your shovel to perform vertical mulching. Dig small holes 6 inches deep around the drip line and fill them with finished compost to improve gas exchange.
Maintenance:
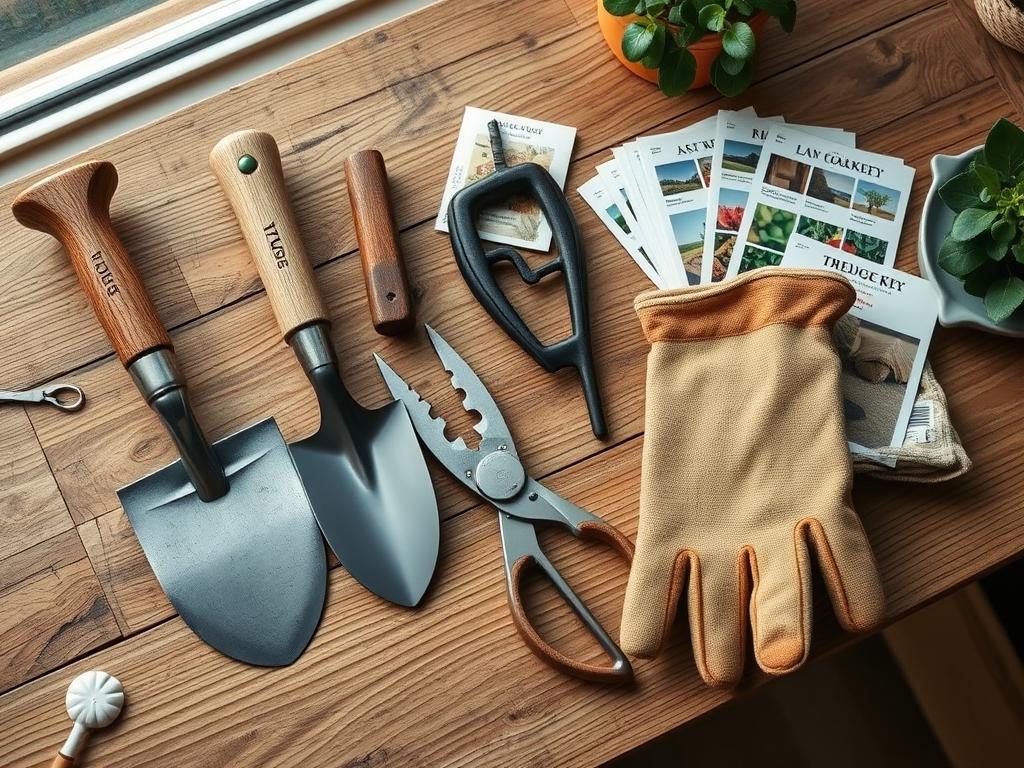
Precision maintenance requires the right inventory. Keep your shovel blade sharp using a mill file; a dull edge tears roots rather than slicing them. Use a hori-hori knife for delicate weeding near the crown and bypass pruners for clean cuts on any roots larger than 0.5 inches encountered during digging. For irrigation, aim for 1.5 inches of water per week delivered at the drip line. Use a soil moisture meter to verify that the water is penetrating the full 12-inch depth of your prepared bed. Clean your tools with a 10 percent bleach solution after working in areas with known pathogens to prevent cross-contamination.
The Yield:
When harvesting root crops or lifting bulbs for division, the long-handled shovel provides the necessary leverage to lift the entire root mass without snapping the primary stems. Insert the shovel vertically 8 inches away from the base of the plant. Lean back on the handle to lift the soil column. For "day-one" freshness in flowers or vegetables, harvest in the early morning when turgor pressure is at its peak. Immediately move the specimens to a shaded area and reduce the temperature to 40 degrees Fahrenheit to slow the rate of senescence and respiration.
FAQ:
How do I prevent back strain when using a long-handled shovel?
Keep your back straight and use your legs for power. Position the shovel blade vertically and step on the center of the blade. Use the length of the handle as a lever to pivot the weight rather than lifting with your arms.
What is the best shovel for heavy clay soil?
Use a round-point shovel with a high-gauge steel blade. The pointed tip focuses the force on a single point to penetrate the dense clay aggregates. Ensure the tool has a forward-turned step for secure foot placement and maximum downward pressure.
How deep should I dig for a standard garden bed?
Target a depth of 12 to 18 inches. This ensures the soil is loose enough for the majority of feeder roots, which reside in the top 12 inches of soil, to access oxygen, water, and essential macronutrients efficiently.
Should I add fertilizer directly into the hole when planting?
No. High concentrations of synthetic fertilizers can cause osmotic burn on young roots. Instead, incorporate a balanced 10-10-10 NPK fertilizer into the backfill soil or apply it as a top dressing after the planting process is complete.