6 Steps to Install a High-Quality Property Privacy Screen
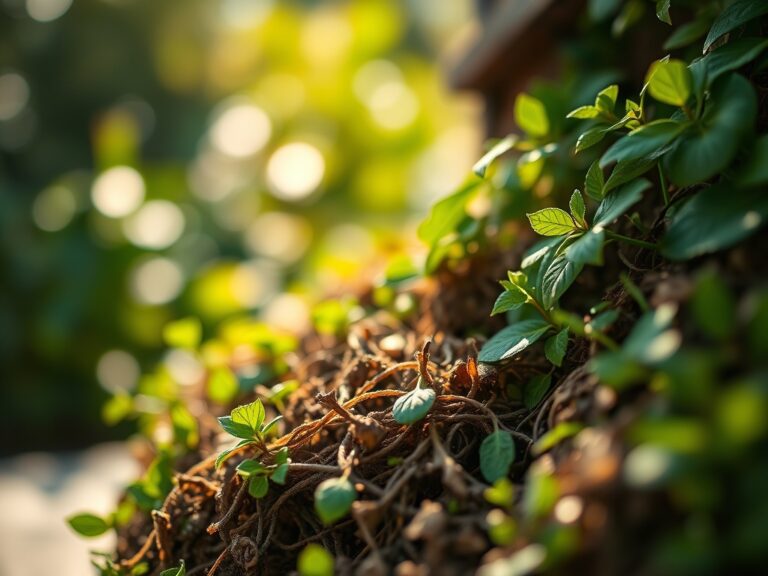
The smell of damp, anaerobic clay gives way to the sweet, metallic scent of freshly turned friable loam as you break ground. A successful privacy barrier depends on the cellular turgor of every leaf; if the vascular system fails to transport water to the canopy, the screen thins and the project fails. Mastering the steps for installing a garden screen requires a transition from amateur aesthetics to rigorous silviculture. You are not just planting trees; you are engineering a biological wall capable of sequestering carbon and baffling wind. This process demands a deep understanding of the rhizosphere and the mechanical properties of your specific soil profile. Every incision into the earth must be calculated to minimize root shock and maximize the establishment of a dense, opaque barrier.
Materials:
Substrate quality dictates the longevity of your screen. You require a **friable loam** with a **Cation Exchange Capacity (CEC) above 15**. This ensures the soil can hold and exchange essential nutrients like calcium and magnesium. Conduct a professional soil test to determine your baseline pH; most evergreen screening species, such as *Thuja occidentalis* or *Prunus laurocerasus*, thrive in a **pH range of 6.0 to 7.0**.
For the initial planting phase, secure a slow-release fertilizer with an NPK ratio of 10-10-10 to support balanced root and shoot development. Avoid high-nitrogen blends (e.g., 30-0-0) in the first season, as this forces excessive soft growth that is susceptible to winter kill and pest colonization. You will also need organic amendments such as aged compost or pine bark fines to improve aeration in heavy clay soils. Ensure you have a soil moisture meter to monitor the tension of the water within the soil matrix, aiming for a consistent 20 to 30 centibars during the establishment phase.
Timing:
The biological clock of a privacy screen is governed by the photoperiod and local frost dates. In USDA Hardiness Zones 5 through 7, the ideal window for installation is late autumn or early spring. Planting during the dormant phase allows the specimen to allocate energy toward root elongation rather than foliage production. This is the transition from the reproductive stage back to the vegetative stage for many perennials.
Avoid planting when the soil temperature is below 40 degrees Fahrenheit (4.4 Celsius), as root respiration slows significantly, leading to "wet feet" and subsequent root rot. Conversely, summer installation increases the transpiration rate beyond what a fresh root ball can support, leading to permanent wilting point and cellular collapse. Monitor the local "last frost" date and aim to have all specimens in the ground at least six weeks prior to the first hard freeze or six weeks after the final spring thaw.
Phases:

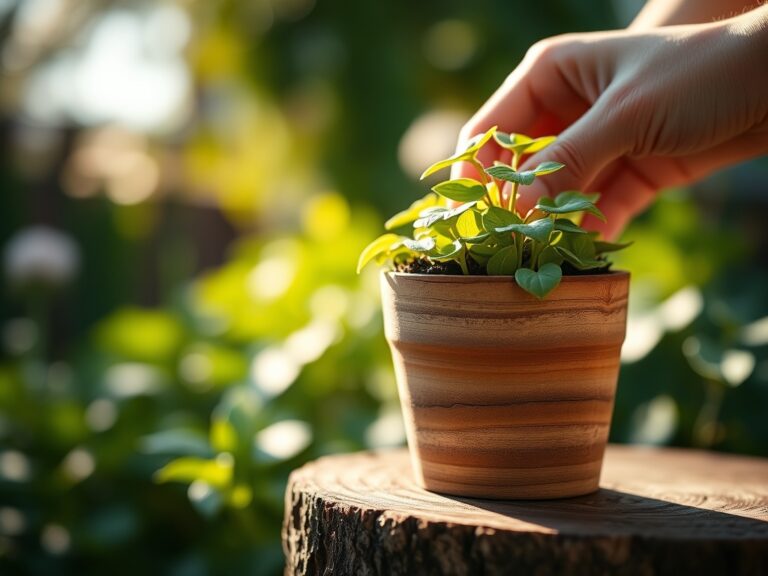
Site Preparation and Sowing
Clear all competing vegetation within a three-foot radius of each planting site. If using seeds for a deciduous screen, scarify the seed coat to break dormancy. For most screening projects, you will be working with container-grown or ball-and-burlap stock. Dig a hole two times wider than the root ball but no deeper than the root flare.
Pro-Tip: Proper hole width encourages lateral root expansion into the native soil. This utilizes thigmotropism, where root tips respond to the physical touch of the soil, preventing the "pot-bound" circling that eventually strangles the plant.
Transplanting and Positioning
Remove the specimen from its container and use a hori-hori knife to score any circling roots. Place the plant so the root flare is slightly above the soil line. Backfill with native soil mixed with no more than 20 percent compost. Tamp the soil firmly to remove air pockets without over-compacting the pore space.
Pro-Tip: Maintaining the root flare above the soil line prevents bark rot and ensures gas exchange for the upper root system. This supports mycorrhizal symbiosis, where beneficial fungi trade phosphorus for plant sugars, significantly increasing the plant's drought resistance.
Establishing and Pruning
Immediately after planting, saturate the root zone to settle the soil. Apply a three-inch layer of organic mulch, keeping it two inches away from the trunk. For the first year, focus on structural pruning using bypass pruners to remove dead or crossing branches.
Pro-Tip: Removing the terminal bud of lateral branches encourages auxin suppression. By cutting the tip, you neutralize the hormone that prevents side buds from growing, resulting in a thicker, more opaque privacy screen.
The Clinic:
Physiological disorders often mimic disease but are usually rooted in environmental stress or nutrient imbalances.
- Symptom: Interveinal Chlorosis. The leaves turn yellow while the veins remain green.
- Solution: This typically indicates a Manganese or Iron deficiency, often caused by a pH above 7.5. Apply chelated iron or elemental sulfur to lower the pH.
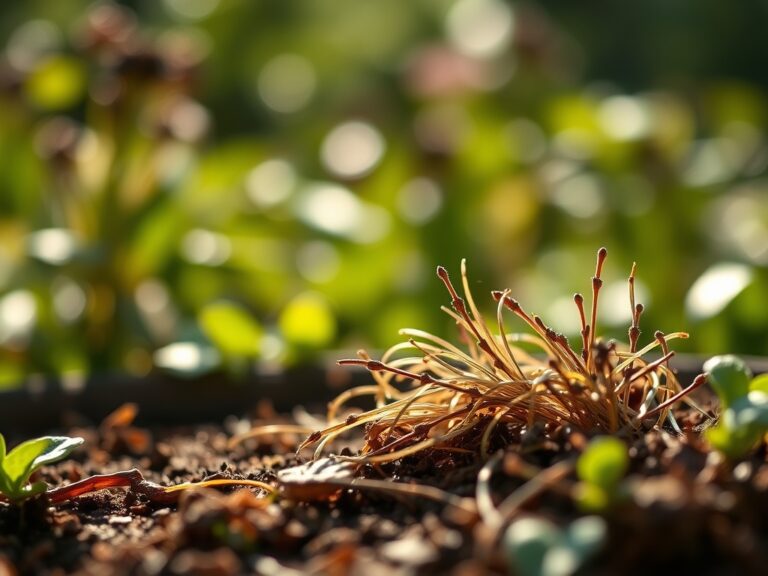
- Symptom: Needle Drop or Interior Browning. Older needles near the trunk turn brown and fall.
- Solution: If this occurs in autumn, it is likely natural senescence. If it occurs in spring, check for spider mites or poor airflow. Increase spacing to improve transpiration.
- Symptom: Leaf Marginal Burn. The edges of the leaves appear scorched.
- Solution: This is often a sign of salt accumulation or extreme dehydration. Flush the soil with two inches of fresh water and reduce synthetic fertilizer applications.
- Fix-It for Nitrogen Chlorosis: If the entire leaf turns pale green or yellow, the plant lacks nitrogen. Apply a water-soluble 20-20-20 fertilizer at half strength to provide an immediate boost to chlorophyll production.
Maintenance:
Precision is the difference between a surviving screen and a thriving one. Deliver exactly 1.5 inches of water per week at the drip line; do not spray the foliage, as this encourages fungal pathogens. Use a soil moisture meter to verify that the moisture has penetrated 8 to 12 inches deep.
Every spring, inspect the screen for structural integrity. Use bypass pruners for clean cuts that heal quickly. If you encounter thick woody stems, upgrade to a pruning saw to avoid crushing the vascular cambium. Re-apply mulch annually to maintain the organic matter levels in the rhizosphere. Monitor for "leader" health; if the central vertical stem is damaged, select a strong lateral branch and tie it to a stake to train it as the new primary leader.
The Yield:
While a privacy screen is primarily functional, many species offer secondary yields like berries or flowers. For species like Ilex (Holly) or Viburnum, harvesting branches for decor should be done in early winter. Use sharp shears to make a clean cut at a 45-degree angle just above a node. To ensure "day-one" freshness, immediately submerge the cut ends in 110-degree Fahrenheit (43 Celsius) water to break air locks in the xylem. Store the cuttings in a cool, dark location until they are ready for display. This post-harvest handling preserves the cellular turgor and prevents premature desiccation of the foliage.
FAQ:
How far apart should I space screening plants?
Space plants based on their mature width. For a dense screen, calculate 75 percent of the mature spread. If a tree grows 10 feet wide, space centers at 7.5 feet to ensure the canopies overlap and create a solid wall.
How do I fix yellowing leaves on my screen?
Test the soil pH first. If the pH is correct, yellowing usually indicates Nitrogen deficiency or overwatering. Reduce irrigation and apply a balanced NPK fertilizer to restore chlorophyll levels and improve the plant's photosynthetic capacity.
Can I install a garden screen in heavy clay?
Yes, but you must plant "high." Dig a shallow hole and mound the soil around the root ball. This prevents the "bathtub effect" where water traps in the hole, leading to root hypoxia and the eventual death of the specimen.
What is the best mulch for a privacy screen?
Use shredded arborist chips or pine bark. These materials break down slowly, improving the soil's Cation Exchange Capacity over time. Maintain a depth of three inches to suppress weeds and regulate soil temperature throughout the extreme summer heat.