7 Steps to Build a Functional Property Garden Path
Damp earth releases geosmin as the spade cuts through the rhizosphere; the scent signals a transition from wild growth to structured utility. A garden path is more than a walkway. It is a conduit for nutrient management and a barrier against soil compaction. Following the correct steps for building a garden path ensures that heavy foot traffic does not compromise the turgor pressure of adjacent perennials or crush the delicate fungal networks in the upper soil horizons. Proper installation requires an understanding of drainage, load bearing, and the biological needs of the surrounding flora.
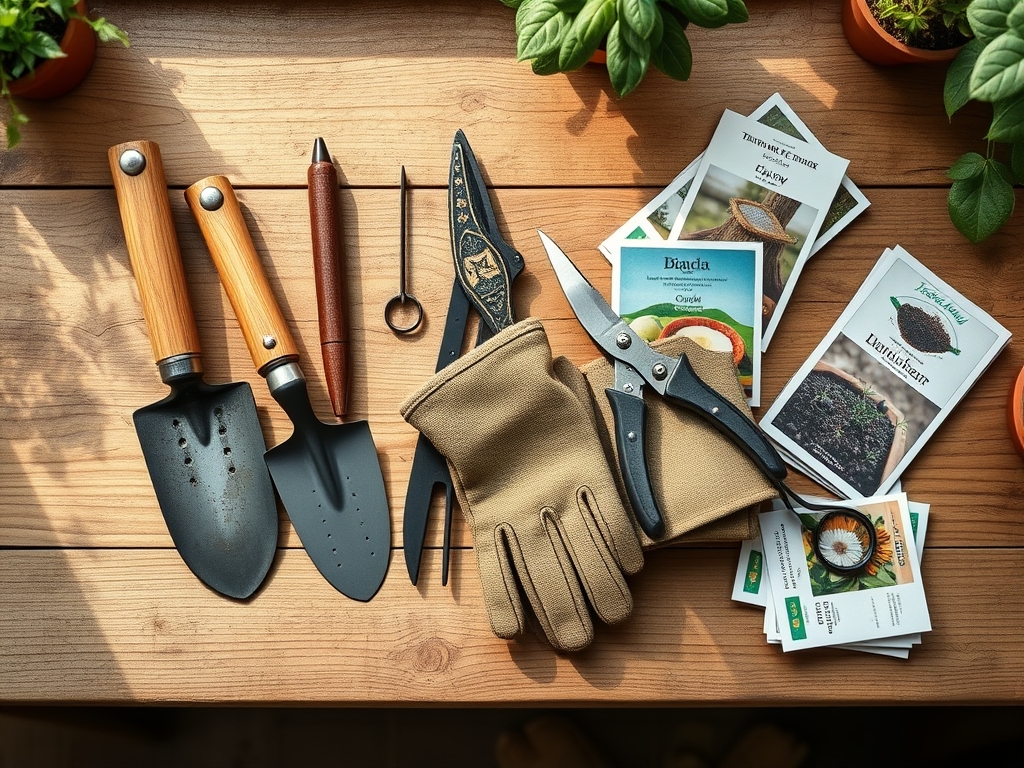
Materials:
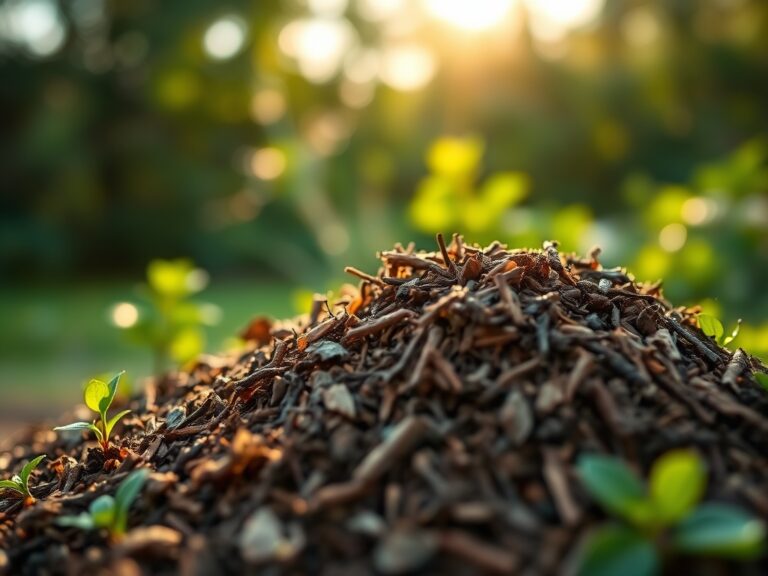
The foundation of a path must respect the chemical composition of the surrounding beds. Ideal garden soil is a **friable loam** with a **pH between 6.0 and 7.0**. This range ensures optimal **Cation Exchange Capacity (CEC)**; allowing plants to access essential nutrients. For the path base, use crushed limestone or washed gravel. Avoid materials that leach heavy salts, which can increase the osmotic pressure in the root zones of nearby plants.
If the path borders heavy feeders, ensure the soil contains a balanced NPK ratio of 10-10-10 to support initial establishment. For paths near fruiting shrubs, a 5-10-10 ratio is preferred to prioritize root and fruit development over excessive foliage. The substrate must be porous to prevent anaerobic conditions in the soil, which leads to root rot and the accumulation of toxic gasses.
Timing:
Hardiness Zones 4 through 8 should schedule path construction during the dormant season or early spring before the biological clock triggers the transition from vegetative to reproductive stages. Construction must occur when the soil is not saturated to prevent permanent compaction. In Zone 7, the ideal window is late February to early April, after the final hard frost but before the photoperiod extends beyond 12 hours.
Performing heavy labor during the plant's senescence phase in late autumn is also acceptable. This timing prevents the disruption of active auxin flow during the peak growing season. Avoid construction when ground temperatures are below 32 degrees Fahrenheit, as frozen soil particles can shift significantly during the spring thaw, compromising the structural integrity of the path.
Phases:

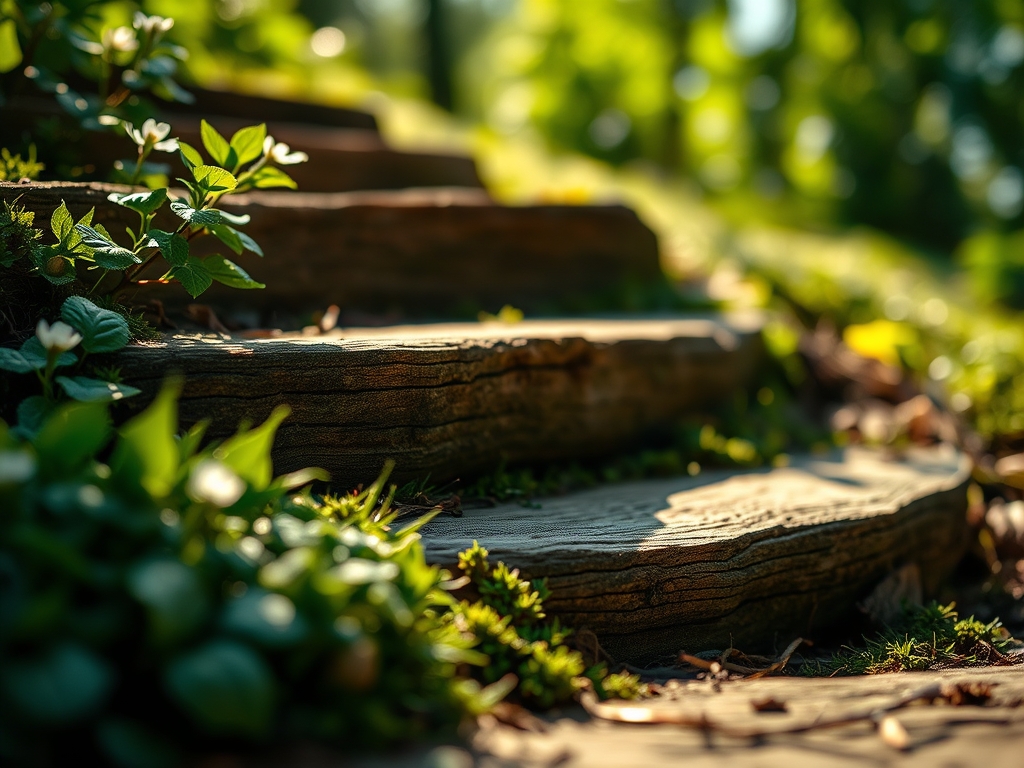
Sowing the Foundation
Excavate the path to a depth of 6 inches. This depth removes the majority of weed seeds and the most active layer of the seed bank. Level the subsoil using a tamper to create a uniform surface.
Pro-Tip: Compacting the subsoil prevents subsidence. By firming the base, you limit the air pockets that would otherwise collapse and disrupt the capillary action of water moving through the soil profile.
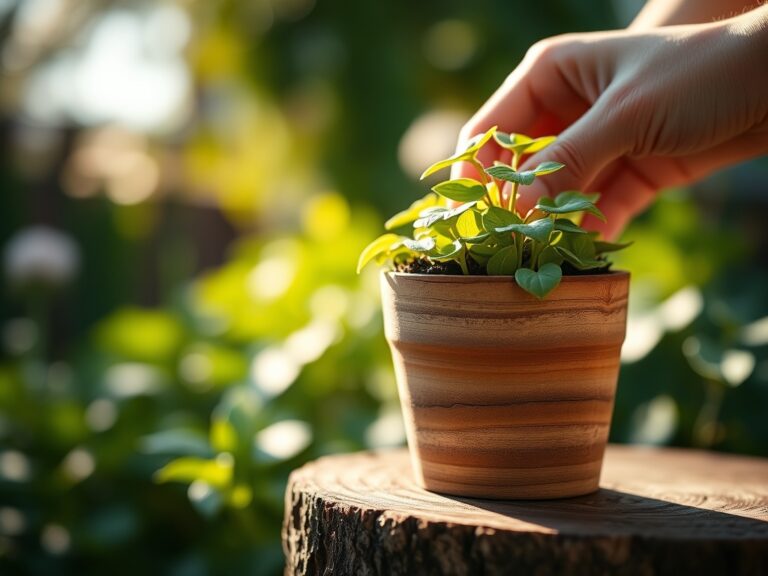
Transplanting Edging Plants
Install structural edging to prevent the migration of path materials into the growing beds. If using living edges like boxwood or creeping thyme, ensure the root ball is placed at the same depth as it was in the nursery container to avoid stem rot.
Pro-Tip: Use a mycorrhizal inoculant during transplanting. This encourages mycorrhizal symbiosis, extending the root system's reach and improving the plant's ability to uptake phosphorus and water.
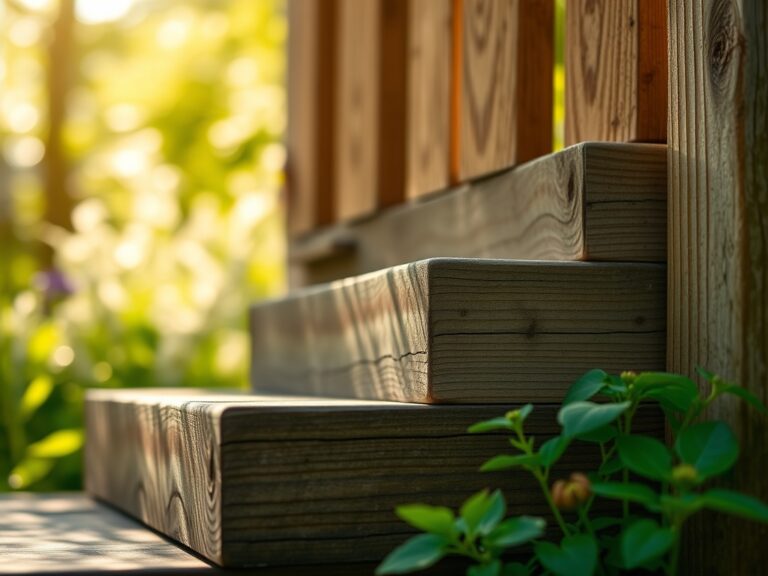
Establishing the Surface
Infill the excavated area with 4 inches of coarse aggregate followed by 2 inches of your chosen finish material. Ensure a slight crown in the center of the path to facilitate water runoff toward the garden beds.
Pro-Tip: Maintaining a crown utilizes gravitational potential energy to move water away from the path center. This prevents puddling that can lead to localized hypoxia in the roots of adjacent plants.
The Clinic:
Physiological disorders often manifest at the intersection of hardscaping and biology.
Symptom: Yellowing of older leaves with green veins (Interveinal Chlorosis).
Solution: This often indicates a Magnesium deficiency or a pH imbalance caused by leaching from concrete path binders. Test soil pH; if it exceeds 7.5, apply elemental sulfur to lower the alkalinity.
Symptom: Stunted growth and purple tint on foliage.
Solution: This suggests Phosphorus deficiency, often caused by cold soil temperatures or compaction near the path edge. Use a soil moisture meter to ensure the area is not waterlogged, which inhibits phosphorus uptake.
Symptom: Marginal leaf burn on new growth.
Solution: This is frequently a sign of Calcium deficiency or erratic watering. Ensure the path drainage is not diverting too much water into a concentrated area, which flushes out soluble calcium ions.
Fix-It for Nitrogen Chlorosis: If plants along the path show uniform pale green or yellow leaves, apply a quick-release nitrogen fertilizer with a 20-0-0 ratio. Nitrogen is highly mobile; the physical disruption of path building can often cause temporary nitrogen immobilization as soil microbes break down organic matter.
Maintenance:
A functional path requires consistent monitoring of the surrounding ecosystem. Use a soil moisture meter to verify that the path is not creating a rain shadow or a collection point for excess moisture. Plants at the path edge typically require 1.5 inches of water per week delivered directly at the drip line to compensate for the heat radiating from stone or brick surfaces.
Keep a hori-hori knife sharpened for removing deep-rooted perennial weeds that emerge in the path seams. Use bypass pruners to maintain a clear "air corridor" above the path; this improves airflow and reduces the humidity that fosters fungal pathogens. Annually check for "heaving" caused by freeze-thaw cycles and reset any loose stones to maintain a level walking surface.
The Yield:
When the path serves an edible garden, harvesting must be precise. For leafy greens, harvest in the early morning when turgor pressure is at its peak. This ensures the cells are fully hydrated, providing a crisp texture. Use a sharp blade to make clean cuts, which allows the plant to seal the wound quickly and prevents senescence of the remaining tissue.
For herbs like rosemary or thyme growing along the path, harvest no more than one-third of the plant at a time. This prevents the plant from entering a stress response. Immediately place harvested material in a cool, shaded area to maintain "day-one" freshness and preserve volatile oils.
FAQ:
How deep should I dig for a gravel path?
Excavate to a depth of 4 to 6 inches. This allows for a 3-inch base of compacted crushed stone and a 2-inch top layer of decorative gravel while remaining below the primary weed seed germination zone.
Will a stone path affect my soil pH?
Limestone and concrete pavers can leach calcium carbonate, raising the pH of the surrounding rhizosphere. Use a soil test kit annually to monitor for alkalinity and apply sulfur if the pH exceeds 7.2.
How do I prevent weeds without chemicals?
Install a heavy-duty geotextile fabric between the subsoil and the gravel base. This physical barrier prevents weed seeds in the soil from reaching sunlight while allowing water to permeate, maintaining the soil's hydraulic conductivity.
Can I build a path over tree roots?
Avoid cutting roots larger than 2 inches in diameter to prevent structural instability and pathogens. Instead, use a "floating" path design with a thick layer of wood chips to protect the root flare from compaction.