6 Steps to Build a Custom Professional Garden Bridge
The smell of damp earth and the high turgor pressure of a healthy plant indicate a thriving ecosystem. A bridge is not merely a path; it is a structural necessity for managing foot traffic without compacting the rhizosphere. Soil compaction reduces pore space and limits oxygen availability to roots. By following these specific steps for building a garden bridge, you protect the soil structure while creating a functional transition over swales or water features. Proper installation ensures that the surrounding flora remains undisturbed during seasonal shifts.
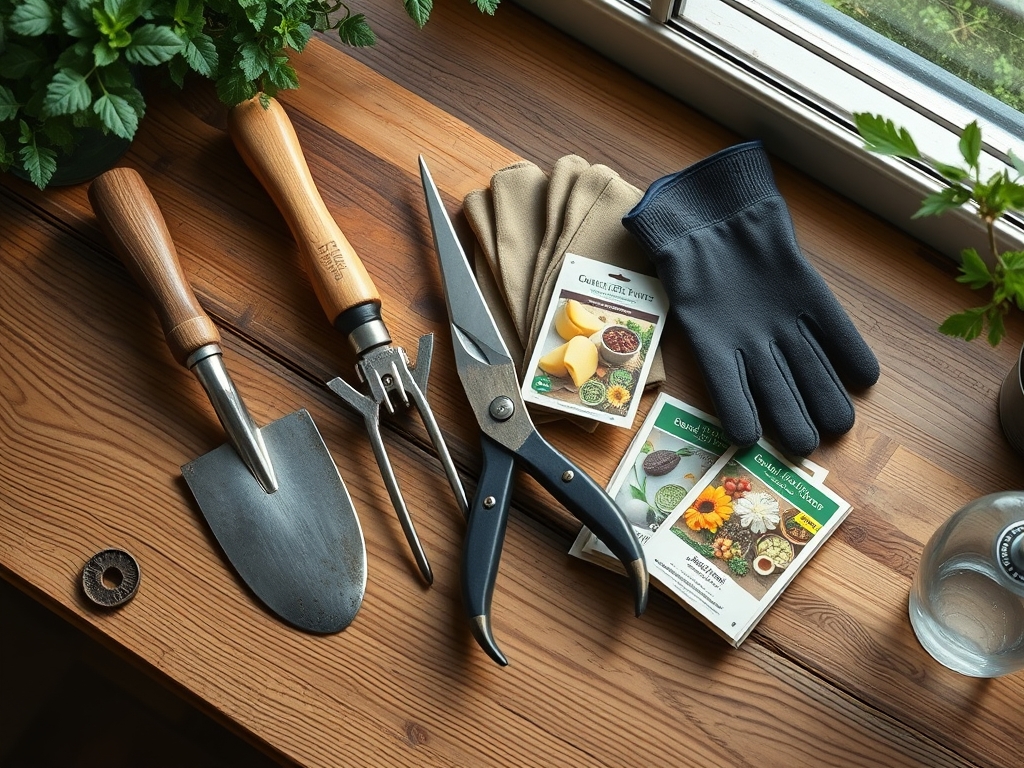
Materials:
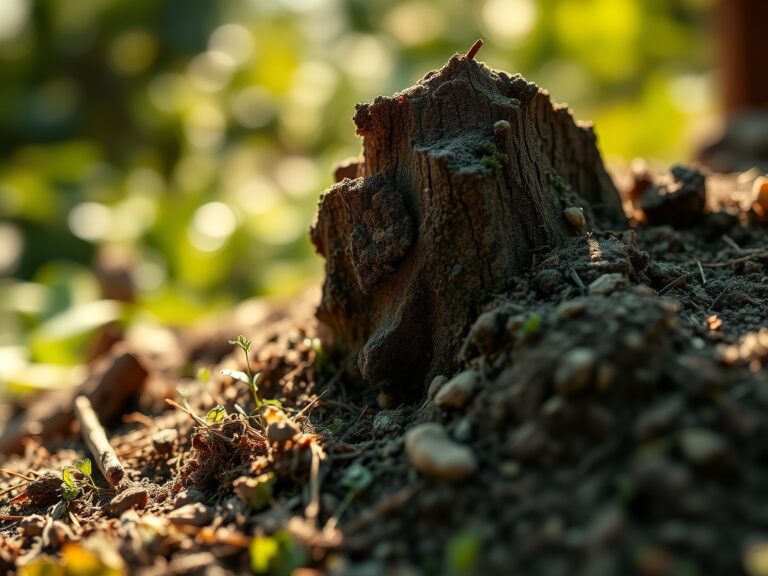
The foundation of a bridge requires a stable substrate. Before construction, test the soil pH to ensure it falls between **6.0 and 7.0** for most ornamental landscapes. If the bridge spans a planting bed, the soil should be a **friable loam** with a high Cation Exchange Capacity (CEC). This allows for better nutrient retention of essential minerals.
Incorporate a balanced organic fertilizer with an NPK ratio of 5-10-5 into the surrounding soil. This lower nitrogen content prevents excessive vegetative growth that could interfere with the bridge structure. The physical texture of the soil must be granular enough to allow drainage but firm enough to support concrete footings. Avoid heavy clays that expand and contract, as this movement will eventually shear the structural bolts of the bridge.
Timing:
Timing depends on your USDA Hardiness Zone. In Zones 5 through 7, construction should occur after the final spring frost to avoid working with frozen, anaerobic soil. The "Biological Clock" of the garden dictates that structural changes happen before the transition from the vegetative stage to the reproductive stage in late spring.
Installing a bridge during the dormant season (late winter) is ideal for minimizing root disturbance. If you wait until the period of high auxin production in early summer, the surrounding plants will be more sensitive to root pruning. Aim for a window when the soil temperature is consistently above 45 degrees Fahrenheit but before the peak evapotranspiration rates of mid-July.
Phases:

Sowing the Perimeter
Before the bridge is set, sow low-growing groundcovers like Thymus serpyllum around the planned footing sites. These plants establish a root matrix that prevents erosion. Ensure the seeds are sown at a depth of 1/8 inch to maintain light exposure for germination.
Pro-Tip: Utilize the principle of mycorrhizal symbiosis. Inoculate the soil with beneficial fungi to extend the root reach of perimeter plants. This creates a biological anchor that stabilizes the soil around the bridge footings.
Transplanting and Anchoring
When placing the main support beams, you must often move existing perennials. Use a hori-hori knife to cut a clean circle around the root ball to preserve the fine root hairs. Transplant these specimens into a temporary holding area with a pH of 6.5.
Pro-Tip: Practice auxin suppression by pruning the tips of the transplanted shrubs. This redirects the plant's energy from upward growth to root establishment, ensuring the plant survives the stress of being moved near the construction site.
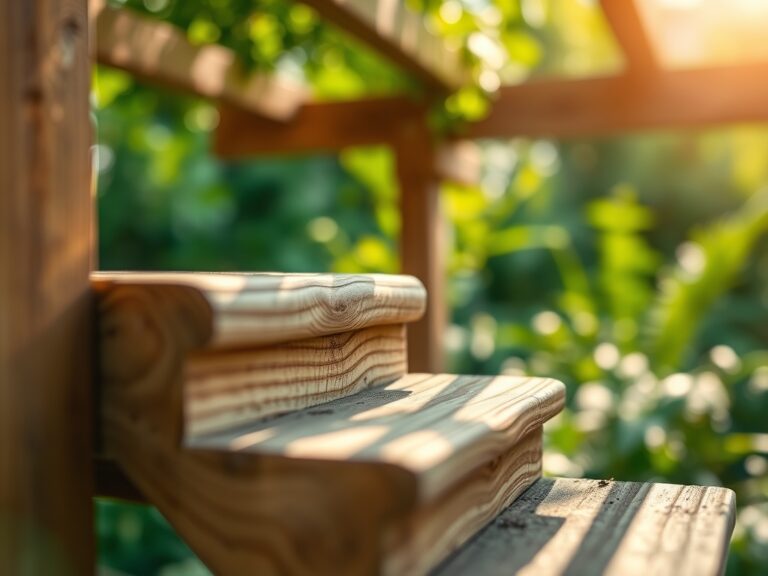
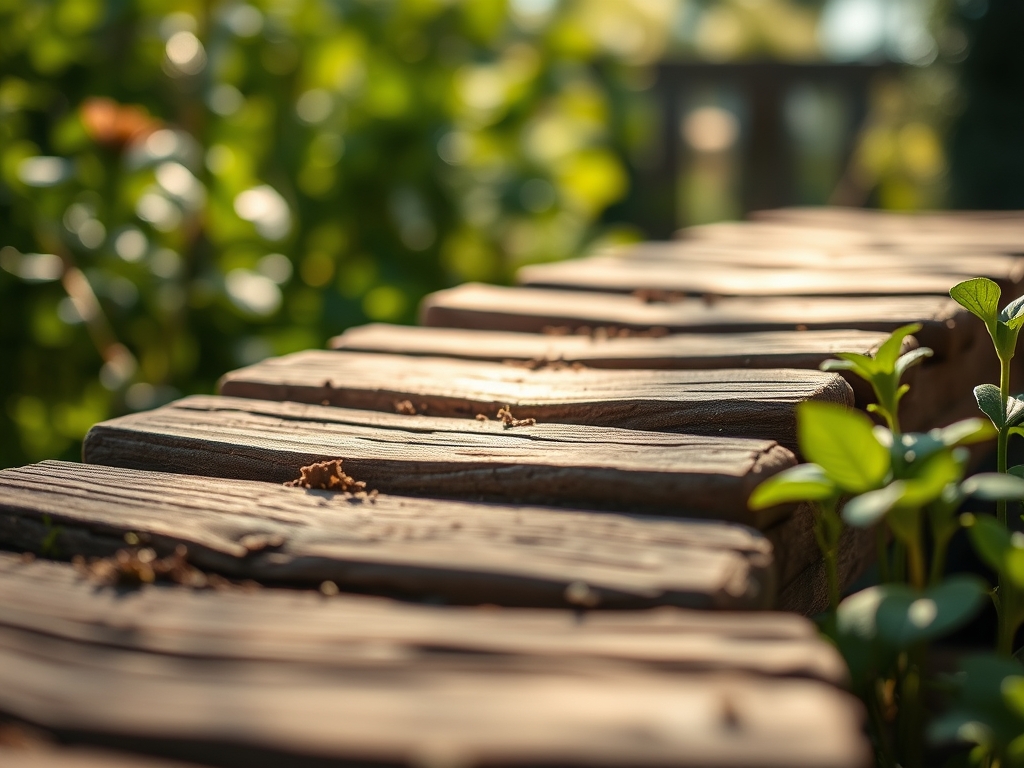
Establishing the Structure
Secure the bridge to pressure-treated 4×4 posts set 24 inches deep in the ground. Once the bridge is level, backfill the area with a mix of 70% native soil and 30% organic compost. This ratio maintains the existing soil profile while providing a nutrient boost for recovery.
Pro-Tip: Observe phototropism when positioning handrails. High rails can cast shadows that trigger "etiolation" (leggy growth) in sun-loving plants underneath. Design the slats to allow at least 50% light penetration to the ground below.
The Clinic:
Physiological disorders often manifest in plants adjacent to new structures due to changes in light and water runoff.
- Symptom: Yellowing of lower leaves with green veins.
- Solution: This is likely Magnesium deficiency. Apply Epsom salts at a rate of 1 tablespoon per gallon of water to the root zone.
- Symptom: Wilting despite moist soil.
- Solution: Root suffocation from soil compaction during construction. Use a garden fork to aerate the soil 6 inches deep around the bridge footings.
- Symptom: Nitrogen Chlorosis (uniform pale green/yellow leaves).
- Fix-It: Apply a quick-release high-nitrogen fertilizer (NPK 20-0-0) to restore chlorophyll production and leaf turgor.
Maintenance:
A bridge alters the microclimate. The area underneath will receive less rainfall, requiring manual irrigation. Use a soil moisture meter to ensure the ground stays at a consistent 25% to 30% moisture content.
Provide 1.5 inches of water per week at the drip line of plants bordering the bridge. Use bypass pruners to remove any branches that make contact with the wood; constant friction can create wounds that invite fungal pathogens. Check the structural integrity of the wood every autumn, as decaying timber can alter the soil chemistry by leaching tannins and lowering the local pH.
The Yield:
If your bridge spans a "kitchen garden" or cutting garden, timing the harvest is critical. For most herbs and leafy greens, harvest in the early morning when turgor pressure is at its peak. This ensures the cells are fully hydrated, providing a crisp texture.
Use a sharp hori-hori knife for clean cuts that heal quickly. Post-harvest, immediately submerge the stems in 40-degree Fahrenheit water to slow down the rate of respiration and senescence. This process preserves the "day-one" freshness and nutritional density of the crop.
FAQ:
How deep should bridge footings be?
Footings must reach below the frost line, typically 18 to 24 inches deep. This prevents "frost heave," which occurs when freezing water in the soil expands and displaces the structure, potentially damaging the surrounding root systems and rhizosphere.
What wood is best for garden bridges?
Cedar and Redwood are preferred for their natural resistance to decay and fungal pathogens. These woods contain high concentrations of tannins, which act as a biological defense mechanism against rot, ensuring the bridge lasts for decades in high-moisture environments.
How do I prevent soil erosion under the bridge?
Install a layer of geotextile fabric topped with 3 inches of river rock or wood chips. This breaks the impact of water runoff from the bridge deck, preventing the displacement of topsoil and protecting the delicate surface roots of nearby plants.
Will a bridge affect my soil pH?
Pressure-treated lumber can occasionally leach alkaline salts, slightly raising the pH. Monitor the area with a digital pH probe annually. If the pH rises above 7.5, incorporate elemental sulfur to return the soil to a slightly acidic state.