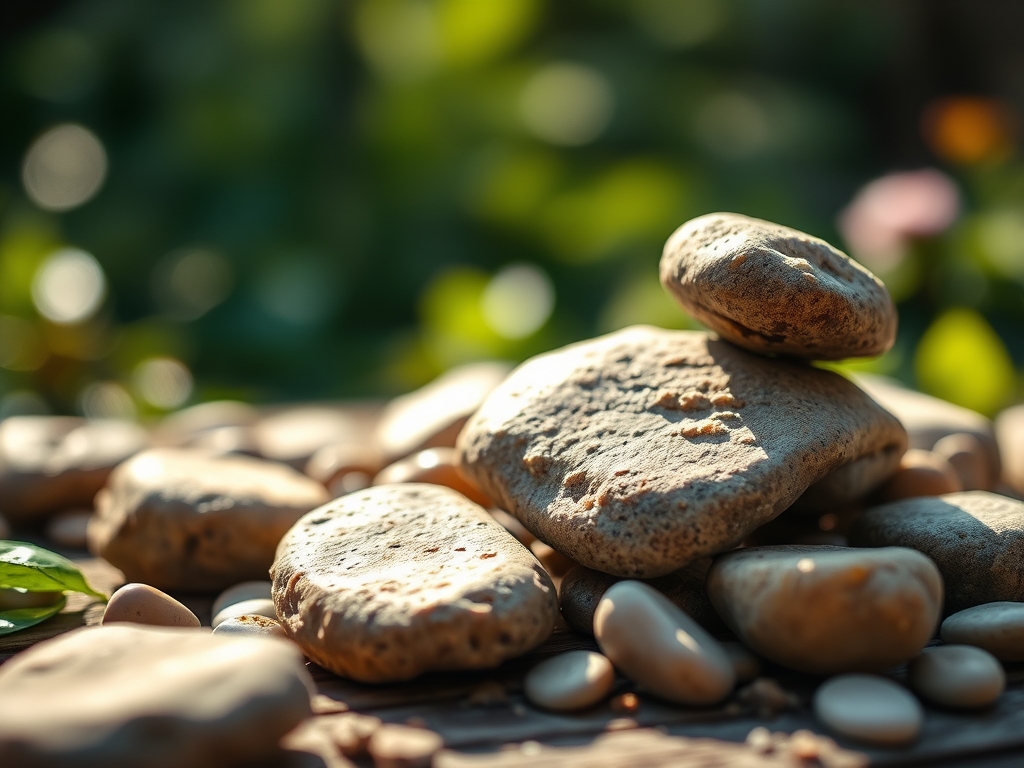
9 Best Natural Stones for Professional Landscape Design
The scent of damp, mineralized earth rises as the spade cuts through the root zone, revealing a healthy rhizosphere teeming with microbial activity. A plant with high turgor pressure stands resilient against the wind; its cellular walls are reinforced by calcium and silica uptake from the surrounding substrate. Achieving this level of structural integrity in a garden requires more than just biological health. It demands a skeletal framework that manages heat flux and drainage. Selecting the best stones for professional design is a technical necessity for the master horticulturist. These materials do not merely provide aesthetic value; they function as thermal sinks and drainage regulators that influence the microclimate of the soil. When stones are placed correctly, they stabilize soil temperatures and prevent the rapid evaporation of moisture from the top three inches of the profile. This guide examines the geological and chemical properties of the nine most effective stones for professional landscapes, ensuring your design supports the long term physiological needs of the plant material.
Materials:
Professional stone selection must account for the chemical interaction between the mineral and the soil pH. Limestones and travertines are calcium carbonate based; they can gradually raise the pH of the surrounding soil to **7.5 or 8.0**, which may cause iron chlorosis in acid loving species. Conversely, granites and slates are chemically inert and suitable for a **pH range of 5.5 to 6.5**.
The ideal substrate for integrating stone is a friable loam with a Cation Exchange Capacity (CEC) of 15 to 25 meq/100g. This allows for adequate nutrient retention while the stone provides the necessary structural compression. When installing heavy flagstone or boulders, the base must consist of crushed 3/4 inch minus aggregate compacted to a 95 percent Proctor density. For planting pockets between stones, use a mix with an NPK ratio of 10-10-10 for general establishment, or a 5-10-10 ratio for flowering perennials to prevent excessive vegetative growth at the expense of floral development.
Timing:
Hardscape installation should occur during the dormant season, typically between the first hard frost and the spring thaw. In Hardiness Zones 4 through 7, this window prevents the compaction of active root systems. The biological clock of the garden dictates that structural work be completed before the transition from the vegetative stage to the reproductive stage in late spring.
Installing stone during the winter months allows the soil to settle through natural freeze-thaw cycles before the photoperiod triggers the spring flush of growth. If stones are placed during the active growing season, the physical weight can crush delicate root hairs, leading to a drop in turgor pressure and localized senescence. Aim for soil temperatures between 35 and 45 degrees Fahrenheit for heavy structural work to minimize biological disruption.
Phases:
Sowing
When sowing seeds or groundcovers between stone gaps, use a fine textured seed starting mix. Ensure the seed to soil contact is maximized by tamping the medium firmly against the stone edges. This prevents air pockets that desiccate emerging radicles.
Pro-Tip: Utilize the principle of thermal mass. Stones absorb solar radiation during the day and release it at night; this creates a localized warming effect that can accelerate seed germination by 5 to 10 days in early spring.
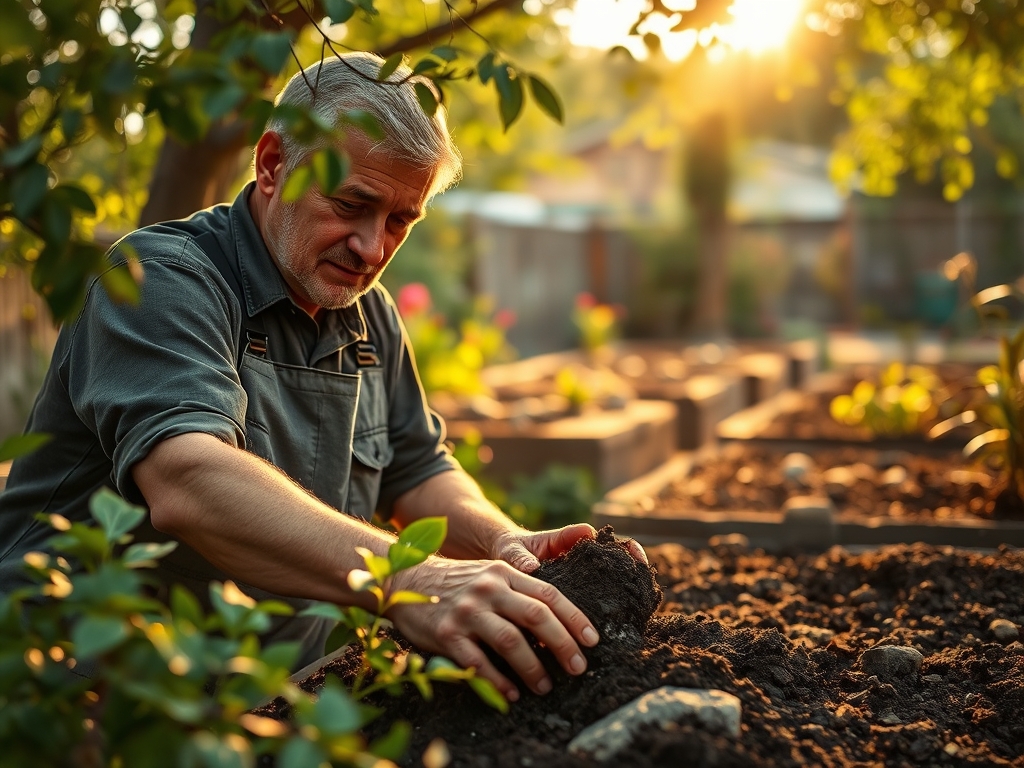
Transplanting
When placing plants adjacent to large boulders, excavate a hole twice the width of the root ball. Ensure the crown sits 0.5 inches above the stone line to prevent crown rot. Backfill with a blend of native soil and organic matter to maintain a consistent percolation rate.
Pro-Tip: Inoculate the transplant site with mycorrhizal fungi. This symbiotic relationship extends the root system's reach into the crevices beneath the stones, allowing the plant to access moisture reserves that are otherwise unavailable during drought stress.
Establishing
The establishment phase requires consistent monitoring of the soil moisture at the stone interface. Stones can reflect heat, increasing the transpiration rate of nearby foliage. Use a soil moisture meter to ensure the root zone remains at 60 to 70 percent of field capacity.
Pro-Tip: Avoid excessive nitrogen application during the first 90 days. High nitrogen levels can suppress auxin production in the roots, leading to a weak foundation. Focus on phosphorus and potassium to encourage lignification and sturdy stem development.
The Clinic:
Physiological disorders often manifest when stone placement interferes with root respiration or drainage.
Symptom: Interveinal chlorosis (yellowing leaves with green veins) in acid loving plants.
Solution: This is often caused by lime leaching from limestone pavers. Apply elemental sulfur or chelated iron to lower the pH to 6.0.
Symptom: Marginal leaf burn on plants near light colored stones.
Solution: This is thermal scorch from reflected UV radiation. Increase irrigation frequency to maintain leaf turgor or provide temporary shade during peak afternoon sun.
Symptom: Stunted growth and "wet feet" appearance.
Solution: Check for soil compaction beneath the stone. Use a hori-hori knife to aerate the soil around the perimeter of the stone and improve oxygen diffusion to the rhizosphere.
Fix-It for Nitrogen Chlorosis: If foliage appears pale green across the entire leaf, apply a water soluble 20-20-20 fertilizer at half strength. This provides an immediate nitrogen boost to restore chlorophyll synthesis.
Maintenance:
Precision maintenance is the hallmark of a professional landscape. Plants situated near stone require 1.5 inches of water per week delivered directly at the drip line. Because stone surfaces can reach temperatures 20 degrees higher than the surrounding air, evaporation rates are accelerated.
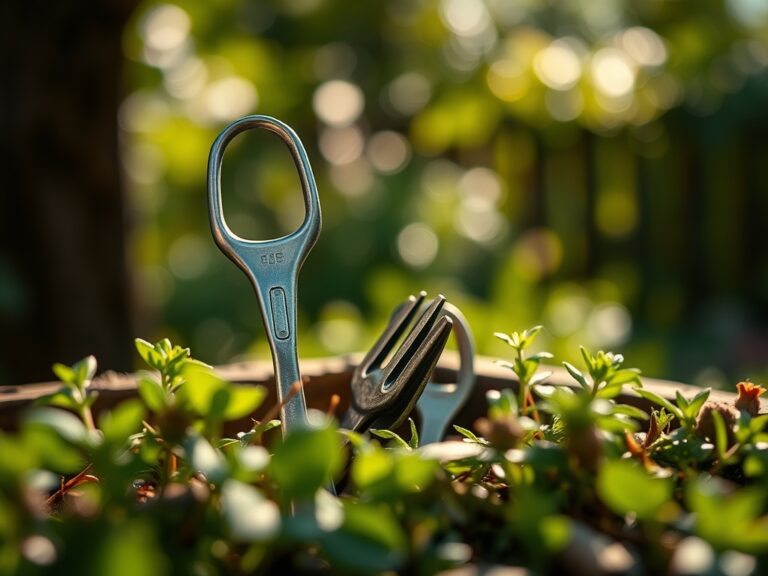
Use bypass pruners to maintain a 2 inch clearance between foliage and stone surfaces; this prevents fungal pathogens from jumping from the stone to the plant during rain events. Every spring, use a soil moisture meter to calibrate your irrigation system. If stones have shifted due to frost heave, reset them manually to prevent water from pooling against plant crowns. For weeding in tight stone crevices, a hori-hori knife is the superior tool for extracting the entire taproot without disturbing the stone setting.
The Yield:
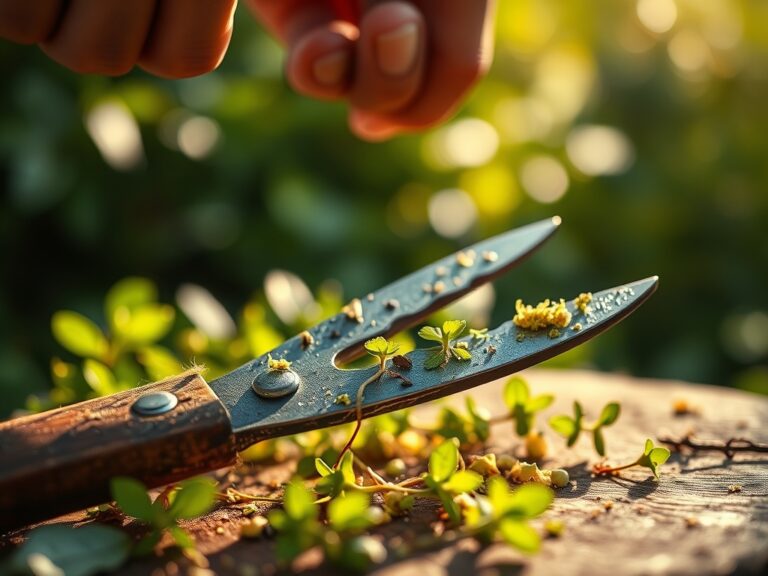
For landscapes featuring edible herbs or flowers tucked into stone walls, harvest timing is critical. Harvest leafy herbs in the early morning when turgor pressure is at its peak and essential oil concentration is highest. Use sharp snips to make a clean cut above a node to encourage branching.
For "day-one" freshness, immediately submerge the cut stems in 40 degree Fahrenheit water. This rapid cooling halts the metabolic process of senescence and preserves the cellular structure. If harvesting stonecrop or succulents for propagation, allow the cut end to callous for 48 hours in a dry, shaded area before placing it in a well draining substrate.
FAQ:
Which stones are best for acidic soil plants?
Granite, slate, and quartzite are chemically inert. They do not leach calcium carbonate into the soil, making them ideal for maintaining a pH of 5.0 to 6.0 required by species like azaleas or blueberries.
How do stones affect soil temperature?
Stones act as thermal batteries. They absorb heat during the day and radiate it back at night. This can raise the soil temperature by 3 to 5 degrees, extending the growing season for sensitive plants.
Can I put stone directly over tree roots?
No. Placing heavy stone over the critical root zone causes compaction and restricts oxygen exchange. Maintain a mulch buffer of at least 3 feet from the trunk to protect the tree's vascular system.
How do I prevent weeds between professional stone designs?
Use a polymeric sand or a high density crushed aggregate in the joints. This creates a physical barrier that prevents weed seeds from reaching the soil while still allowing for necessary moisture expansion.