9 Steps to Prepare a New Property Garden Pond Site
The scent of anaerobic decomposition and the metallic tang of mineral rich silt define the initial stages of aquatic site development. Success in water gardening is not found in aesthetics but in the management of hydrostatic pressure and the chemical stability of the surrounding rhizosphere. When considering how to prepare a garden for a pond, the primary objective is the stabilization of the soil horizon to prevent structural collapse or nutrient leaching. A pond is a closed biological system that demands a precise understanding of the local water table and soil compaction levels. Failure to assess the site through a hydrological lens results in poor turgor pressure in marginal plantings and chronic water clarity issues.
Establishing a permanent water feature requires more than excavation. It involves the intentional manipulation of the landscape to manage runoff and solar exposure. The site must be evaluated for its proximity to deciduous canopy cover to avoid excessive organic load from leaf litter, which triggers nitrogen spikes and subsequent oxygen depletion. Professional site preparation ensures that the transition between terrestrial and aquatic zones remains stable under the weight of several thousand gallons of water. This guide provides the technical framework for converting raw land into a balanced aquatic ecosystem.
Materials:

The surrounding soil must be a friable loam with a high Cation Exchange Capacity (CEC) to support marginal vegetation. For the terrestrial borders, aim for a soil pH between 6.2 and 7.0. The nutrient profile should be balanced with a slow release NPK ratio of 5-10-5 to encourage root development without forcing excessive soft vegetative growth that attracts sap sucking insects.
For the aquatic substrate, use calcined clay or heavy silty loam. Avoid standard potting soils containing peat or perlite, as these materials float and alter the water chemistry. The ideal substrate for aquatic pots is a low organic matter clay with a high mineral content. This prevents the leaching of phosphates into the water column, which would otherwise fuel opportunistic algae blooms. Ensure you have 45 mil EPDM liner and a non woven geotextile underlayment to protect against root penetration and sharp aggregate.
Timing:
The installation window is dictated by your USDA Hardiness Zone. In Zones 4 through 6, excavation should occur in late spring after the frost has left the ground and the soil moisture has reached a workable state. Attempting to dig in saturated, early spring soil leads to severe compaction and the destruction of soil structure. In Zones 7 through 10, autumn is the preferred window to allow the biological cycle of the pond to stabilize before the intense solar radiation of summer.
The biological clock of your pond plants is governed by the photoperiod. Most aquatic species require at least 6 hours of direct sunlight to move from the vegetative stage to the reproductive (flowering) stage. Ensure the site is prepared and planted when daytime water temperatures consistently reach 65 degrees Fahrenheit (18 degrees Celsius) to prevent transplant shock and thermal dormancy.
Phases:
Sowing and Site Leveling
The foundation of the pond must be perfectly level across the entire perimeter. Use a transit level or a laser level to ensure the pond edge does not vary by more than 0.25 inches. If the site is sloped, you must construct a retaining berm on the low side using compacted subsoil.
Pro-Tip: Proper leveling prevents the exposure of the liner to UV radiation. UV exposure causes photo-degradation, which breaks down the molecular bonds of the EPDM, leading to premature brittleness and leaks.
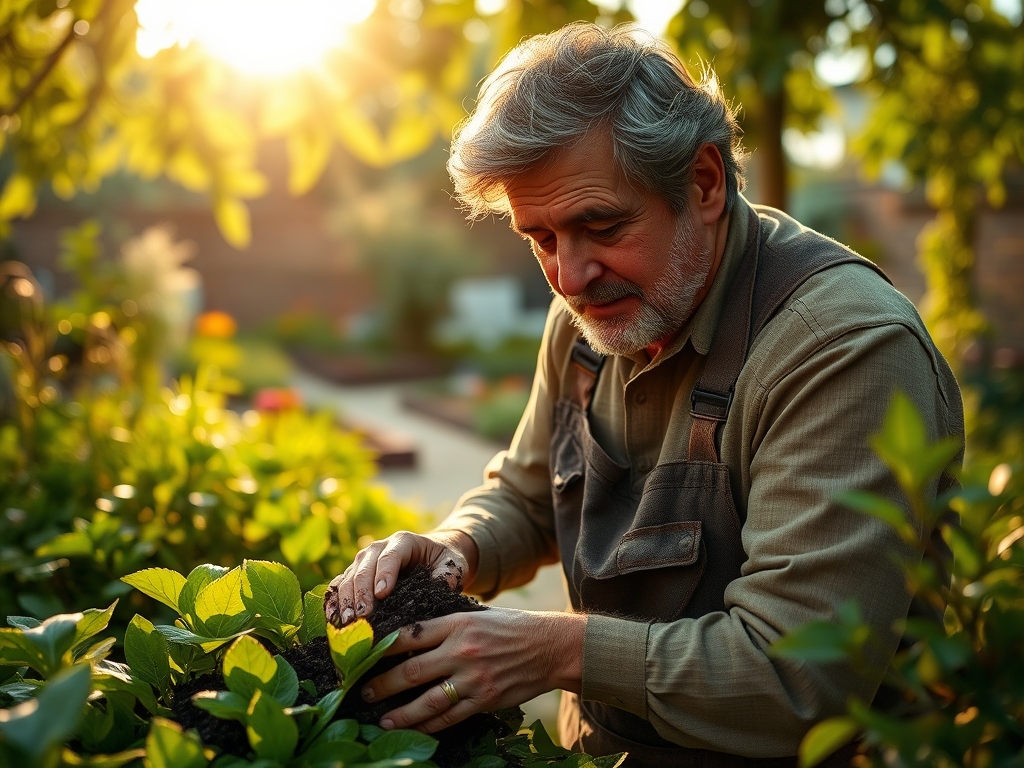
Transplanting Marginal Plants
When moving plants into the pond shelves, ensure the crown of the plant is at the correct depth relative to the species. Most marginals prefer 2 to 4 inches of water over the crown. Use a hori-hori knife to slice through any circling roots before placing the plant into its aquatic container.
Pro-Tip: Removing circling roots disrupts apical dominance and stimulates the production of lateral roots through auxin suppression. This allows the plant to establish more quickly in the new substrate.
Establishing the Bio-Filter
Once the pond is filled, you must introduce beneficial bacteria to start the nitrogen cycle. This process converts ammonia (from fish waste and decaying matter) into nitrites and then into nitrates, which are absorbed by the plants.
Pro-Tip: Mycorrhizal symbiosis is less common in fully submerged plants, but for marginals, the presence of beneficial fungi increases the surface area of the root system. This enhances the uptake of phosphorus and micronutrients in low oxygen environments.
The Clinic:
Physiological disorders in a new pond often stem from water chemistry imbalances or improper planting depth.
- Symptom: Interveinal chlorosis (yellowing leaves with green veins) in marginal plants.
- Solution: This indicates a micronutrient deficiency, often iron. Check the pH; if it is above 7.5, iron becomes chemically locked and unavailable to the plant.
- Symptom: Ephemeral wilting despite being in water.
- Solution: This is a sign of root rot or hypoxia. If the substrate is too dense or lacks oxygen, the roots cannot perform cellular respiration, leading to a loss of turgor pressure.
- Symptom: Excessive string algae growth.
- Solution: This is a Nitrogen or Phosphate spike. Increase the biomass of floating plants like water lilies to shade the water and compete for nutrients.
Fix-It Section: For Nitrogen chlorosis (overall paling of the plant), apply a controlled release aquatic fertilizer tablet with a 10-6-4 NPK ratio directly into the root zone. Avoid liquid fertilizers that disperse into the open water.
Maintenance:
A precision maintenance schedule is required for the first 12 months. Use a soil moisture meter to monitor the terrestrial borders; they should maintain a consistent moisture level without becoming waterlogged. Provide 1.5 inches of water per week at the drip line of any surrounding shrubs to ensure they do not compete with the pond for hydration.
Prune decaying lily pads and spent blooms using bypass pruners to prevent organic buildup on the pond floor. During the heat of summer, monitor dissolved oxygen levels. If water temperatures exceed 85 degrees Fahrenheit, increase aeration to prevent fish stress and plant senescence. Use your hori-hori knife to divide overgrown marginals every two to three years to maintain optimal airflow and light penetration within the plant stands.
The Yield:
If your pond includes edible aquatic plants like Watercress (Nasturtium officinale) or Lotus (Nelumbo nucifera), harvest timing is critical. Harvest Watercress before the plant reaches the flowering stage to avoid a bitter flavor profile. For Lotus tubers, wait until the plant has entered winter dormancy and the foliage has completely turned brown.
To maintain "day-one" freshness for harvested aquatic greens, submerge the stems in 40 degree Fahrenheit water immediately after cutting. This rapid cooling slows the metabolic rate and prevents the loss of moisture through transpiration, ensuring the cellular structure remains crisp.
FAQ:
How deep should I dig my garden pond?
For temperate climates, a minimum depth of 24 to 36 inches is required. This provides a thermal refuge for fish and prevents the entire water column from freezing during winter or overheating during peak summer months.
What is the best liner for a garden pond?
40 or 45 mil EPDM rubber is the professional standard. It is highly flexible, UV resistant, and fish safe. Avoid thin PVC liners, as they become brittle and crack within a few seasons of exposure.
How do I stop my pond from leaking?
Ensure the perimeter is level and the liner is protected by a geotextile underlayment. If a leak occurs, check the "low spots" around the edge where water may be escaping over the liner due to soil settling.
Can I use tap water to fill my pond?
Yes, but you must use a dechlorinator to neutralize chlorine and chloramines. These chemicals are toxic to fish and beneficial nitrifying bacteria. Allow the water to circulate for 48 hours before adding biological life.