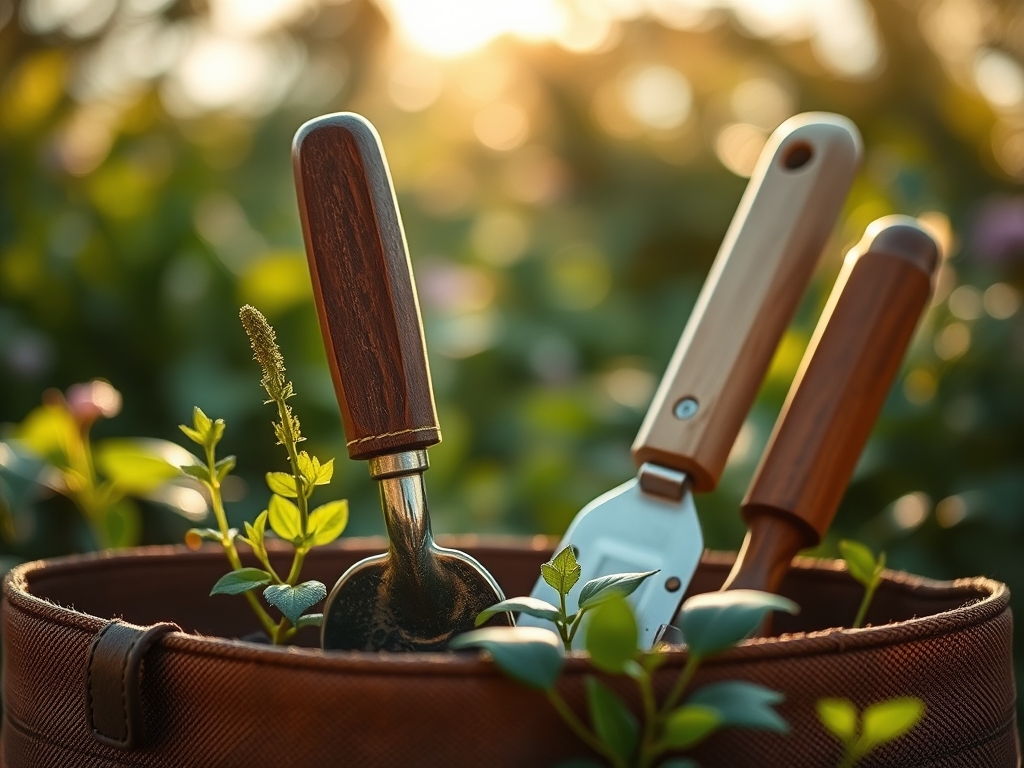
7 Best Large-Capacity Tool Bags for Serious Maintenance
The smell of damp earth and the iron tang of wet steel define a productive morning in the field. Maintaining high turgor pressure in a specimen requires immediate action when the dew point hits; there is no time to scavenge for misplaced shears. Professional management of a landscape demands the best tool bags for garden maintenance to ensure that every bypass pruner and soil probe is within reach. A disorganized kit leads to delayed pruning and jagged cuts that invite pathogens into the vascular system. Efficiency in the field is a biological necessity; the faster a wound is sealed, the lower the risk of systemic infection.
Materials:
Success starts with the substrate. A high-capacity tool bag must house the components for a **friable loam** consisting of 40 percent sand, 40 percent silt, and 20 percent clay. This texture ensures a high Cation Exchange Capacity (CEC), allowing the soil to hold essential nutrients like ammonium and potassium. When preparing your kit, include soil amendments to maintain a **pH between 6.2 and 6.8**.
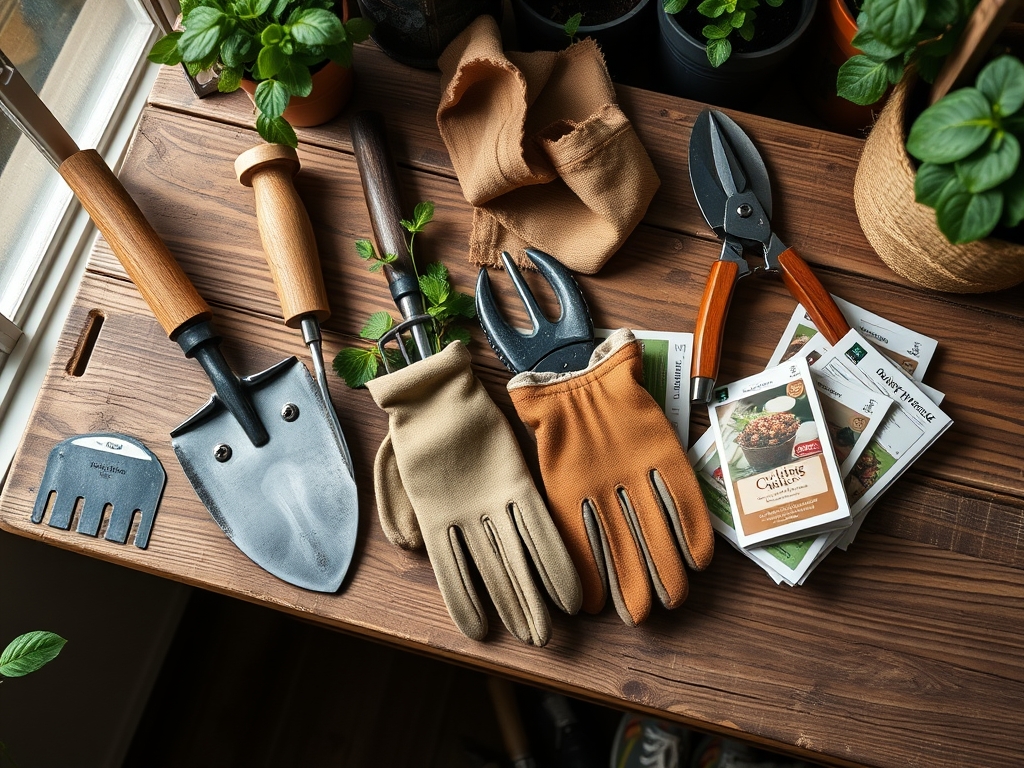
For vegetative growth, carry a balanced NPK ratio of 10-10-10. As plants transition to reproductive stages, switch to a 5-10-10 formula to prioritize phosphorus for root development and flower induction. Your bag must be constructed of heavy-duty 600D polyester to withstand the abrasive nature of perlite and pumice. It must also have a reinforced waterproof base to prevent moisture wicking from the damp rhizosphere when set on the ground.
Timing:
Hardiness Zones 4 through 8 require strict adherence to the frost-date window. Professional maintenance begins exactly two weeks before the last predicted frost for dormant pruning. This timing aligns with the biological clock of the plant; as temperatures rise above 50 degrees Fahrenheit, sap flow increases.
The transition from vegetative to reproductive stages is governed by the photoperiod. Short-day plants require less than 12 hours of light to initiate flowering, while long-day plants need more than 14 hours. Your maintenance schedule must account for these light requirements to avoid accidental pruning of developing buds. Large-capacity bags allow you to carry the specific gear needed for each window, from heavy loppers in winter to precision snips in the height of the summer growth surge.
Phases:
Sowing
Direct sowing requires a consistent seedbed temperature of 65 to 75 degrees Fahrenheit for optimal germination. Use a soil thermometer from your bag to verify the temperature at a 2-inch depth. Ensure the seeds are placed at a depth of three times their diameter to prevent desiccation.
Pro-Tip: Maintain consistent moisture to trigger imbibition. This is the biological process where the seed coat absorbs water, activating enzymes that begin the metabolic process of growth.
Transplanting
When moving a specimen, minimize the time the root ball is exposed to air to prevent the root hairs from drying out. Dig a hole twice as wide as the root ball but no deeper. This encourages lateral root expansion into the surrounding native soil.
Pro-Tip: Inoculate the planting hole with mycorrhizal fungi. This symbiotic relationship extends the root system's reach, increasing the plant's ability to uptake phosphorus and water through an expanded fungal network.
Establishing
The first six weeks are critical for establishment. Apply a 2-inch layer of organic mulch to regulate soil temperature and suppress weed competition. Monitor for signs of transplant shock, such as wilting despite adequate soil moisture.
Pro-Tip: Avoid heavy nitrogen fertilization during this phase to prevent excessive top growth. You want to encourage auxin suppression in the apical meristem to favor root development over foliage height.
The Clinic:
Physiological disorders often mimic disease but are caused by environmental stress or nutrient imbalances.
- Symptom: Interveinal chlorosis on young leaves.
- Solution: This indicates an Iron deficiency, often caused by a pH above 7.0. Apply chelated iron and adjust soil acidity with elemental sulfur.
- Symptom: Blossom end rot on fruit.
- Solution: This is a Calcium deficiency. Ensure consistent irrigation of 1.5 inches per week to facilitate calcium transport through the xylem.
- Symptom: Marginal leaf burn.
- Solution: Usually a sign of potassium deficiency or salt buildup. Flush the soil with 3 gallons of water per square foot to leach excess salts.
- Symptom: Stunted growth with purple undersides on leaves.
- Solution: Phosphorus deficiency. Apply a high-phosphate fertilizer with a 0-20-0 NPK ratio to the root zone.
Maintenance:
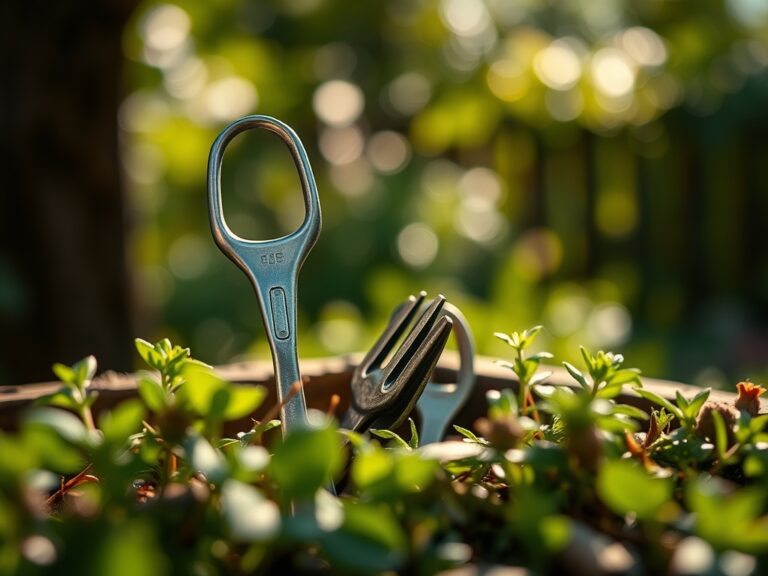
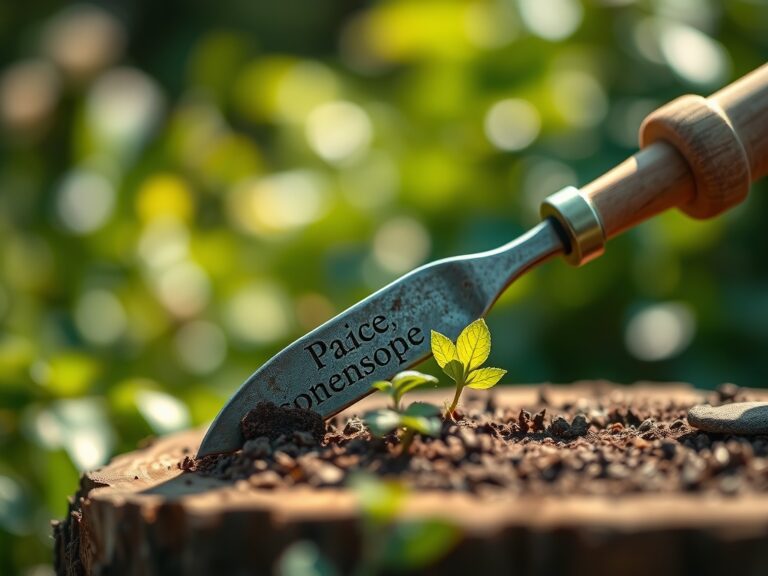
Precision maintenance requires a hori-hori knife for weeding and a pair of bypass pruners for clean vascular cuts. Use a soil moisture meter daily to ensure the root zone stays within the "moist but not saturated" range. Deliver exactly 1.5 inches of water per week at the drip line; this is the area directly under the outer circumference of the tree branches where the most active feeder roots reside.
Sanitize your tools with a 70 percent isopropyl alcohol solution between every plant to prevent the spread of soil-borne pathogens. Keep a sharpening stone in your tool bag; a dull blade crushes the cambium layer, slowing the healing process and increasing the risk of necrosis. Monitor for senescence in older leaves and remove them to redirect energy to new growth.
The Yield:
Harvesting is a race against cellular respiration. For leafy greens, harvest in the early morning when turgor pressure is at its peak. Use a sharp knife to make a clean cut, leaving at least 2 inches of the crown for "cut and come again" varieties.
For fruiting crops, monitor the brix level or color change. Once harvested, immediately move the produce to a cool, shaded area to remove field heat. This slows the metabolic rate and preserves the sugars and vitamins. For flowers, sear the stems in 110-degree Fahrenheit water to remove air bubbles from the xylem, ensuring maximum water uptake and longevity in the vase.
FAQ:
What is the best material for a garden tool bag?
Heavy-duty 600D polyester or canvas is ideal for durability. These materials resist punctures from sharp tools and provide the structural integrity needed to carry heavy loads of soil amendments and hand tools without sagging or tearing.
How do I prevent my tools from rusting in the bag?
Keep a small container of honed sand mixed with mineral oil in your bag. After each use, plunge your metal tools into the sand to clean the blades and apply a protective oil coating that prevents oxidation.
Why is bag capacity important for maintenance?
Large capacity allows you to carry essential diagnostic tools like pH meters, refractometers, and soil probes. Having these items on hand allows for immediate data collection and corrective action, which is vital for maintaining plant health.
Can I use a regular backpack for garden maintenance?
Standard backpacks lack the reinforced base and specialized pockets required to organize sharp tools. A dedicated garden bag prevents tools from clumping at the bottom, which protects both the equipment and the user from accidental injury.