8 Steps to Prepare a Tool Room for a Storage Trick Showcase
The smell of damp earth and the crisp snap of a leaf with high turgor pressure signal a garden in peak physiological condition. Maintaining this level of horticultural excellence requires more than just water and light; it demands an organized infrastructure. Learning how to prepare a garden for a tool storage trick ensures that your mechanical assets remain as healthy as your rhizosphere. Proper storage prevents the oxidation of high carbon steel and the spread of pathogenic spores across your botanical collection.
Materials:
A high performance garden begins with a **friable loam** substrate. This soil texture consists of roughly **40 percent sand, 40 percent silt, and 20 percent clay**. This specific balance optimizes the Cation Exchange Capacity (CEC), allowing the soil to hold onto essential nutrients like ammonium and potassium. For vegetative growth, maintain a soil pH between **6.2 and 6.8**.
Specific NPK ratios are required for different stages of the lifecycle. During the early vegetative phase, use a 10-5-5 NPK fertilizer to promote nitrogen uptake and chlorophyll production. As the plant transitions to the reproductive phase, shift to a 5-10-10 NPK ratio. This increase in phosphorus and potassium supports robust root development and flower initiation. Ensure your storage area contains a dry, sealed bin for these amendments to prevent moisture from causing nutrient leaching or clumping.
Timing:
The biological clock of a garden is dictated by the photoperiod and local frost dates. In USDA Hardiness Zones 5 through 7, the primary growing window exists between the last frost in May and the first frost in October. You must synchronize your storage preparation with the plant's transition from the vegetative stage to senescence.
As day length decreases, plants begin to relocate carbohydrates from the leaves to the root systems. This is the critical window for organizing your tool room. When soil temperatures drop below 50 degrees Fahrenheit, microbial activity slows down. This is the optimal time to clean and store heavy equipment. By aligning your maintenance schedule with the biological dormancy of your perennials, you ensure that tools are sharpened and sterilized before the spring surge in auxin production triggers new growth.
Phases:

Sowing and Preparation
Before the first seed hits the soil, the storage room must be calibrated. Clean all hand tools with a 10 percent bleach solution to eliminate fungal pathogens like Fusarium or Pythium. Organize your seed starting trays by light requirement.
Pro-Tip: Sterilizing tools prevents the mechanical transfer of pathogens through the vascular system. This is vital because a single contaminated blade can bypass the plant's natural dermal defenses and introduce systemic infections directly into the xylem.
Transplanting and Tool Calibration
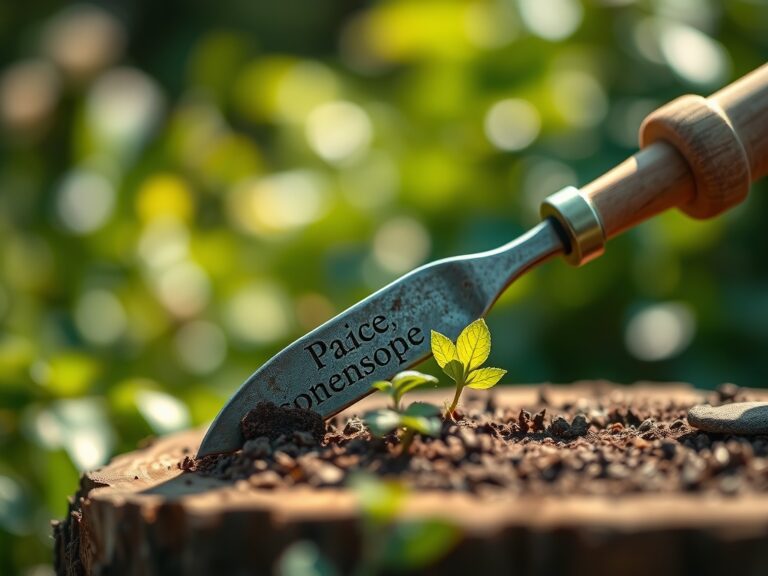
When moving seedlings into the field, use a hori-hori knife to minimize root disturbance. The storage trick involves wall-mounted magnetic strips that keep these blades dry and accessible. This prevents the formation of iron oxide, which can snag and tear delicate root tissues during the transplanting process.
Pro-Tip: Minimize transplant shock by maintaining high turgor pressure in the seedlings for 24 hours prior to the move. This ensures the cells remain rigid and less susceptible to mechanical damage during the transition to the outdoor soil matrix.
Establishing the Infrastructure
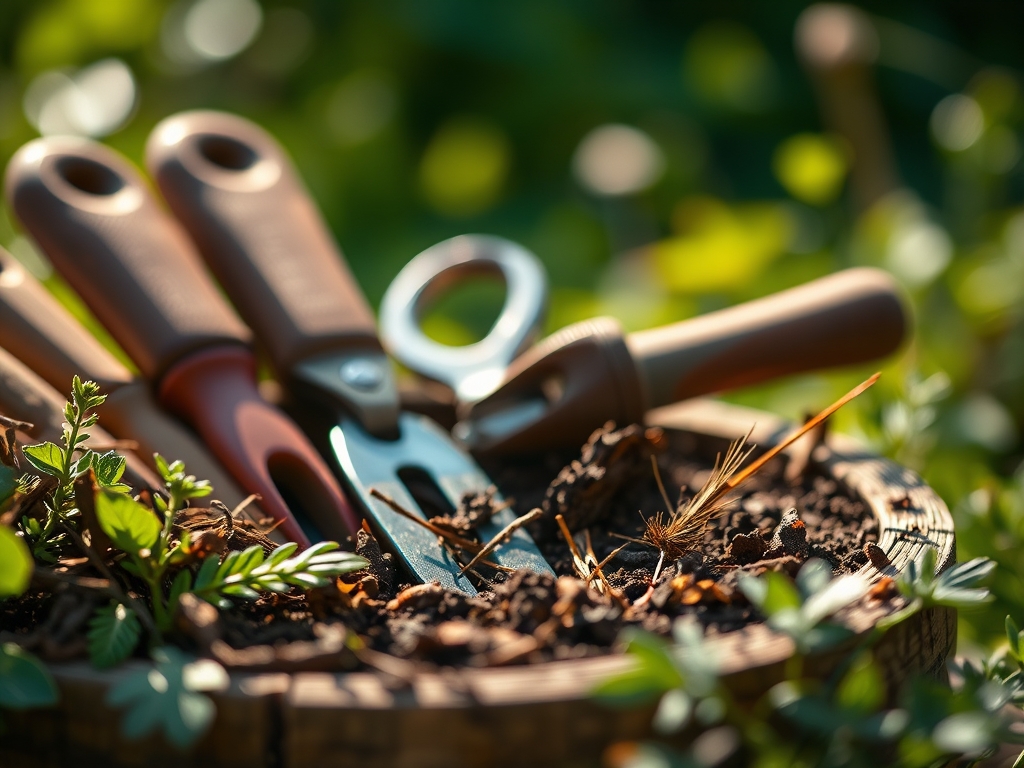
Once plants are established, the focus shifts to pruning and monitoring. Store your bypass pruners in a vertical rack to allow for maximum airflow around the pivot point. This prevents the buildup of sap and organic debris that can harbor bacteria.
Pro-Tip: Use sharp pruners to ensure a clean cut that facilitates rapid callusing. A clean wound allows the plant to engage its natural compartmentalization process, effectively sealing off the injury from opportunistic pests and decay.
The Clinic:
Physiological disorders often stem from environmental stress or nutrient imbalances rather than biotic pathogens.
-
Symptom: Interveinal chlorosis on young leaves.
-
Solution: This indicates an Iron deficiency, often caused by a pH above 7.0. Apply chelated iron and adjust soil pH to 6.5.
-
Symptom: Blossom end rot in Solanaceous crops.
-
Solution: This is a Calcium transport issue. Maintain consistent soil moisture at 1.5 inches per week to ensure calcium moves through the transpiration stream.
-
Symptom: Purpling of older foliage.
-
Solution: Phosphorus deficiency. This often occurs in cold soils below 55 degrees Fahrenheit where phosphorus becomes chemically bound and unavailable to the roots.
-
Fix-It for Nitrogen Chlorosis: If the entire leaf turns pale yellow, apply a quick release high nitrogen liquid fertilizer (20-0-0) to the root zone to restore chlorophyll density.
Maintenance:
Precision is the hallmark of a master horticulturist. Use a soil moisture meter daily to ensure the root zone remains within the "Goldilocks" zone of 25 to 50 percent depletion of available water. For most woody perennials and vegetables, apply 1.5 inches of water per week directly at the drip line. This encourages deep root penetration and prevents the humidity spikes that lead to foliar fungal outbreaks.
Keep your bypass pruners and hori-hori knife honed to a 20 degree angle. Dull tools crush the vascular bundles (xylem and phloem), leading to localized necrosis and slow recovery times. After every use, wipe blades with an oiled rag to create a hydrophobic barrier against moisture.
The Yield:
Harvesting is the culmination of the plant's reproductive cycle. For maximum "day-one" freshness, harvest during the early morning hours when cell turgor is at its peak. Use a sharp, sterilized knife to make a clean incision, leaving a small portion of the pedicel attached to prevent moisture loss from the fruit or vegetable.
Post-harvest handling is critical. Immediately move harvested material into a cool, shaded environment to reduce the rate of respiration. For leafy greens, a quick immersion in 40 degree Fahrenheit water can remove field heat and lock in crispness. This process slows the enzymatic breakdown of cellular structures, extending the shelf life of the produce.
FAQ:
How do I prevent tool rust in humid climates?
Apply a thin layer of mineral oil to all metal surfaces after cleaning. Store tools vertically on a pegboard to ensure maximum airflow. This prevents moisture from settling on the steel and initiating the oxidation process.
What is the best way to clean pruning shears?
Scrub blades with a stiff brush to remove sap. Submerge the metal in a solution of 70 percent isopropyl alcohol for 30 seconds. This kills pathogens like tobacco mosaic virus without corroding the high carbon steel components.
When should I sharpen my garden tools?
Sharpen tools every 10 to 15 hours of active use or at the start of each season. Use a diamond file to maintain a precise edge. A sharp blade ensures clean cuts that heal faster and resist infection.
Why is soil pH important for tool storage?
While pH affects plant nutrient uptake, it also dictates the cleanliness of your tools. Highly acidic or alkaline soils can accelerate the corrosion of metal implements. Always rinse soil off tools immediately after use to maintain the integrity of the metal.