9 Steps to Prepare Your Garden for a Tool Care Tutorial
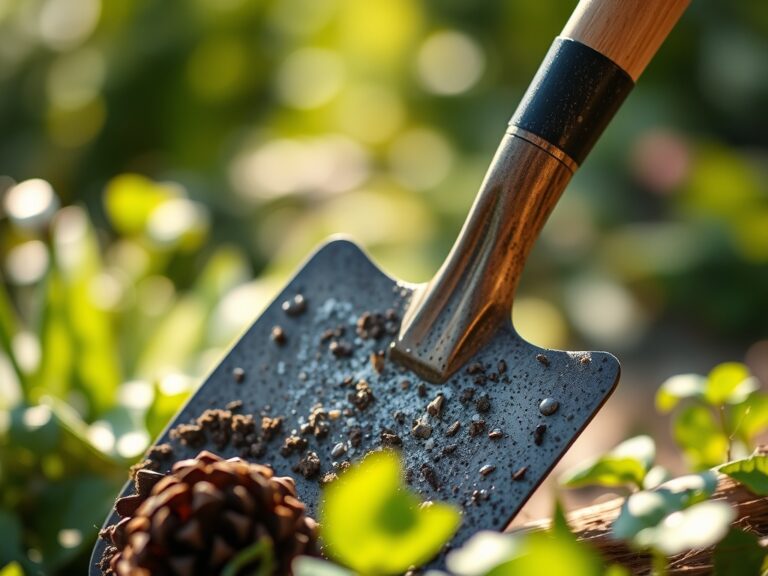
Damp earth releases geosmin as the spade breaks the surface; the scent signals a healthy microbial population in the rhizosphere. A leaf with high turgor pressure feels firm and cool to the touch, indicating that the vascular system is functioning at peak efficiency. To maintain this physiological health, your equipment must be immaculate. Understanding how to prepare a garden for a tool care trick requires more than a clean shed; it demands a workspace that respects the biological integrity of the plants. You must establish a zone where soil pathogens cannot transition from blade to stem. This preparation involves stabilizing the soil surface and ensuring the surrounding vegetation is in a state of low stress before any maintenance begins. By aligning your horticultural environment with your maintenance schedule, you prevent the spread of fungal spores and bacterial canker. This guide provides the technical framework to optimize your site for long term success and equipment longevity.
Materials:
The foundation of a high performance garden is a **friable loam** with a Cation Exchange Capacity (CEC) above **15 meq/100g**. This texture allows for adequate aeration while retaining essential cations like calcium and magnesium. Your soil pH should sit between **6.2 and 6.8** to ensure maximum nutrient bioavailability. For the preparation area, utilize a substrate with an NPK ratio of **5-10-10** for root development or a balanced **10-10-10** for general maintenance. High nitrogen levels (above 20) should be avoided during tool care preparation to prevent excessive succulent growth that is more susceptible to bruising from dull blades. Ensure you have a stable, non-porous surface such as a heavy duty rubber mat or a concrete pad to prevent soil contamination of your sharpening stones and lubricants.
Timing:
Success depends on the frost-free window of your specific USDA Hardiness Zone. In Zones 5 through 7, the primary window for garden preparation and tool maintenance occurs during the late dormant season, typically March or early April, before the first flush of spring growth. This aligns with the plant's biological clock; specifically, the transition from endodormancy to ecodormancy. Performing these tasks before the sap begins to flow reduces the risk of sap buildup on your bypass pruners. You must monitor the photoperiod; as day length exceeds 12 hours, plants move from vegetative conservation to rapid cellular expansion. Attempting to prepare a garden for a tool care trick during peak reproductive stages can lead to unnecessary plant stress and reduced yields due to accidental transpiration loss.
Phases:
Sowing
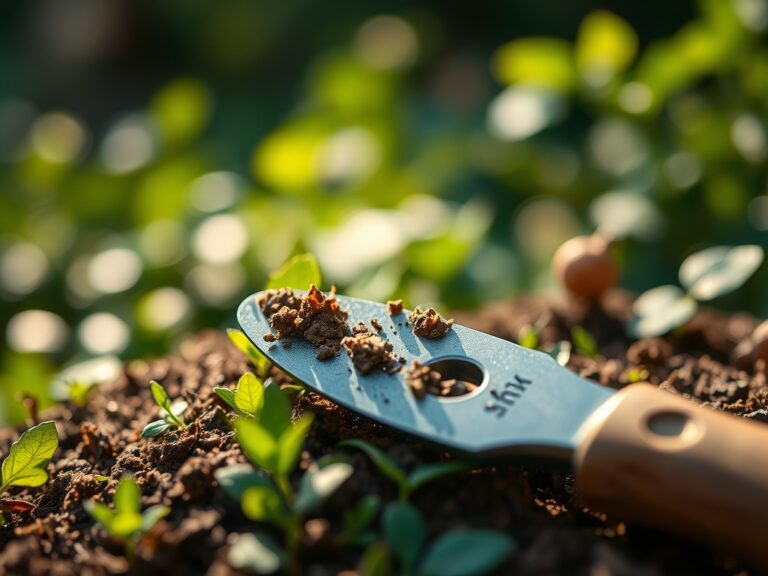
Begin by clearing a 10-foot by 10-foot perimeter of all debris and weeds. This reduces the population of overwintering pests that could colonize your tools during the care process. If you are planting a "tool care station" of lavender or rosemary to provide natural oils, sow seeds at a depth of 0.25 inches in a well-draining seed-starting mix.
Pro-Tip: Ensure consistent soil temperatures of 65 to 70 degrees Fahrenheit to trigger germination. This is a biological necessity because enzymes like amylase require specific thermal ranges to convert stored starches into energy for the emerging radical.
Transplanting
When moving established plants to create a workspace, maintain a root ball diameter at least 12 inches wide for every inch of trunk diameter. This preserves the delicate root hairs responsible for water uptake. Saturate the site with 2 gallons of water per plant immediately after relocation to eliminate air pockets in the soil.
Pro-Tip: Avoid disturbing the mycorrhizal symbiosis. These fungal networks extend the root system's reach; preserving the native soil around the root ball ensures the plant continues to receive phosphorus and micronutrients through this mutualistic relationship.
Establishing
Once the garden layout is set for your tool care routine, focus on structural integrity. Use a soil moisture meter to ensure the top 6 inches of soil remain consistently moist but not saturated. Apply a 2-inch layer of organic mulch to regulate soil temperature and suppress weed competition.
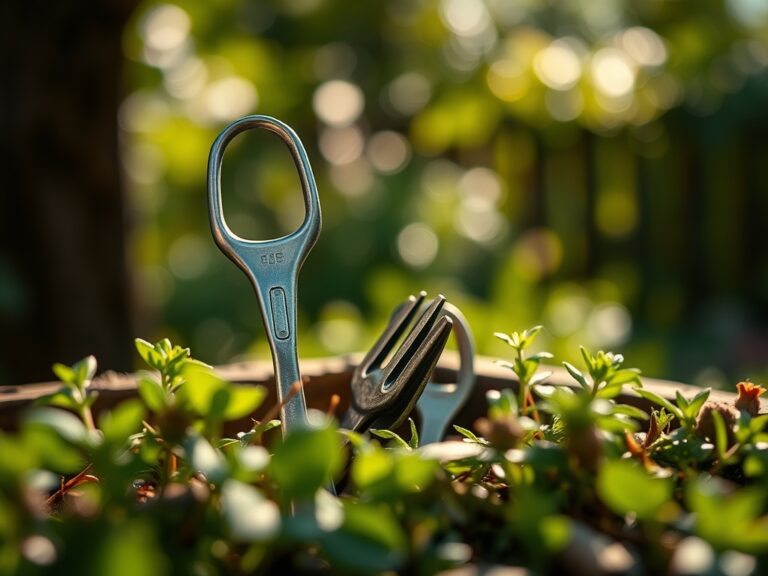
Pro-Tip: Prune any crossing branches using a hori-hori knife or sharp shears to encourage apical dominance. By removing lateral buds, you direct the plant's auxins to the terminal bud; this hormonal suppression results in a cleaner, more upright growth habit that stays clear of your workspace.
The Clinic:
Physiological disorders often mimic disease but are caused by environmental stressors or nutrient imbalances.
- Symptom: Interveinal chlorosis on young leaves.
- Solution: This indicates Iron deficiency, often caused by a pH above 7.0. Apply chelated iron and lower pH using elemental sulfur.
- Symptom: Blossom end rot in fruiting plants.
- Solution: This is a Calcium transport issue. Ensure consistent irrigation of 1.5 inches per week to maintain the transpiration stream; do not simply add more calcium to the soil.
- Symptom: Leaf margins appearing scorched or "burnt."
- Solution: Potassium deficiency. Apply a high-potash fertilizer (0-0-50) to improve the plant's ability to regulate stomatal opening and closing.
Fix-It: For general Nitrogen chlorosis (yellowing of older leaves), apply a quick-release nitrate fertilizer at a rate of 1 pound per 100 square feet. This restores chlorophyll production and increases photosynthetic capacity within 7 to 10 days.
Maintenance:
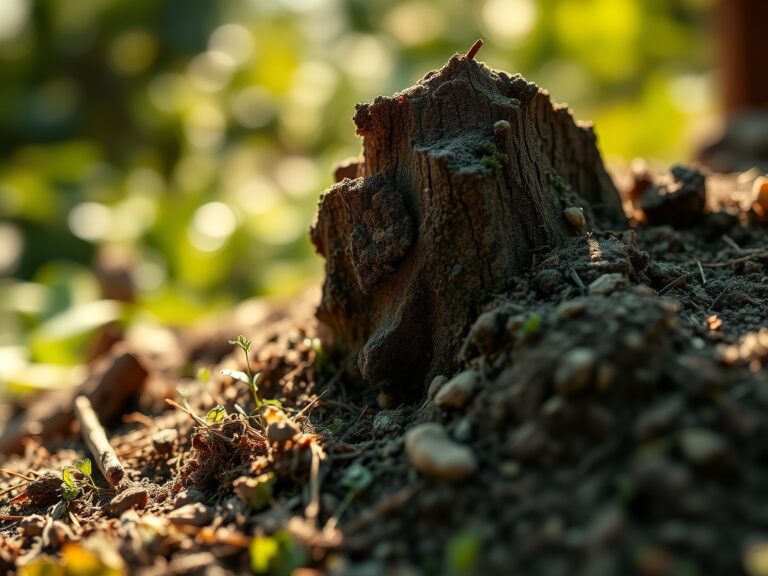
Precision is the hallmark of a professional garden. Use a soil moisture meter daily to verify that the root zone maintains a moisture level between 40% and 60%. Provide exactly 1.5 inches of water per week delivered at the drip line via drip irrigation to avoid wetting the foliage, which invites fungal pathogens. Keep your hori-hori knife and bypass pruners sharp; a jagged cut increases the surface area for infection and slows the compartmentalization of decay. Sterilize blades with 70% isopropyl alcohol between every plant to prevent the mechanical transmission of tobacco mosaic virus or verticillium wilt. Observe the root structure in the step-by-step photos below to identify healthy, white feeder roots versus brown, necrotic tissue.
The Yield:
When harvesting herbs or flowers near your tool station, timing is critical. Harvest during the "cool of the morning," specifically between 6:00 AM and 8:00 AM, when the plants have maximum turgidity and essential oil concentration. Use a sharp blade to make a clean, 45-degree angle cut just above a node. This technique maximizes the surface area for water uptake post-harvest. To maintain "day-one" freshness, immediately plunge the stems into 40-degree Fahrenheit water to remove field heat and slow the process of senescence. Store the harvest in a high-humidity environment to prevent wilting through excessive transpiration.
FAQ:
How do I calibrate a soil moisture meter?
Submerge the probe in a slurry of distilled water and peat moss. It should read at the midpoint. For field use, insert the probe 4 to 6 inches deep at multiple points around the plant's drip line for accuracy.
What is the best way to clean bypass pruners?
Remove organic debris with a stiff brush. Use warm soapy water for sap removal, then disinfect with 70% isopropyl alcohol. Apply a light coat of machine oil to the pivot point and blade to prevent oxidation and friction.
Can I use wood chips as mulch near my tools?
Yes, but use aged hardwood chips. Fresh chips can cause a nitrogen drawdown in the top 2 inches of soil as microbes break down carbon. Keep mulch 3 inches away from plant stems to prevent crown rot and fungal migration.
How often should I test my soil pH?
Perform a professional lab test every 2 to 3 years. Use an at-home electronic tester seasonally to monitor fluctuations caused by heavy rainfall or synthetic fertilizer applications. Maintain a target range of 6.2 to 6.8 for most temperate species.