6 Steps to Sharpen a Pruning Saw with a Metal File
The smell of damp earth and the scent of crushed pine needles signal the beginning of a seasonal maintenance cycle. A dull blade tears through the cambium layer; it disrupts the turgor pressure of the plant and leaves jagged edges that invite fungal pathogens. Precision in the orchard requires a tool that shears through cellulose fibers with minimal resistance. Mastering the steps for sharpening a garden saw with a file ensures every cut is surgical. This process preserves the vascular integrity of your specimens by ensuring the xylem and phloem are not crushed during the pruning process. A sharp blade reduces the physical torque required from the operator and prevents the ragged wounding of the bark.
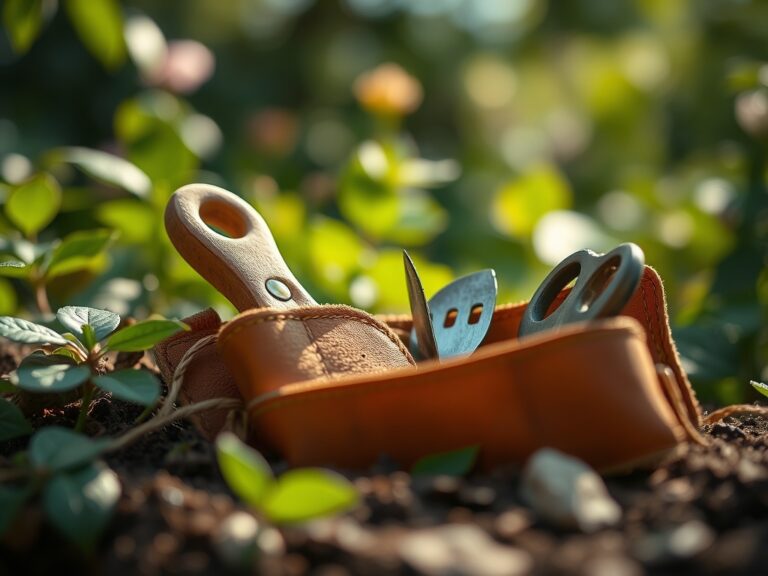
Materials:
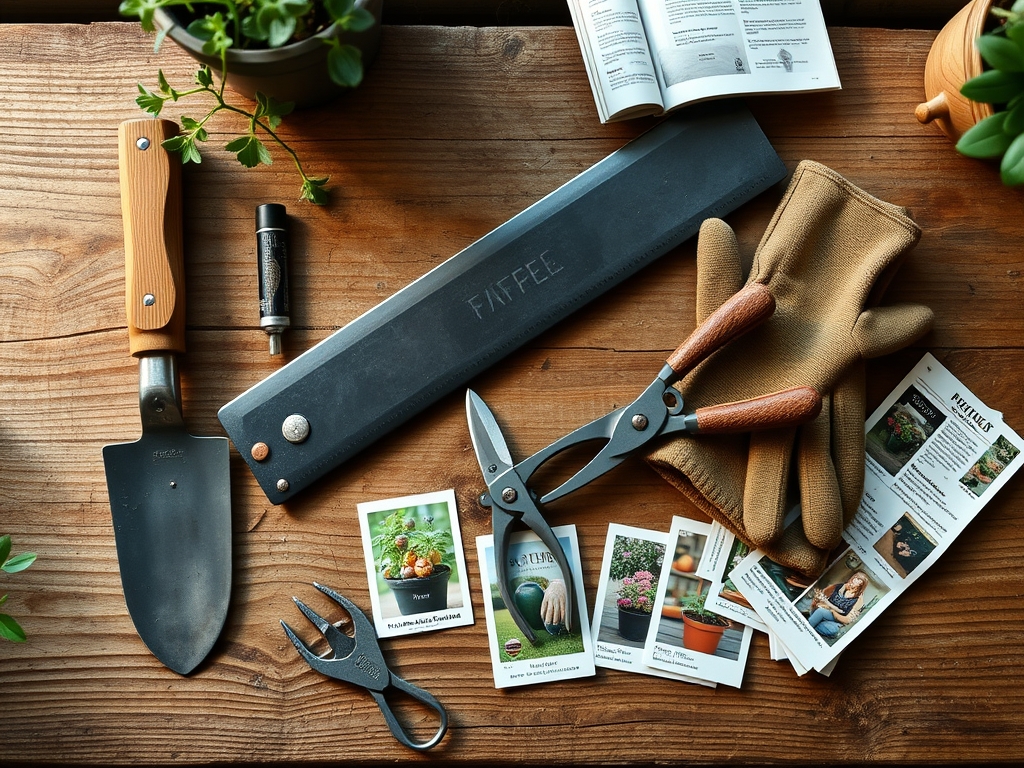
While tool maintenance is mechanical, the environment where these tools operate is defined by the soil. The ideal substrate for high yield fruit production is a friable loam with a **pH of 6.2 to 6.8**. This acidity level optimizes the Cation Exchange Capacity (CEC), allowing the roots to absorb essential nutrients. When pruning, ensure your work area is clean of debris that could contaminate the blade. You will need a **feather-edge file** or a **6-inch slim taper file**, a bench vise with rubber jaw protectors, and a high-viscosity mineral oil for lubrication. If your soil analysis shows a low **NPK ratio of 5-10-10**, your woody perennials may have thinner bark, making a sharp saw even more critical to prevent stripping during the dormant season.
Timing:
Sharpening should occur during the transition from the reproductive stage to the senescence phase. In Hardiness Zones 5 through 7, this window typically opens after the first hard frost when the sap flow has retreated to the root system. The biological clock of the plant dictates that pruning must occur before the "bud swell" in early spring. Cutting during the dormant period minimizes the loss of stored carbohydrates. Perform your tool maintenance in late January or February. This timing ensures that when the photoperiod increases and the plant enters its vegetative growth stage, your tools are ready to make the clean headers and thinning cuts necessary to manage the canopy density.
Phases:

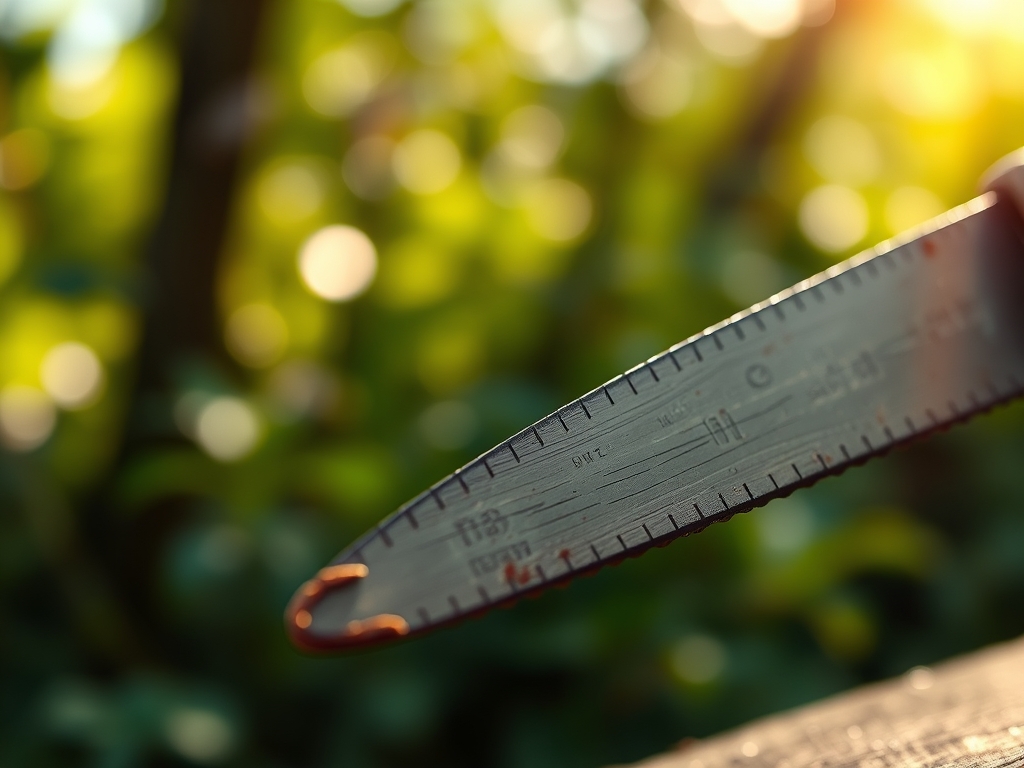
Sowing the Foundation: Cleaning and Inspection
Before the file touches metal, remove all resin and oxidation. Use a wire brush and a solvent to strip away dried sap. Inspect the "set" of the teeth. The teeth are bent outward in alternating directions to create a "kerf," which is a cut wider than the blade itself. This prevents binding. If the teeth are misaligned, use a saw set tool to restore the 15-degree to 20-degree offset.
Pro-Tip: Clean blades prevent the cross-contamination of soil-borne pathogens. A sterile blade protects the rhizosphere from the introduction of external bacteria that could disrupt the mycorrhizal symbiosis between fungi and root hairs.
Transplanting Technique: Filing the Bevel
Secure the saw in the vise with the teeth pointing upward. Identify the starting point, usually the heel of the saw closest to the handle. Place the file in the gullet between two teeth. Maintain a consistent 60-degree angle relative to the blade. Push the file forward in a single, smooth stroke. Never "saw" back and forth with the file; this destroys the file's teeth and creates an uneven edge on the tool.
Pro-Tip: Consistent filing ensures the blade does not "chatter" against the wood. This stability prevents the mechanical disruption of auxin suppression, which is the hormonal process that maintains apical dominance in the tree.
Establishing the Edge: Honing and Oiling
After filing the front and back of every tooth, run a fine-grit whetstone lightly along the sides of the blade. This removes the "burr," a thin wire of metal created by the filing process. Apply a light coating of oil to prevent oxidation. A clean, oiled blade slides through wood with 40 percent less friction than a rusted one.
Pro-Tip: Reducing friction prevents heat buildup during the cut. Excessive heat can cauterize the edge of a fresh cut, inhibiting the plant's ability to form a callus over the wound through rapid cell division.
The Clinic:
Physiological disorders in plants often stem from poor pruning technique or nutrient imbalances.
- Symptom: Ragged, torn bark at the base of a pruning cut.
- Solution: Sharpen the saw to ensure the blade severs the lignified fibers instead of crushing them.
- Symptom: Dieback from the tip of the branch toward the main trunk.
- Solution: Ensure the cut is made just outside the branch bark ridge to facilitate proper compartmentalization.
- Symptom: Interveinal chlorosis (yellowing between leaf veins).
- Fix-It: This is often a sign of Magnesium deficiency. Apply Epsom salts (Magnesium Sulfate) at a rate of 1 tablespoon per foot of plant height to restore chlorophyll production.
- Symptom: Stunted growth and dark green/purple foliage.
- Fix-It: This indicates Phosphorus deficiency. Incorporate bone meal (0-12-0) into the soil to support ATP production and root development.
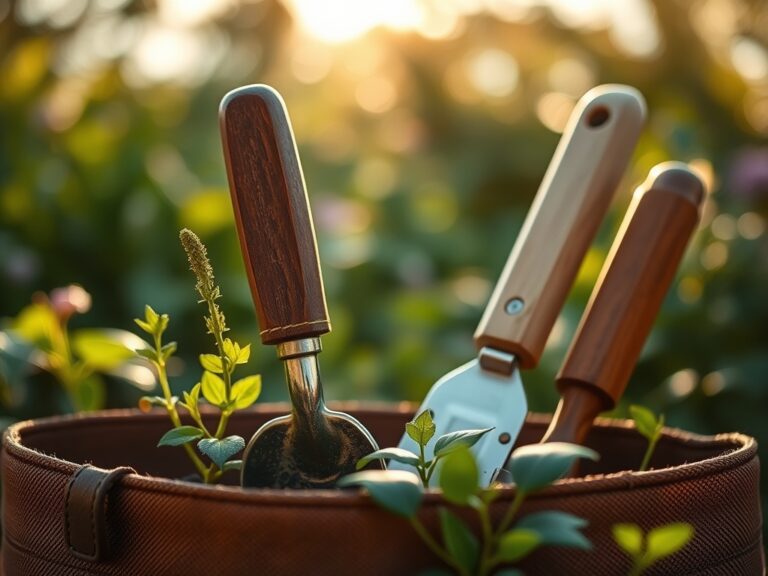
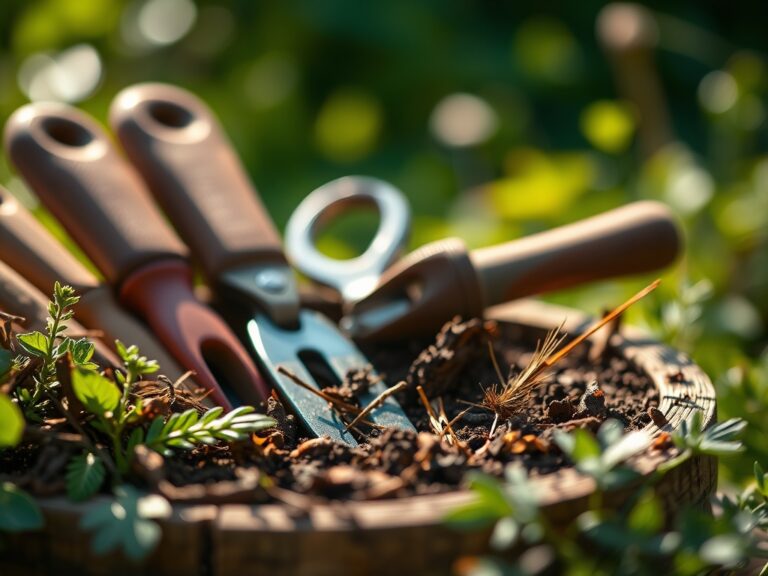
Maintenance:
Post-sharpening, the saw must be stored in a low-humidity environment. During the growing season, monitor your plants' hydration using a soil moisture meter. Most woody perennials require 1.5 inches of water per week at the drip line to maintain adequate turgor pressure. When performing maintenance pruning, use a hori-hori knife for weeding around the root flare and bypass pruners for small diameter stems. Always wipe your sharpened saw with an isopropyl alcohol solution between different plants to prevent the spread of systemic infections.
The Yield:
For fruit-bearing trees, the "yield" is the result of proper thinning and light penetration. Use your sharpened saw to remove "water sprouts" and crossing branches. This increases the photosynthetic efficiency of the inner canopy. When harvesting fruit, use the "lift and twist" method to avoid damaging the fruiting spur. For "day-one" freshness, harvest in the early morning when the plant has maximum turgidity. Immediately move the harvest to a cool, shaded area to slow the rate of respiration and ethylene production.
FAQ:
How often should I sharpen my pruning saw?
Sharpen the blade every 50 to 100 cuts or whenever you notice the saw "wandering" in the kerf. If the wood appears shredded rather than sliced, the teeth have lost their primary edge and require filing.
Can I use a standard flat file for sharpening?
No. You must use a tapered triangular file or a feather-edge file. The shape must match the "V" of the gullet between the saw teeth to maintain the correct geometry and tooth depth.
What is the best way to prevent rust on the blade?
After every use, wipe the blade clean of moisture and sap. Apply a thin layer of camellia oil or food-grade mineral oil. Store the saw in a dry sheath or hang it on a pegboard to avoid contact with concrete.
Why does my saw get stuck in the middle of a cut?
This is usually caused by a lack of "set" in the teeth. If the teeth are not bent slightly outward, the blade friction increases as it enters the wood. Use a saw set tool to restore the outward angle.