9 Upcycled Steps to Prepare a DIY Upcycled Plant Pot
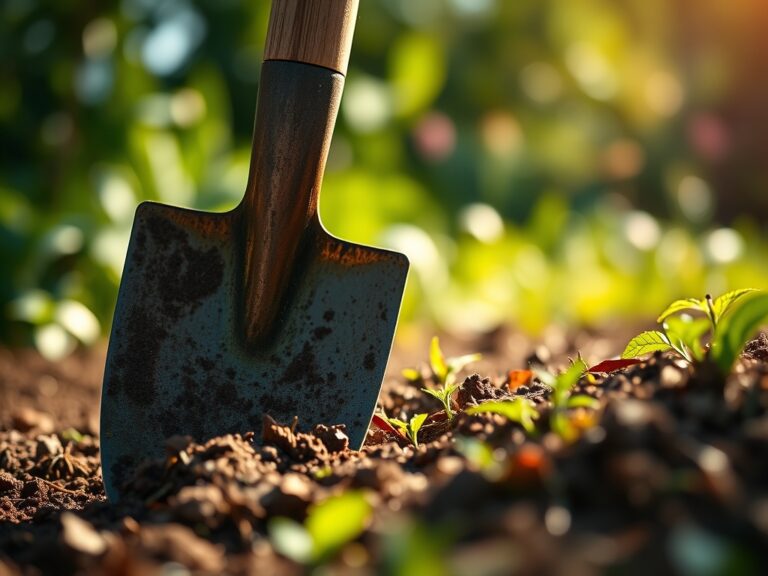
Crushing a handful of damp, anaerobic soil releases the pungent scent of geosmin; a clear indicator of microbial activity within the rhizosphere. When you learn how to prepare a DIY plant pot, you are managing the turgor pressure of your future specimens by creating a controlled environment. Successful container gardening requires more than aesthetic recycling. It demands a rigorous understanding of drainage physics, substrate chemistry, and the volumetric capacity required for root expansion without triggering premature senescence.
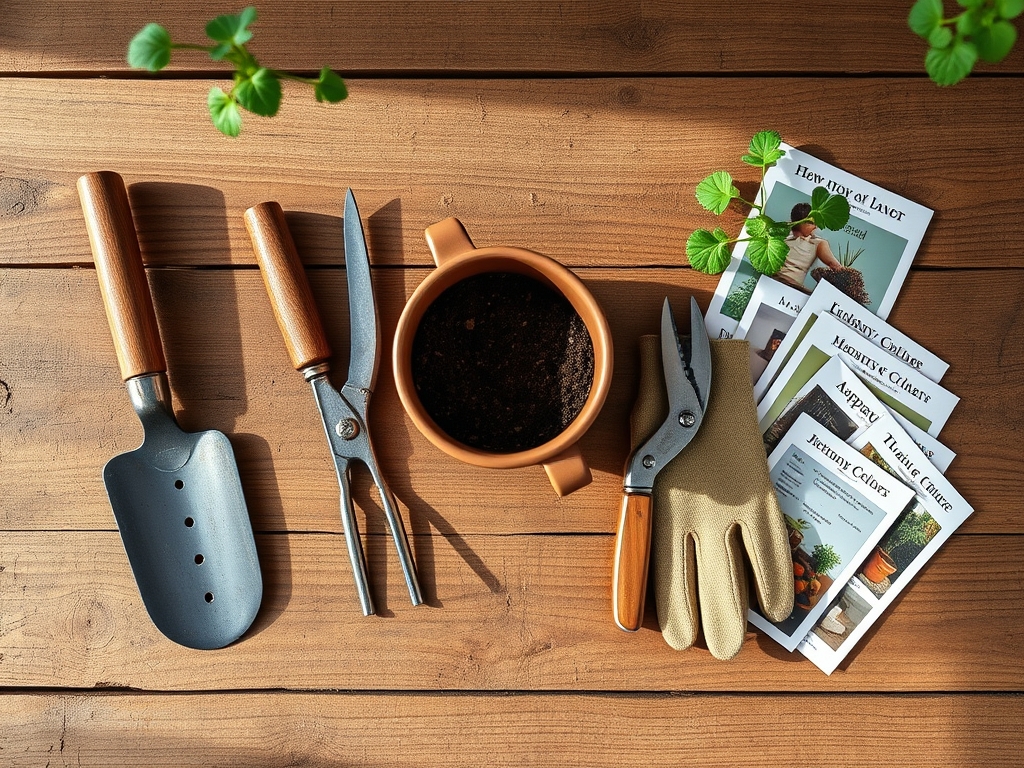
Materials:
The physical substrate must be a friable loam with a high Cation Exchange Capacity (CEC) to ensure nutrient availability. Aim for a soil pH between 6.0 and 7.0 for general horticultural success. Your NPK (Nitrogen-Phosphorus-Potassium) ratios should be tailored to the specific growth stage of the plant:
- Vegetative Growth (NPK 10-5-5): High nitrogen levels are essential for chlorophyll production and leafy expansion.
- Root and Bloom Development (NPK 5-10-10): Increased phosphorus levels support ATP transfer and sturdy root architecture.
- Maintenance (NPK 10-10-10): A balanced ratio for established perennials in containers.
The upcycled vessel itself must be non-porous if you intend to maintain high moisture levels, or breathable (like unglazed ceramic or perforated wood) for succulents. Ensure the material is free of lead-based paints or chemical residues that could leach into the soil and alter the chemical composition of the plant tissues.
Timing:
Timing is dictated by the United States Department of Agriculture (USDA) Hardiness Zones. In Zones 5 through 7, the window for preparing containers begins two to three weeks before the last predicted frost. This allows the substrate to stabilize and reach an ambient temperature of at least 60 degrees Fahrenheit (15.5 degrees Celsius).
The biological clock of the plant determines the success of the transplant. You must move specimens during their vegetative state before the photoperiod shifts to trigger reproductive stages. If a plant begins flowering before its root system has established in the DIY pot, it will divert energy away from structural development, leading to a stunted lifecycle and reduced biomass.
Phases:
Sowing
Begin by sterilizing your upcycled container with a 10 percent bleach solution to eliminate pathogens. Fill the vessel with a seed-starting mix that is lighter than standard potting soil to allow delicate radicles to penetrate the medium. Sow seeds at a depth approximately two times their diameter.
Pro-Tip: Maintain consistent moisture to trigger imbibition. This is the biological process where the seed absorbs water, causing the seed coat to swell and rupture, which activates metabolic enzymes.
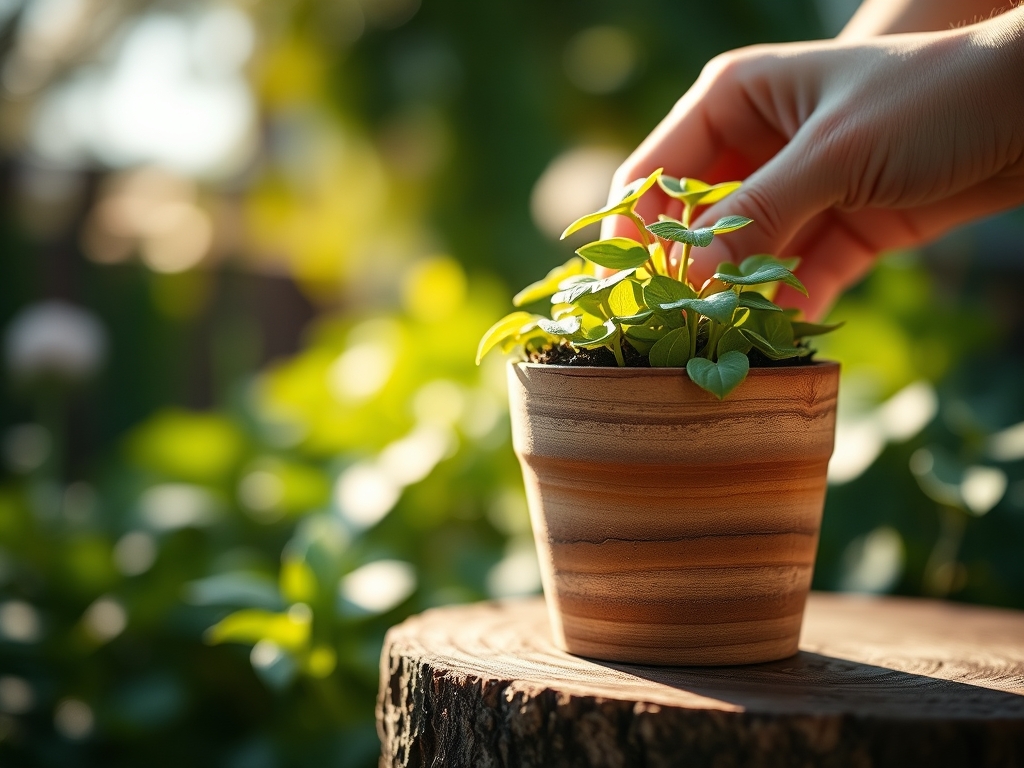
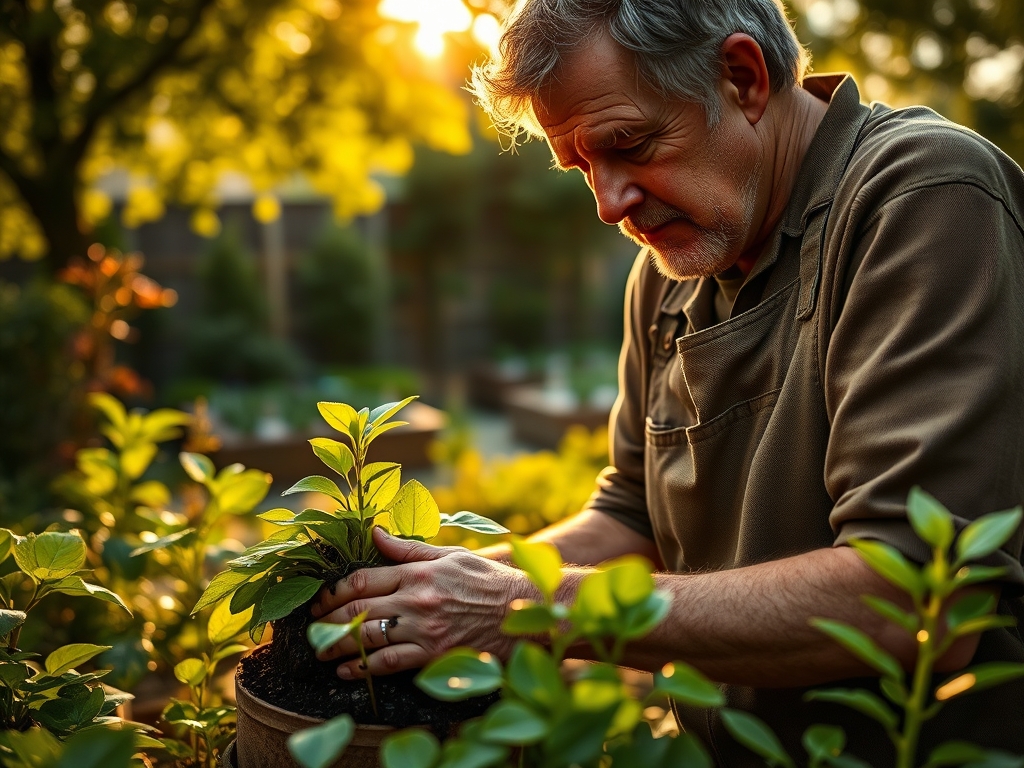
Transplanting
When the seedling develops its second set of "true leaves," it is ready for the DIY pot. Dig a hole twice the width of the root ball. Ensure the crown of the plant sits flush with the soil surface to prevent stem rot. Firm the soil gently to remove large air pockets that can cause root desiccation.
Pro-Tip: Inoculate the soil with mycorrhizal fungi. This creates a symbiotic relationship where the fungi extend the root system's reach, increasing the surface area for water and phosphorus absorption by up to 100 times.
Establishing
During the first 14 days, the plant focuses on root colonization. Limit direct solar radiation for the first 48 hours to reduce transpiration stress. Monitor the leaves for signs of wilting, which indicates a drop in turgor pressure.
Pro-Tip: Use a liquid seaweed extract to provide cytokinins. These plant hormones promote cell division in the roots, helping the plant overcome transplant shock by prioritizing underground growth over vertical height.
The Clinic:
Physiological disorders often mimic infectious diseases but result from environmental or nutritional imbalances.
- Symptom: Interveinal Chlorosis. The leaves turn yellow while the veins remain green.
- Solution: This indicates a Magnesium deficiency or high pH. Fix-It: Apply Epsom salts (magnesium sulfate) or lower the pH using elemental sulfur to a range of 6.2 to 6.5.
- Symptom: Blossom End Rot. The bottom of the fruit turns black and leathery.
- Solution: This is caused by a Calcium deficiency, often triggered by erratic watering. Fix-It: Maintain consistent soil moisture and add crushed eggshells or lime to the substrate.
- Symptom: Nitrogen Chlorosis. The entire leaf, including veins, turns pale green or yellow, starting with the oldest leaves.
- Solution: The plant is scavenging nitrogen from old growth to support new leaves. Fix-It: Apply a high-nitrogen fertilizer (NPK 20-10-10) to restore protein synthesis.
- Symptom: Leaf Scorch. Brown, crispy edges on the foliage.
- Solution: Excessive salt buildup from synthetic fertilizers or wind desiccation. Fix-It: Flush the DIY pot with a volume of water equal to two times the pot's capacity to leach out excess salts.
Maintenance:
Precision is the hallmark of a master horticulturist. Use a soil moisture meter to ensure the substrate never drops below 20 percent volumetric water content. Most container plants require 1.5 inches of water per week, delivered directly to the drip line to avoid wetting the foliage, which can invite fungal spores.
Keep a hori-hori knife sharpened for weeding and measuring planting depths. Use bypass pruners for clean cuts that allow the plant to compartmentalize wounds quickly. Every 30 days, top-dress the container with 0.5 inches of finished compost to replenish organic matter and maintain the Cation Exchange Capacity. Monitor for compaction; if the soil becomes hydrophobic, use a thin probe to aerate the root zone without damaging the primary taproot.
The Yield:
Harvesting is a biological intervention. For leafy greens, harvest in the early morning when turgor pressure is at its peak; this ensures the cells are fully hydrated and crisp. For fruiting plants, wait for the "abscission zone" to develop, which is the point where the fruit naturally begins to detach from the stem.
To maintain day-one freshness, immediately submerge harvested greens in 40-degree Fahrenheit (4.4 Celsius) water to remove field heat and slow the respiration rate. For woody herbs, use sharp snips to cut just above a node to encourage auxiliary bud outgrowth, ensuring the plant continues to produce throughout the season.
FAQ:
How do I ensure proper drainage in a DIY pot?
Drill at least three 0.5-inch holes in the base. Cover holes with a fine mesh to prevent substrate loss. Avoid using gravel at the bottom; it creates a perched water table that can lead to root hypoxia.
What is the best way to clean an upcycled container?
Scrub the interior with a firm brush to remove mineral deposits. Soak the vessel in a 1:9 ratio of bleach to water for ten minutes. Rinse thoroughly and air dry in direct sunlight to UV-sterilize the surfaces.
Can I use garden soil in my DIY plant pot?
No. Garden soil is too dense for containers and lacks adequate macropores for aeration. It often contains pathogens and weed seeds. Use a sterilized, soilless potting medium containing peat moss, perlite, and vermiculite for optimal gas exchange.
How do I know if my DIY pot is too small?
Check for "root-bound" conditions by observing the drainage holes. If roots are protruding or if the plant requires watering more than once daily, the root-to-substrate ratio is imbalanced. Transfer to a vessel 25 percent larger in volume.