8 Tips to Use Expert Sharpening Tips for Professional Tools
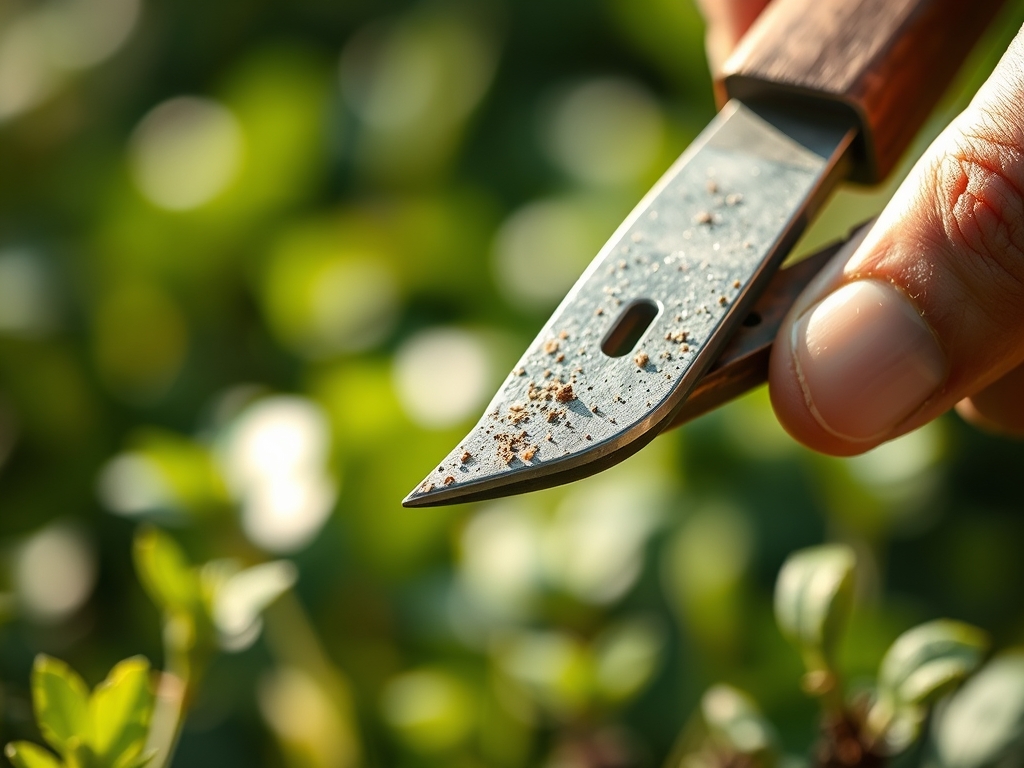
The smell of damp earth after a rain is more than just a scent; it is the olfactory signature of geosmin being released by soil microbes. When you press a thumb against a leaf, the resistance you feel is turgor pressure, the internal hydraulic force that keeps a plant upright. Maintaining this cellular integrity requires clean, surgical cuts. Using a sharpening tips for garden tools ensures that every incision on a woody stem or soft petiole is a clean separation rather than a crush injury. Ragged edges from dull blades create necrotic tissue zones that invite pathogens. A sharp blade minimizes the surface area of the wound, allowing the plant to seal the vascular cambium quickly. In professional horticulture, a tool is an extension of the hand. If the edge is compromised, the plant's health is at risk. Precision begins in the shed, long before the first shovel hits the dirt or the first pruner clips a branch.
Materials:
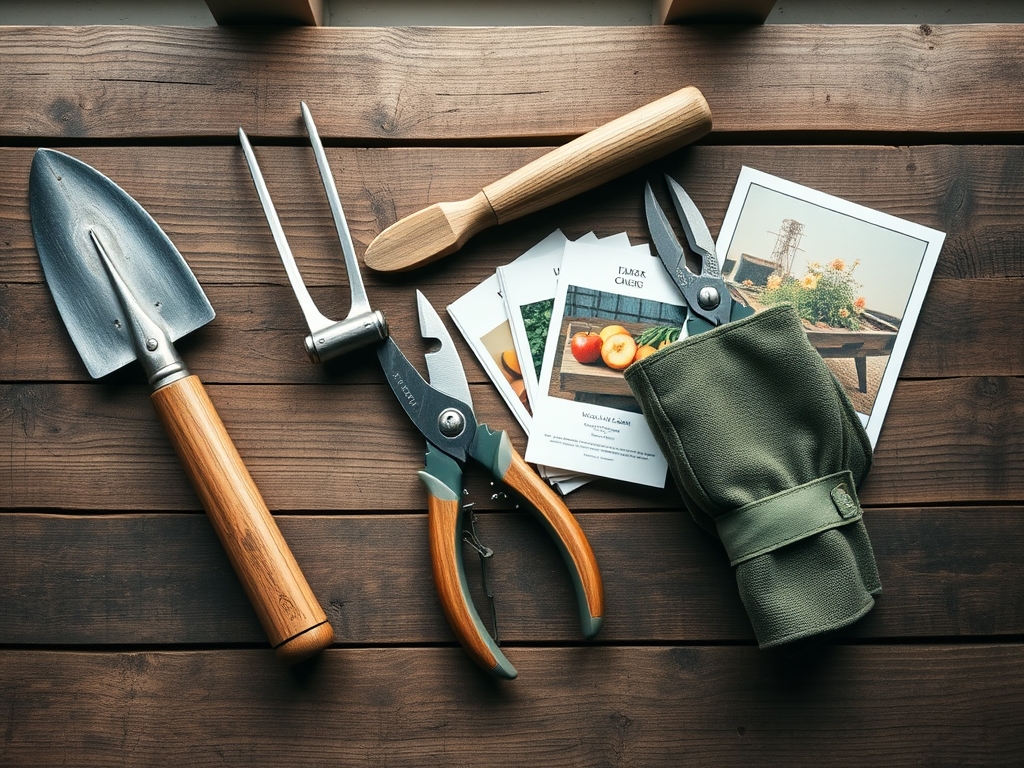
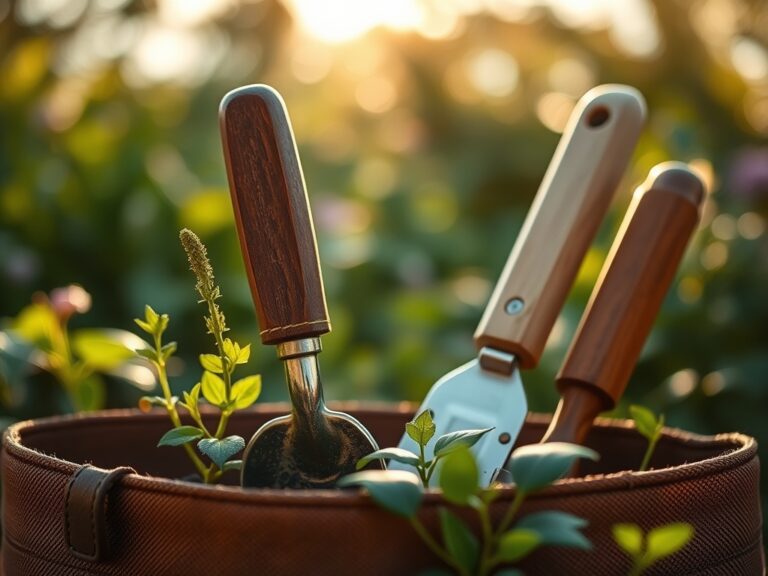
Success in the field starts with a friable loam substrate, ideally possessing a **soil pH between 6.2 and 6.8**. This range ensures maximum bioavailability of macronutrients. For established perennials, an **NPK ratio of 10-10-10** provides a balanced supply of nitrogen for vegetative growth, phosphorus for root development, and potassium for cellular regulation. High Cation Exchange Capacity (CEC) in the soil allows for the retention of essential minerals like magnesium and calcium. Before you use your tools, ensure your workspace is stocked with a **600-grit diamond hone**, a medium-grade mill file, and linseed oil to prevent oxidation on high-carbon steel surfaces.
Timing:
Hardiness Zones dictate the operational calendar for tool maintenance and plant care. In Zones 5 through 7, the primary sharpening window occurs during the dormant season, typically between late November and early March. This precedes the "Biological Clock" shift where plants transition from dormancy to the vegetative stage. Pruning must occur before the sap begins to rise in the spring to prevent excessive "bleeding" of nutrients. For Zones 8 and 9, this window is narrower, often requiring tool readiness by mid-January. Aligning your sharpening schedule with the frost-date window ensures that your equipment is at peak performance when the soil temperature reaches a consistent 55 degrees Fahrenheit, signaling the start of root activity.
Phases:

Sowing
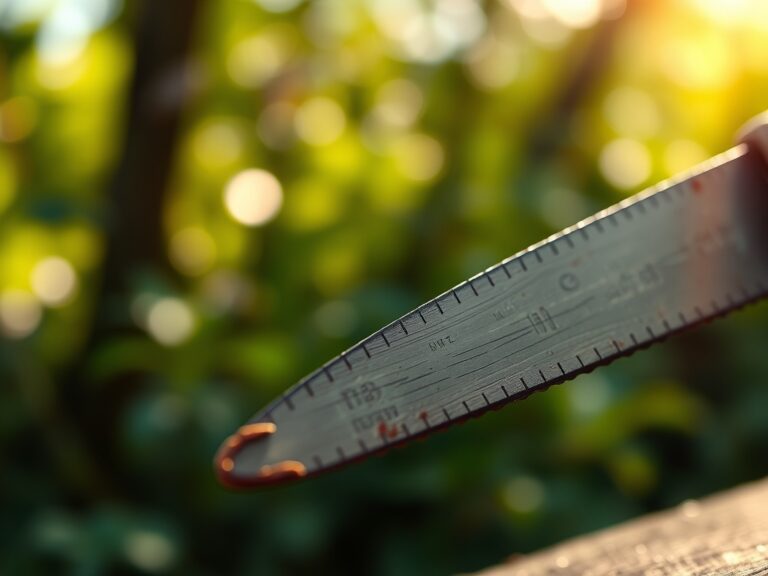
During the sowing phase, precision is required for seed depth and spacing. A sharpened hori-hori knife allows for the exact displacement of soil without disrupting the surrounding structure. Ensure the seed bed is level to prevent water pooling.
Pro-Tip: Maintaining a sharp edge on your planting tools prevents soil compaction at the seed interface. This promotes better mycorrhizal symbiosis, as the fungi can more easily colonize the undisturbed root zone.
Transplanting
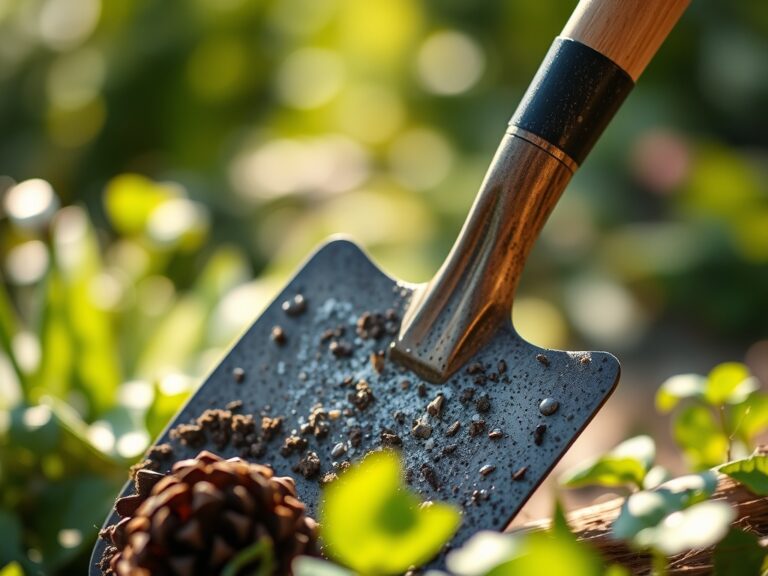
Moving a plant from a container to the ground requires a clean cut of any circling roots. Using a sharpening tips for garden tools here prevents the tearing of delicate root hairs. A sharp spade ensures the planting hole has "scarified" sides, allowing roots to penetrate the surrounding native soil rather than being trapped in a glazed hole.
Pro-Tip: Clean root cuts stimulate auxin suppression at the tip, which triggers lateral root branching. This results in a more robust and expansive root system within the first thirty days.
Establishing
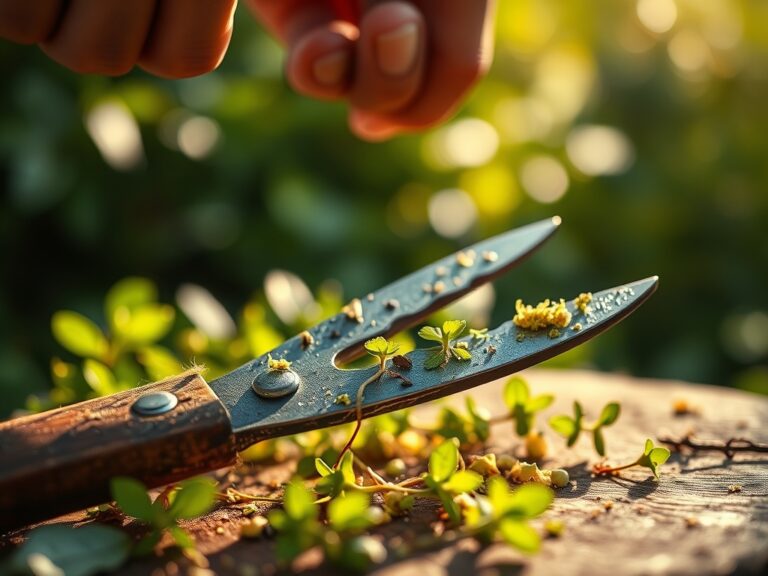
As the plant enters its rapid growth phase, structural pruning may be necessary to direct energy. A sharp pair of bypass pruners is essential for removing "suckers" or competing leaders.
Pro-Tip: Clean cuts facilitate faster "callusing" over the wound. This is a result of phototropism and energy redirection, where the plant quickly seals the xylem and phloem to prevent moisture loss.
The Clinic:
Physiological disorders often stem from poor tool hygiene or environmental stress.
- Symptom: Interveinal Chlorosis. The leaves turn yellow while the veins remain green.
Solution: This is typically a Magnesium deficiency. Apply Epsom salts or a chelated magnesium spray to restore chlorophyll production. - Symptom: Blossom End Rot. Dark, sunken spots on the bottom of fruit.
Solution: This indicates a Calcium transport issue, often caused by inconsistent watering. Maintain a steady moisture level to ensure calcium moves through the transpiration stream. - Symptom: Marginal Leaf Burn. The edges of the leaves appear scorched.
Solution: This is often a sign of Potassium deficiency or salt buildup. Flush the soil with 2 inches of water and adjust your fertilizer NPK ratio to favor K.
Fix-It: For general Nitrogen chlorosis (pale green leaves), apply a quick-release high-nitrogen fertilizer (20-0-0) at the base of the plant, avoiding contact with the foliage.
Maintenance:
Precision irrigation is the cornerstone of plant health. Provide 1.5 inches of water per week delivered at the drip line to encourage deep root penetration. Use a soil moisture meter to verify that the water is reaching a depth of 6 to 8 inches. After each use, wipe down your bypass pruners with isopropyl alcohol to prevent the transfer of pathogens. Coat metal surfaces with a thin layer of oil to maintain the edge you achieved through sharpening. Check the tension on your pruner blades; a loose pivot bolt will cause the blades to "chew" the wood rather than slice it, regardless of how sharp the steel is.
The Yield:
Harvesting is the final test of your tool's edge. For leafy greens, harvest in the early morning when turgor pressure is at its highest. Use a sharp knife to cut the stems cleanly, which prevents the plant from wilting prematurely. For fruit, use pruners to snip the pedicel rather than pulling, which can damage the fruiting spur. Post-harvest, immediately submerge the stems in 40-degree Fahrenheit water to remove field heat and lock in freshness. This process slows down senescence, the biological aging of the plant tissue, ensuring your harvest remains crisp and nutrient-dense.
FAQ:
Why is the bevel angle important when sharpening?
The bevel angle, usually 20 to 25 degrees, determines the balance between sharpness and durability. A steeper angle holds its edge longer against hard wood, while a shallower angle provides a cleaner cut on soft, green tissue.
How often should I sharpen my bypass pruners?
For professional use, touch up the edge every 4 to 6 hours of active pruning. For home gardeners, a thorough sharpening at the start of each season and a mid-season honing is sufficient to maintain surgical precision.
Can I use a power grinder to sharpen my tools?
Avoid power grinders as they generate excessive heat, which can ruin the temper of the steel. This makes the metal brittle or too soft to hold an edge. Use hand files or whetstones to maintain metal integrity.
What is the best way to remove rust before sharpening?
Use a wire brush or steel wool dipped in white vinegar to dissolve iron oxide. Once the rust is removed, neutralize the acid with baking soda and water, dry the tool completely, and then begin the sharpening process.