8 Best Specimen Plants for Professional Property Landscaping
Crush a handful of damp earth and you should smell geosmin; the earthy scent of actinobacteria breaking down organic matter. A healthy specimen plant is defined by its turgor pressure; the internal fluid force that keeps stems rigid and leaves expanded to maximize photosynthetic surface area. Selecting the best plants for property landscaping requires more than aesthetic preference. It demands an understanding of soil chemistry and vascular architecture. Professional landscaping focuses on structural permanence and physiological resilience. You are not just planting a tree; you are managing a biological asset that must withstand environmental stressors while maintaining high metabolic efficiency. Success depends on the intersection of site-specific data and botanical precision.
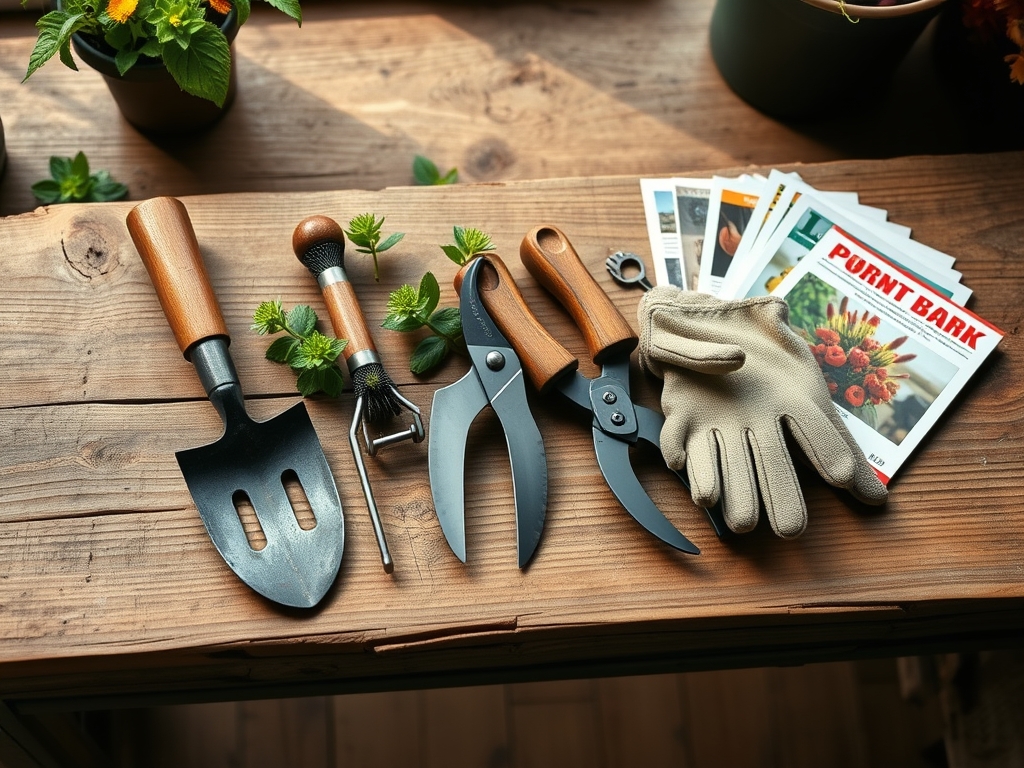
Materials:
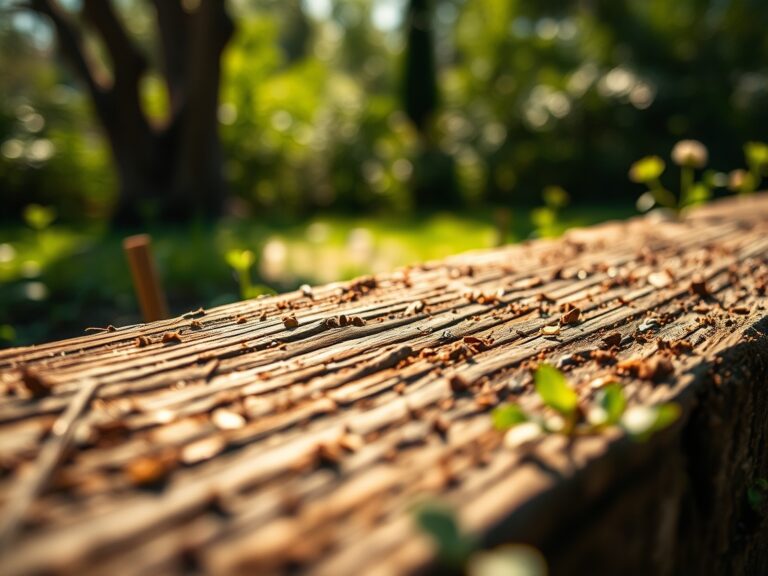
The foundation of any high-performing specimen is the rhizosphere. You require a friable loam with a crumb structure that allows for rapid gas exchange. Soil with a high Cation Exchange Capacity (CEC), typically between 15 and 25 meq/100g, ensures that essential nutrients remain available to the root hairs rather than leaching into the subsoil.
For the eight specimens listed below, target a soil pH of 6.0 to 7.0. Use a 10-10-10 NPK ratio for general establishment, but pivot to a 5-10-10 ratio for woody perennials to encourage lignification and root expansion over excessive succulent growth. Ensure your substrate contains at least 5 percent organic matter to support the microbial populations necessary for nutrient cycling.
Timing:
Specimen installation must align with the plant's biological clock. Most professional installations occur in USDA Hardiness Zones 5 through 9, where the window for transplanting opens when the plant enters dormancy or just before the spring flush.
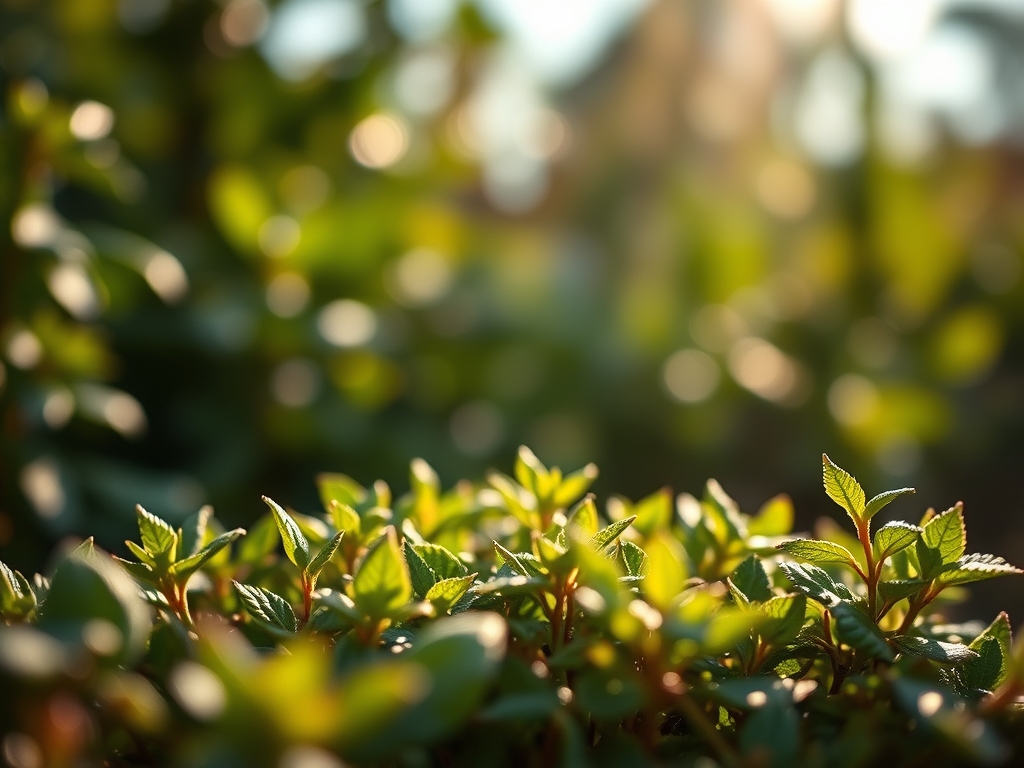
The transition from the vegetative stage to the reproductive or dormant stage is triggered by the photoperiod. For deciduous specimens like the Japanese Maple (Acer palmatum), transplanting should occur when the sap flow is minimal, typically in late autumn after senescence (leaf drop) or in early spring before the buds swell. This timing prevents transplant shock by allowing the root system to establish in soil temperatures between 45 and 55 degrees Fahrenheit before the high transpiration demands of summer.
Phases:

Sowing and Selection
Select specimens with a balanced root-to-shoot ratio. For large-scale landscaping, "Balled and Burlapped" (B&B) stock is often superior to container-grown plants because it avoids circumnutating roots that can lead to girdling.
Pro-Tip: Inspect the root flare. If the flare is buried, the plant will suffer from oxygen deprivation. This is because lenticels on the trunk are not designed for the anaerobic conditions of deep soil.
Transplanting
Dig a hole two to three times the width of the root ball but no deeper than its height. Use a hori-hori knife to scarify the sides of the planting hole. This prevents "pot-bounding" in heavy clay soils where the smooth sides of a hole act like a ceramic bowl, trapping roots and water.
Pro-Tip: Apply a mycorrhizal inoculant directly to the root zone. This biological symbiosis expands the surface area of the root system by up to 1,000 percent, significantly increasing phosphorus uptake and drought resistance.
Establishing
The first 18 months are the establishment phase. During this time, the plant re-establishes its hydraulic conductivity. Monitor the soil with a digital moisture meter to ensure the root zone remains consistently moist but not saturated.
Pro-Tip: Avoid heavy nitrogen fertilization during the first year. High nitrogen levels stimulate auxin production in the terminal buds, forcing upward growth at the expense of the lateral root development needed for long-term stability.
The Clinic:
Physiological disorders often mimic disease but are usually rooted in environmental or nutritional imbalances.
Symptom: Interveinal chlorosis (yellowing between green veins) on new growth.
Solution: This indicates an Iron (Fe) deficiency, often caused by a pH above 7.5. Lower the pH using elemental sulfur to increase iron bioavailability.
Symptom: Marginal leaf burn or necrosis on older leaves.
Solution: This suggests Potassium (K) deficiency or salt accumulation. Flush the soil with 3 inches of water to leach salts and apply a high-potassium supplement.
Symptom: "Flagging" or wilting despite moist soil.
Solution: This is likely root rot (Phytophthora) caused by anaerobic conditions. Improve drainage by incorporating perlite or raising the planting mound by 4 inches.
Fix-It for Nitrogen Chlorosis: If the entire leaf turns pale green or yellow, apply a quick-release urea-based fertilizer (46-0-0) at a rate of 0.5 lbs per 1,000 square feet to rapidly restore chlorophyll production.
Maintenance:
Precision maintenance separates professional landscapes from amateur gardens. Use bypass pruners for clean cuts that heal quickly; anvil pruners crush the vascular tissue and invite pathogens.
- Irrigation: Deliver 1.5 inches of water per week at the drip line. Use a soaker hose to keep moisture off the foliage, reducing the risk of fungal spores germinating on the leaf surface.
- Pruning: Prune for "The Three Ds": dead, damaged, or diseased wood. Always cut back to a lateral branch or bud to maintain apical dominance and prevent "water sprouts."
- Mulching: Apply a 3-inch layer of arborist wood chips. Keep the mulch 4 inches away from the trunk to prevent bark decay and rodent nesting.
The Yield:
While specimen plants are often chosen for structure, many provide secondary yields like cut flowers or fruit. For flowering specimens like the Hydrangea paniculata, harvest when 70 percent of the florets are open.
To maintain "day-one" freshness, use a sharp blade to cut stems at a 45-degree angle under water. This prevents air embolisms from blocking the xylem, ensuring the plant continues to pull hydration through capillary action. Store harvested stems in a cool environment at 38 to 42 degrees Fahrenheit to slow the metabolic rate and delay senescence.
FAQ:
What is the best time to plant large trees?
Late autumn or early spring is ideal. This allows the root system to develop while the canopy is dormant, reducing transpiration stress. Aim for soil temperatures between 45 and 55 degrees Fahrenheit for optimal root initiation.
How do I fix compacted soil before planting?
Incorporate organic matter and use a broadfork to aerate the soil without flipping the horizons. This preserves the soil profile and microbial layers while improving the pore space for oxygen and water infiltration.
Why are my plant leaves turning yellow?
Yellowing, or chlorosis, usually stems from nitrogen deficiency or high soil pH. Test the soil pH first. If the pH is above 7.0, the plant cannot absorb iron or manganese, even if they are present in the soil.
How much should I water a new specimen?
Provide roughly 10 gallons of water per inch of trunk diameter every week. Use a soil moisture meter to ensure the water reaches a depth of 12 inches, which encourages deep rooting rather than shallow, drought-vulnerable roots.
What is the benefit of a high CEC?
A high Cation Exchange Capacity means the soil can hold onto positively charged nutrients like Calcium, Magnesium, and Potassium. This prevents nutrient leaching during heavy rains and ensures a steady supply of minerals for the plant's metabolic processes.