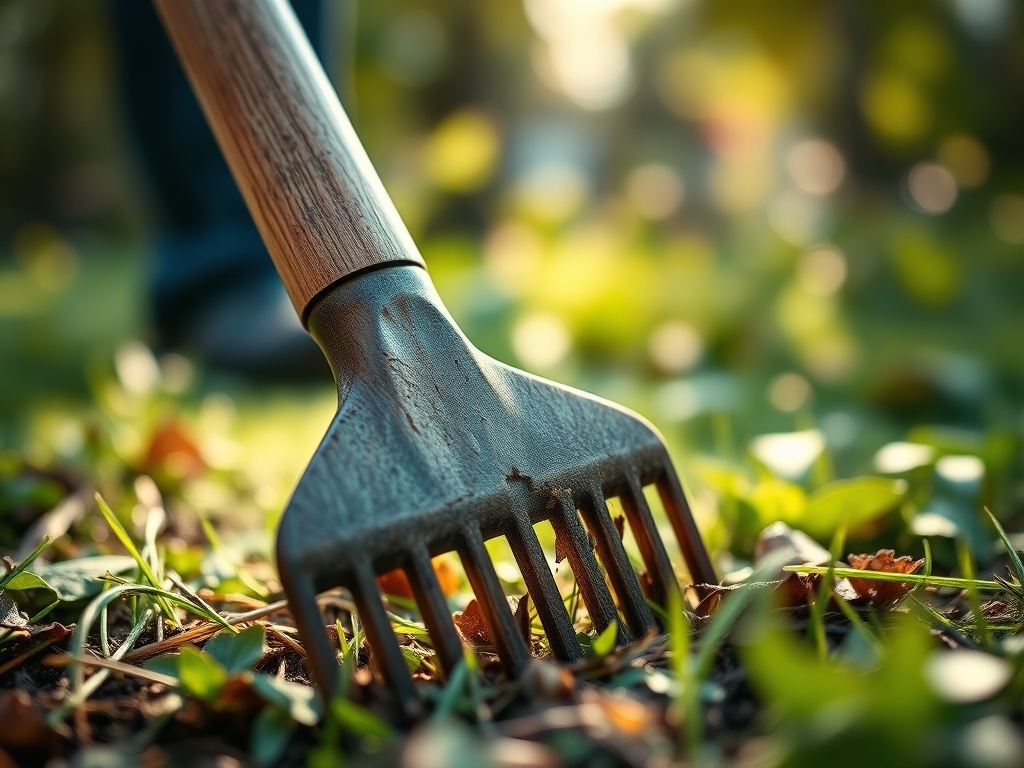
9 Tips to Use a Landscape Rake for Large-Scale Property Prep
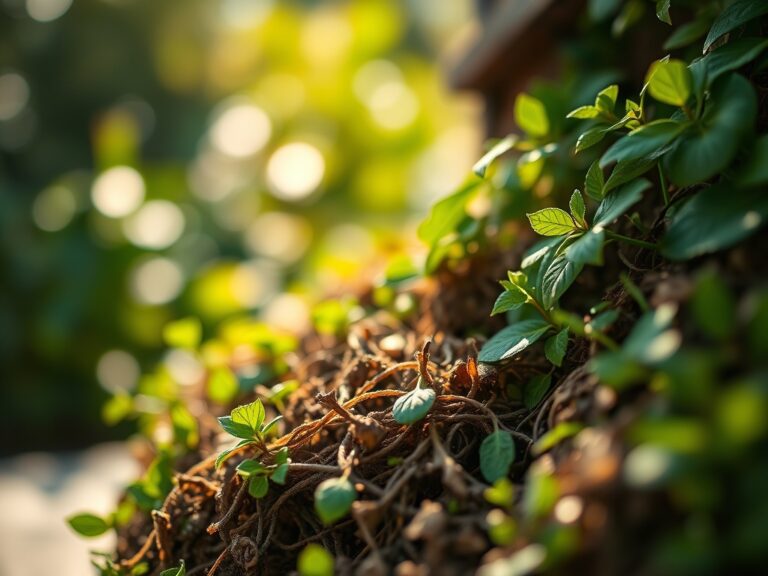
The scent of damp, disturbed earth signals the beginning of any serious site preparation. When the soil reaches a friable state, neither saturated nor baked into a hardpan, the work of grading begins. Using a rake for property landscaping is not merely about aesthetics; it is a mechanical intervention in the soil structure to optimize the rhizosphere for future plantings. Proper grading ensures that water does not pool, preventing the anaerobic conditions that lead to root rot. A landscape rake, typically featuring a wide head and sturdy tines, allows for the precise manipulation of the top three inches of the soil profile. This depth is critical as it houses the majority of microbial activity and the initial nutrient exchange for new seeds or sod. By leveling the terrain, you manage the hydraulic flow across the property, ensuring that moisture reaches the root zones of your botanical specimens without causing erosion. This process requires physical stamina and a technical understanding of how soil particles settle under varying pressures.
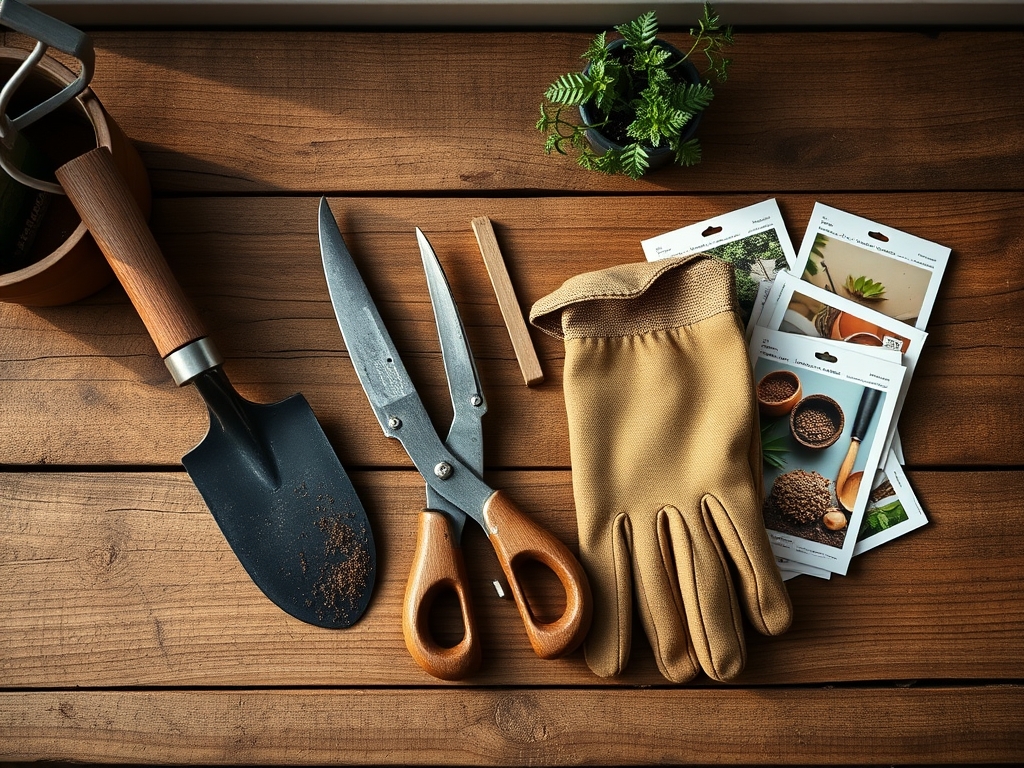
Materials:
The ideal substrate for large-scale prep is a friable loam with a **pH range of 6.0 to 7.0**. This acidity level ensures that essential micronutrients remain bioavailable. Before using a rake for property landscaping, assess the Cation Exchange Capacity (CEC) of your site. A high CEC indicates a greater ability to hold onto positively charged ions like Calcium and Magnesium. If the soil is depleted, incorporate organic matter with an **NPK ratio of 5-10-5** for root establishment or a **10-10-10** balanced fertilizer for general site stabilization. The physical texture should be granular; if the soil forms a ribbon longer than two inches when squeezed, the clay content is too high for immediate raking and requires the addition of coarse sand or gypsum to improve drainage.
Timing:
In Hardiness Zones 4 through 7, the window for major property grading opens as soon as the frost has exited the top 12 inches of the soil column. Attempting to rake frozen or overly saturated soil destroys the soil structure, leading to compaction that limits oxygen availability. The biological clock of the land dictates that this work should be completed before the spring surge in soil temperature reaches a consistent 55 degrees Fahrenheit. This temperature threshold triggers the germination of many opportunistic weed species. By finishing the rake work during the dormant or early vegetative stage, you provide a clean slate for your primary cultivars to establish dominance before the summer heat induces high transpiration rates.
Phases:

Sowing
When preparing a seedbed, use the landscape rake to create shallow furrows. The goal is to maximize seed-to-soil contact. For most turf grasses and cover crops, a sowing depth of 0.25 inches is optimal.
Pro-Tip: Ensure the soil is level to prevent the "puddling" of seeds. This is vital because phototropism requires uniform emergence; if seeds are buried at varying depths, the seedlings will compete unevenly for light, leading to a weak and patchy stand.
Transplanting
For larger specimens, use the rake to clear a 3-foot radius around the planting hole. This removes competing vegetation and allows for the application of mulch.
Pro-Tip: Avoid over-smoothing the soil surface in this zone. A slightly roughened surface encourages mycorrhizal symbiosis by allowing fungal spores and beneficial bacteria to penetrate the soil surface more easily than through a glazed, compacted crust.
Establishing
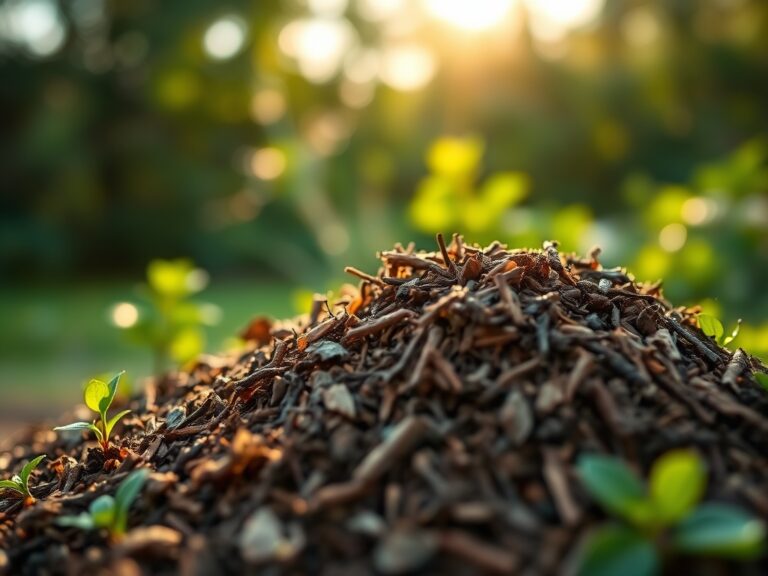
Once the initial grading is complete, the landscape rake is used to incorporate top-dressing materials. This phase involves a light touch to avoid disturbing the emerging root systems of newly established plants.
Pro-Tip: Maintain a consistent grade to prevent water from collecting at the base of woody perennials. Excess water at the root flare can cause auxin suppression, which halts the hormonal signals needed for downward root growth and lateral expansion.
The Clinic:
Physiological disorders often stem from poor site preparation. If you observe stunted growth and yellowing in the lower leaves (Nitrogen chlorosis), the soil may be too compacted for nutrient uptake. The fix involves using a core aerator followed by a light raking of 0.5 inches of compost.
Another common issue is leaf scorch, which occurs when the soil grade allows water to run off too quickly, leaving the plant in a state of permanent wilting. To solve this, re-grade the area with the landscape rake to create a slight depression or "saucer" around the plant to catch irrigation.
If you notice iron chlorosis (yellow leaves with green veins), the soil pH is likely above 7.5. Incorporate elemental sulfur into the top 2 inches of soil using the rake tines to lower the pH and move the iron into a soluble state.
Maintenance:
Post-grading maintenance requires precision. Use a soil moisture meter to ensure the ground remains at 25 percent to 30 percent volumetric water content. For large-scale properties, this typically equates to 1.5 inches of water per week delivered at the drip line. When weeds emerge, use a hori-hori knife for deep-rooted perennials or bypass pruners for woody encroachment. Do not allow the soil to crust over; a light pass with a hand rake can break the surface tension, allowing for better gas exchange in the rhizosphere.
The Yield:
For properties focused on floral or edible production, timing the harvest is a matter of cellular turgor. Harvest in the early morning when the plant is at maximum hydration. Use sharp, sanitized tools to prevent the spread of pathogens. Post-harvest, keep the specimens in a cool, shaded environment at approximately 40 to 50 degrees Fahrenheit to slow down the process of senescence, ensuring the cellular structure remains intact and the harvest stays fresh for the duration of its shelf life.
FAQ:
How do I prevent soil compaction while raking?
Work only when the soil is moist but not saturated. Use a rake with a wide head to distribute pressure. Avoid heavy machinery on the site once the final grade is established to maintain a healthy pore space ratio.
What is the best rake for heavy clay soil?
Select a heavy-duty steel landscape rake with long, reinforced tines. These tines can penetrate the heavy aggregates of clay, allowing you to break up clods and incorporate organic matter to improve the overall soil porosity.
Can I use a landscape rake to remove large rocks?
Yes. The flip side of most landscape rakes is a flat grading edge. Use the tined side to pull rocks to the surface and the flat side to push them into a collection pile for removal from the planting zone.
How deep should I rake for new grass seed?
Rake to a depth of 0.5 to 1 inch. This creates enough loose soil for the seeds to be covered slightly, protecting them from birds and desiccation while ensuring they remain close enough to the surface for rapid emergence.