8 Tips to Use a Transit Level for Accurate Property Grading
The smell of damp, anaerobic clay rising from a poorly drained site is the first warning of hydraulic failure. When water stagnates, it displaces oxygen in the rhizosphere; this leads to root asphyxiation and the rapid onset of Pythium root rot. Using a level for property landscaping is the only way to prevent these physiological disasters by ensuring a consistent two percent slope away from structural foundations. Precision grading maintains the turgor pressure of your plantings by managing the water table and preventing the saturation of the soil profile. Without a transit level, you are guessing at elevations, which inevitably leads to localized ponding and the death of salt-sensitive perennials. A master horticulturist understands that the topography of the land dictates the health of the plant. By establishing a benchmark and calculating the rise and run of your terrain, you control the movement of every drop of irrigation and rainfall. This technical rigor ensures that your soil remains aerobic, allowing for optimal nutrient uptake and microbial activity. Accurate grading is the physical foundation of any sustainable botanical system.
Materials:
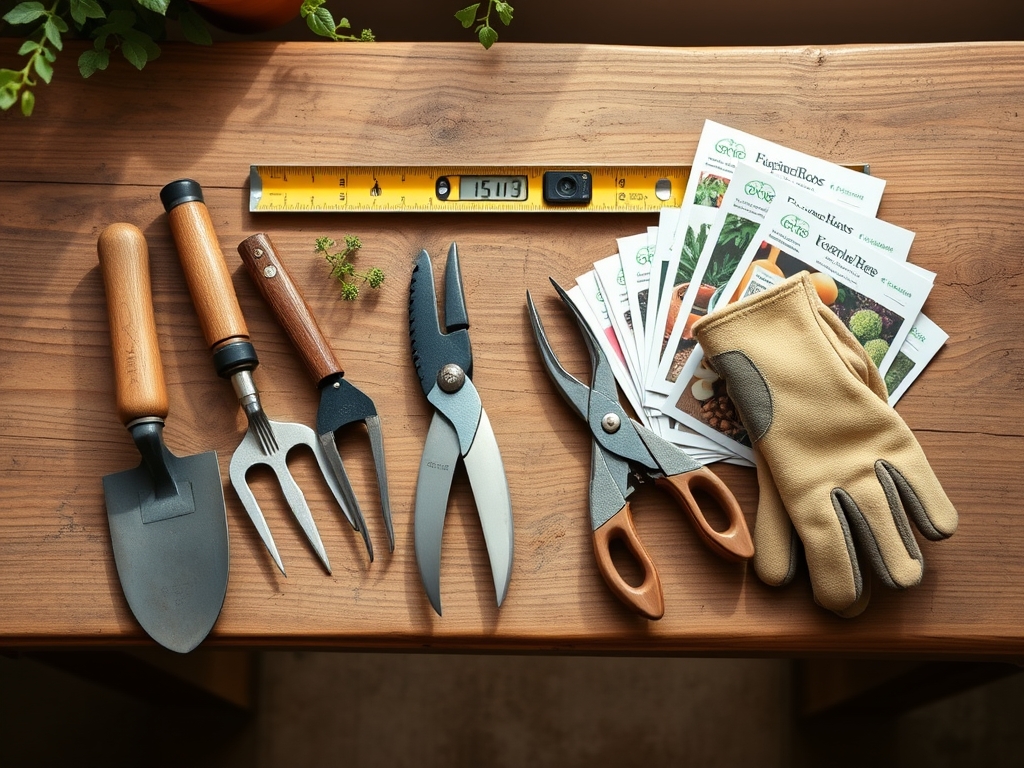
Before deploying the transit level, you must assess the substrate you are manipulating. The ideal medium for grading and subsequent planting is a **friable loam** with a Cation Exchange Capacity (CEC) between **15 and 25 meq/100g**. This texture allows for structural stability while maintaining porosity. If your soil is heavy clay, you must incorporate expanded shale or coarse sand to increase the macropore space. For nutrient management, target a soil pH of **6.2 to 6.8** to ensure maximum bioavailability of phosphorus. When prepping the grade for turf or ornamental beds, incorporate a starter fertilizer with an NPK ratio of **10-20-10**. The high phosphorus content supports initial root development and ATP production during the establishment phase. You will need a tripod-mounted transit level, a graduated grade rod (measured in tenths of a foot for easier calculation), and marking stakes. Ensure your transit has a minimum magnification of **20x** to maintain accuracy over distances exceeding **100 feet**.
Timing:
Grading operations must be synchronized with the local climate and the biological clock of the regional flora. In Hardiness Zones 5 through 7, the primary window for major earthwork is late summer or early autumn. This timing avoids the compaction risks associated with high-moisture spring soils. Soil should be worked when it is at approximately 50 percent of its field capacity. If the soil is too wet, you destroy the soil structure; if it is too dry, you lose the ability to compact the grade effectively. From a botanical perspective, completing your grading before the first hard frost allows for the application of cover crops. These plants prevent erosion and maintain the mycorrhizal networks during the winter dormancy period. As the photoperiod shortens, plants enter senescence; this is the ideal time to move dormant woody ornamentals into the newly graded areas. Avoid grading during the peak of the vegetative growth stage in mid-summer, as the heat stress and increased transpiration rates make newly disturbed root zones vulnerable to desiccation.
Phases:
Sowing and Site Preparation
Establish your benchmark at a fixed point, such as a concrete foundation or a manhole cover. Set the transit level over a central point and level the instrument using the leveling screws until the vial bubble is perfectly centered. Have an assistant hold the grade rod at the benchmark and record the height. This is your Height of Instrument (HI). To calculate the elevation of any other point, subtract the rod reading from the HI. For effective drainage, aim for a drop of 0.25 inches per foot.
Pro-Tip: Always strip and stockpile the top 6 to 8 inches of topsoil before grading the subsoil. This preserves the "A Horizon," which contains the highest concentration of organic matter and beneficial microorganisms. If you bury this layer, you trigger anaerobic decomposition, which releases methane and harms the developing root systems of future plantings.
Transplanting and Leveling
Once the subgrade is established, reintroduce the stockpiled topsoil. Use the transit level to verify that the final grade remains consistent with your drainage plan. When transplanting large specimens into the graded area, ensure the root flare sits 1 to 2 inches above the final grade. This accounts for future settling and prevents bark rot. Use the grade rod to check the depth of each planting hole; a hole that is too deep will collect water and drown the primary lateral roots.
Pro-Tip: When backfilling, do not over-compact the soil. High bulk density restricts root penetration and limits the diffusion of oxygen. Use a soil moisture meter to ensure the root ball stays at 20 to 30 percent moisture during the first 48 hours. This prevents the loss of turgor pressure and minimizes transplant shock by maintaining the hydraulic link between the plant and the soil.
Establishing and Stabilizing
After the final grade is verified, apply a thin layer of organic mulch or straw to protect the soil surface from crusting. Use the transit level one last time to check for "birdbaths" or low spots that may have formed during the tamping process. If you find a depression deeper than 0.5 inches, fill it immediately to prevent localized saturation.
Pro-Tip: Plant a deep-rooted cover crop like tillage radish or cereal rye immediately after grading. These plants utilize auxin suppression to focus energy on downward root growth, which naturally aerates the soil and stabilizes the new grade. This biological tilling prepares the site for more sensitive ornamental species by improving the soil's hydraulic conductivity.
The Clinic:
Physiological disorders often stem from poor grading and drainage. Monitor your plants for these specific symptoms:
- Symptom: Nitrogen Chlorosis. Older leaves turn pale yellow while veins remain green. This often occurs in over-saturated soils where denitrification converts nitrates into gas.
- Fix-It: Re-check the grade with your transit level to ensure no water is pooling. Apply a foliar spray of 0.5 percent urea for rapid green-up, then amend the soil with high-nitrogen organic matter (NPK 12-0-0).
- Symptom: Edema. Small, corky bumps appear on the undersides of leaves. This is caused by high root pressure and low transpiration, typical of plants in poorly drained, humid sites.
- Fix-It: Improve drainage by creating a swale using the transit level to find the lowest exit point. Reduce irrigation until the top 2 inches of soil are dry.
- Symptom: Iron Deficiency. New growth appears yellow or white. This is common in alkaline soils (pH above 7.5) often found near new concrete work or poorly graded limestone bases.
- Fix-It: Apply chelated iron to the soil and use elemental sulfur to lower the pH to 6.5.
Maintenance:
Precision grading requires ongoing monitoring. After a heavy rain event (more than 1 inch of precipitation), walk the property to identify any erosion rills. Use a hori-hori knife to remove weeds that may be obstructing drainage channels. Maintain a consistent irrigation schedule of 1.5 inches of water per week at the drip line for established trees. Use bypass pruners to remove any water sprouts or suckers that may be drawing energy away from the main canopy. Regularly check the soil with a soil moisture meter at a depth of 6 inches to ensure the water is moving through the profile as designed. If the soil remains saturated for more than 24 hours, your grade may have settled, requiring a recalibration with the transit level.
The Yield:
When harvesting flowers or herbs from a well-graded site, timing is critical for post-harvest longevity. Harvest in the early morning when the plants are at peak turgidity. For woody stems, use a sharp hori-hori knife to make a clean, diagonal cut. Immediately plunge the stems into cool water (40 to 45 degrees Fahrenheit) to maintain the vascular flow and prevent air embolisms. This "day-one" freshness is a direct result of the plant's access to balanced soil moisture and nutrients, which was made possible by the initial precision of the transit level grading.
FAQ:
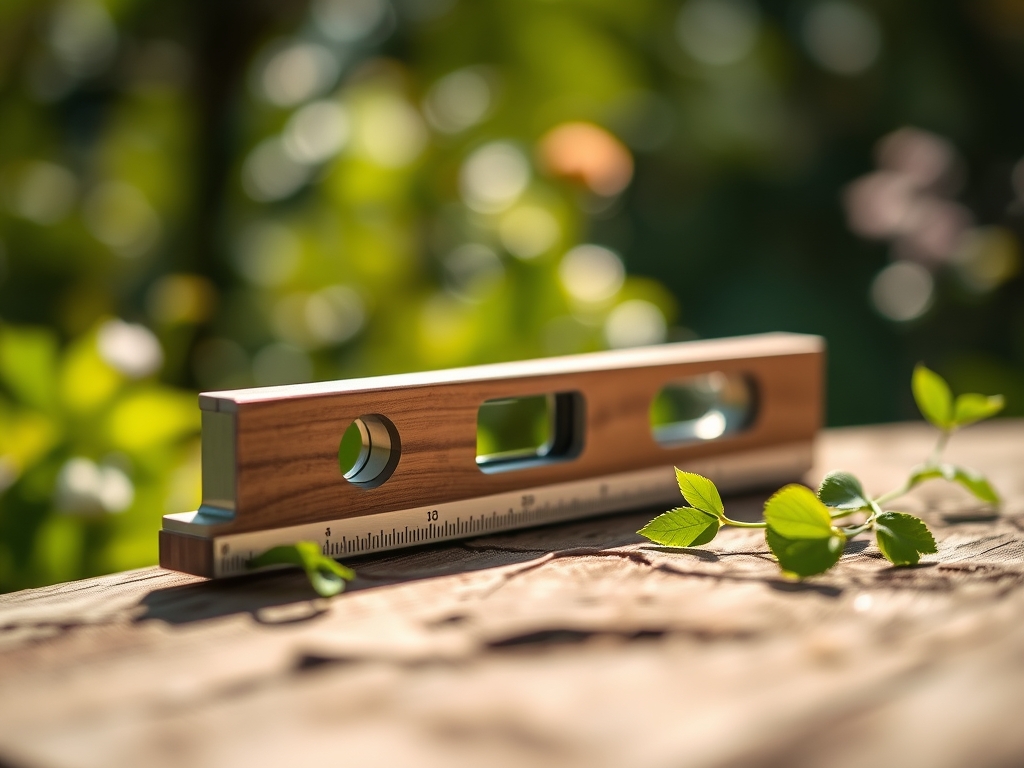
How do I set up a transit level?
Mount the tripod on firm ground. Attach the level and adjust the three leveling screws until the circular bubble is centered. Rotate the telescope 90 degrees and re-adjust to ensure the instrument is level in all directions.
What slope is needed for property drainage?
A minimum slope of two percent is required. This equates to a 2-foot drop for every 100 feet of distance. This ensures water moves away from structures without causing surface erosion of the topsoil.
Can I use a transit level alone?
While possible with a laser level and receiver, a manual transit level requires two people. One person operates the telescope while the other holds the graduated grade rod at various points across the landscape to record elevations.
How do I find a benchmark?
Select a permanent, non-moving object like a concrete curb or a foundation corner. Assign this point an arbitrary elevation, such as 100.00 feet. All other measurements on your property will be relative to this fixed height.