7 Drainage Steps to Repot an Aloe Vera for Maximum Health
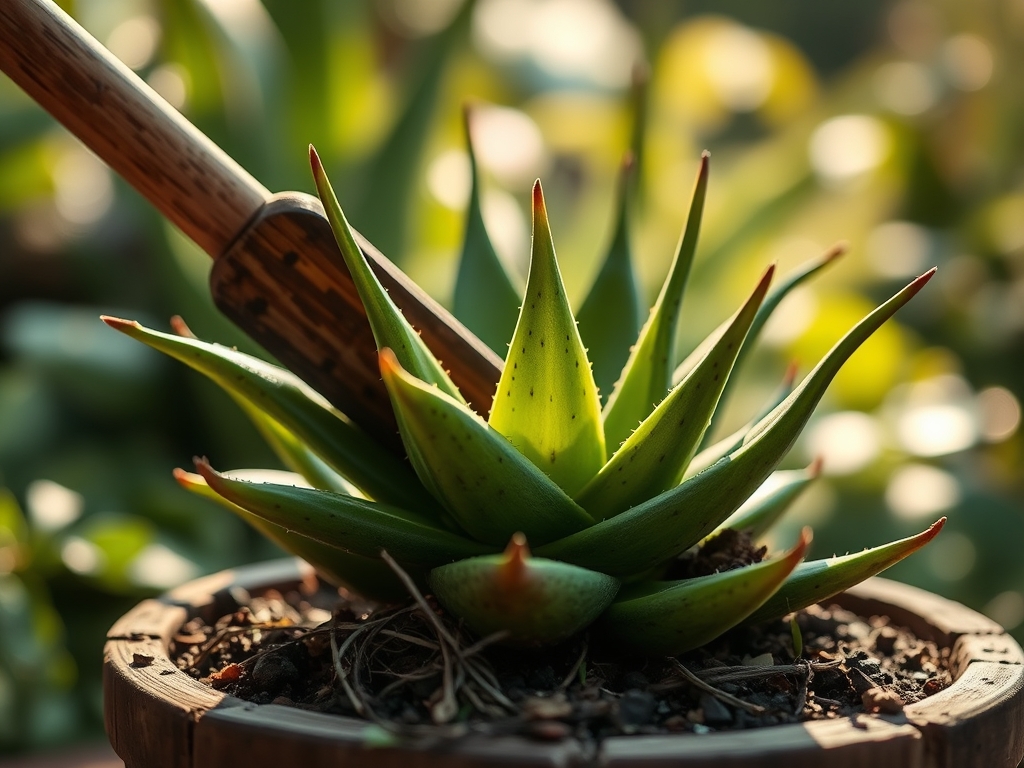
The smell of damp, anaerobic soil signals a failure in drainage that will inevitably lead to root rot. A healthy Aloe barbadensis miller displays high turgor pressure; its leaves are firm, erect, and filled with viscous parenchyma tissue. When the plant outgrows its container or the substrate collapses, you must intervene. Mastering the steps for repotting an aloe vera ensures the rhizosphere remains oxygenated and the vascular system continues to transport water efficiently.
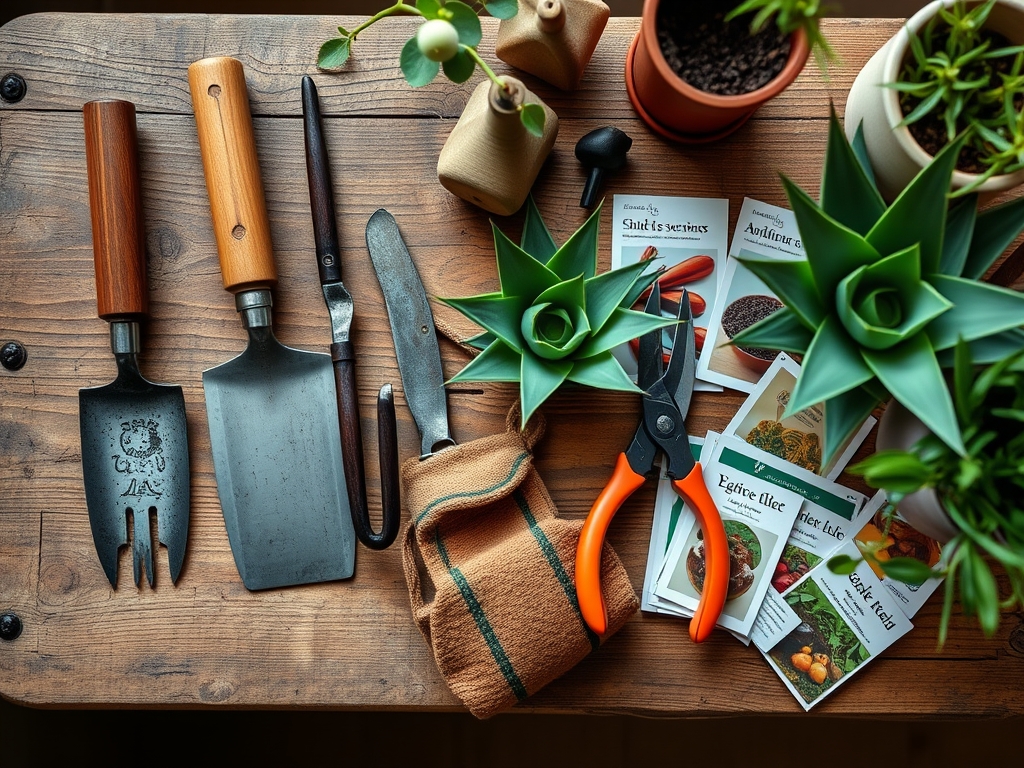
Materials:
The ideal substrate for Aloe vera is a friable loam with high porosity. Aim for a soil pH between **6.0 and 8.5**. The mixture should consist of **40 percent inorganic grit**, such as perlite or pumice, to facilitate rapid drainage. Use a low-nitrogen fertilizer with an **NPK ratio of 10-40-10** to encourage root development rather than excessive foliage growth. High phosphorus levels support the structural integrity of the cell walls during the transition. The Cation Exchange Capacity (CEC) should be moderate; this ensures the soil retains essential nutrients like magnesium and calcium without becoming waterlogged. Ensure your new container is unglazed terracotta to allow for lateral evaporation through the porous walls.
Timing:
Aloe vera thrives in Hardiness Zones 8 through 11. For indoor specimens, the biological clock is governed by light intensity and temperature rather than strict calendar dates. The optimal window for repotting is during the onset of the active growing season in early spring. This coincides with the transition from the semi-dormant winter state to the vegetative stage. Avoid repotting when the plant is under thermal stress or during the peak of summer heat. If the ambient temperature is consistently above 85 degrees Fahrenheit, the plant may enter a period of slowed metabolism to conserve moisture. Wait for a period of stable temperatures between 60 and 75 degrees Fahrenheit to minimize transplant shock.
Phases:

Sowing and Extraction
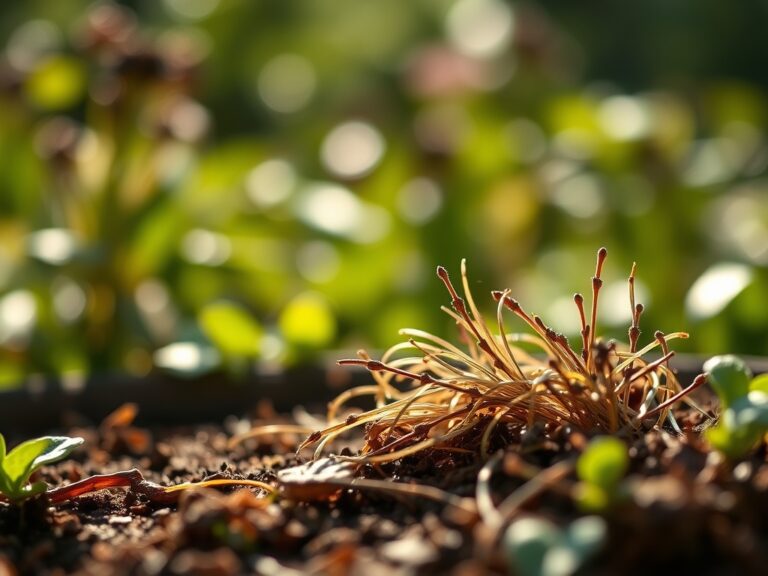
Carefully remove the Aloe from its current vessel. Use a hori-hori knife to slide along the inner perimeter of the pot to sever any roots adhered to the walls. Inspect the root ball for signs of senescence or decay. Healthy roots should be tan or white and firm to the touch. If the roots are black and mushy, they have succumbed to Pythium or other fungal pathogens.
Pro-Tip: Allow the plant to sit in a dry, shaded area for 24 to 48 hours before repotting. This allows any accidental abrasions on the root tissue to callus over. The biological why involves the formation of a suberized layer that prevents pathogens from entering the vascular system through open wounds.
Transplanting
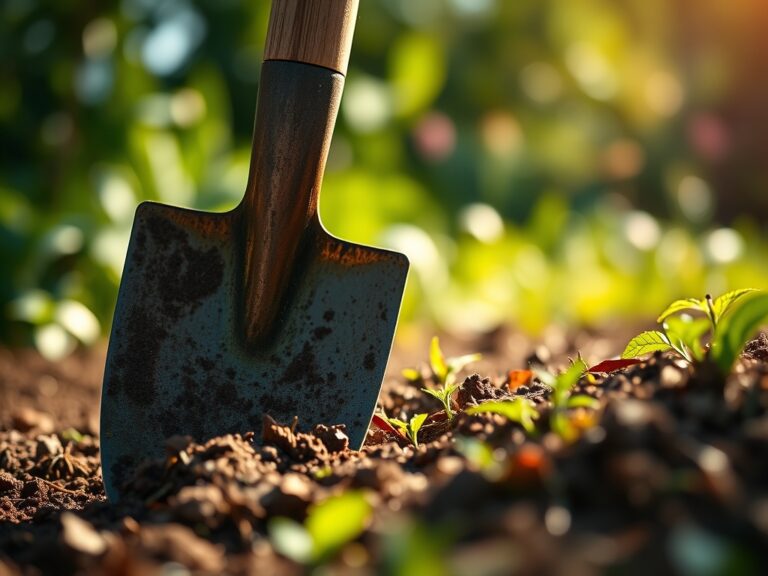
Place a layer of coarse grit at the bottom of the new pot. Position the Aloe so the crown sits exactly at the soil line. Deep planting leads to stem rot; shallow planting results in instability. Backfill with your prepared substrate, tapping the sides of the pot to eliminate large air pockets without compressing the soil too tightly.
Pro-Tip: Do not water the plant immediately after transplanting. Wait five to seven days before providing the first hydration. This delay encourages the roots to extend into the new substrate in search of moisture; a process driven by hydrotropism and the suppression of auxin in the root tips.
Establishing
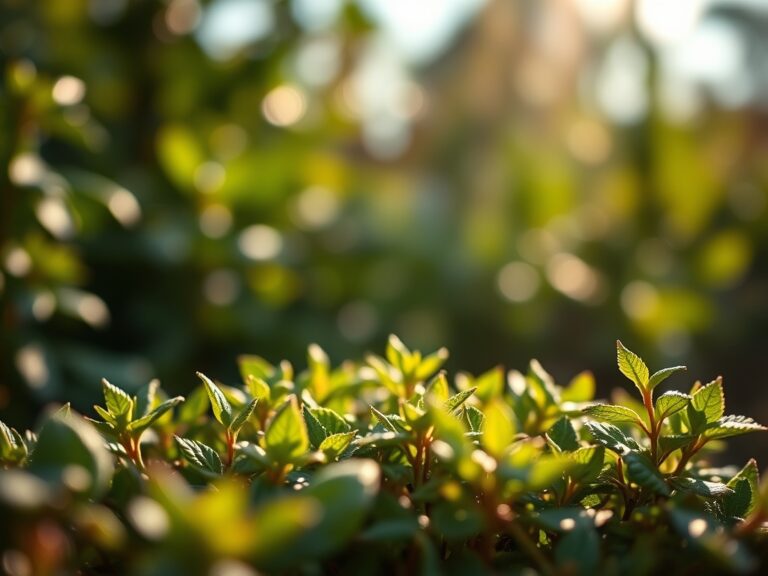
Place the repotted Aloe in a location with bright, indirect light. Direct solar radiation can cause photoinhibition and lead to leaf scorching while the root system is recovering. Monitor the turgor of the lower leaves. If they remain firm, the plant is successfully utilizing its internal water stores while the roots establish mycorrhizal symbiosis with beneficial soil fungi.
Pro-Tip: Maintain a consistent photoperiod of 12 to 14 hours of light. Stable light cycles prevent the plant from entering a stress-induced reproductive state, allowing it to focus all energy on biomass production and root anchoring.
The Clinic:
Symptom: Soft, translucent leaves.
Solution: This indicates over-saturation and cellular collapse. Cease irrigation immediately and check the drainage holes for blockages.
Symptom: Thin, curled leaves with a reddish tint.
Solution: This is a sign of drought stress or excessive UV exposure. Increase the humidity and move the plant to a location with filtered light.
Symptom: Nitrogen Chlorosis (yellowing of older leaves).
Fix-It: Apply a diluted liquid fertilizer with a balanced NPK ratio. Ensure the soil pH is not too high, as alkaline conditions can lock out essential micronutrients like iron and manganese.
Symptom: Stunted growth and salt crust on soil surface.
Fix-It: Flush the substrate with distilled water to leach out accumulated mineral salts. This restores the osmotic balance, allowing the roots to once again uptake water effectively.
Maintenance:
Precision is required for long-term health. Use a soil moisture meter to ensure the substrate is dry to a depth of 3 inches before watering. When you irrigate, apply water until it exits the drainage holes, then discard any excess in the saucer. In a typical indoor environment, this equates to approximately 1.5 inches of water every two to three weeks. Use bypass pruners to remove any spent flower stalks or dead lower leaves at the base. Always sterilize your tools with 70 percent isopropyl alcohol between cuts to prevent the transmission of systemic pathogens.
The Yield:
Harvesting Aloe gel requires a surgical approach to preserve the parent plant. Select the outermost, mature leaves. Use a sharp, sterile blade to cut the leaf at the base, near the stem. Hold the leaf vertically for 10 minutes to allow the yellow aloin sap to drain out; this substance is a bitter latex that can irritate the skin. For "day-one" freshness, wrap the harvested leaf in parchment paper and refrigerate. The gel remains biologically active for up to two weeks when kept at temperatures between 35 and 40 degrees Fahrenheit.
FAQ:
How do I know when to repot my Aloe?
Repot when roots emerge from drainage holes or the plant becomes top-heavy. This usually occurs every two to three years. Look for a decrease in growth rate and soil that dries out faster than usual.
What is the best pot for Aloe vera?
Unglazed terracotta is superior because it is porous. It allows for gas exchange and prevents moisture from trapped at the root zone. Ensure the pot has at least one large drainage hole at the base.
Can I use regular potting soil?
Standard soil retains too much moisture for succulents. Amend regular soil with 50 percent coarse sand or perlite. This ensures the drainage rate is sufficient to prevent the development of root-destroying fungi.
Why are my Aloe leaves turning brown after repotting?
This is often transplant shock or sun scald. If the roots were damaged, the plant cannot hydrate its tissues. Move the plant to a lower light area and avoid watering for one week to allow recovery.