6 Moisture Steps to Repot a Spider Plant Correctly
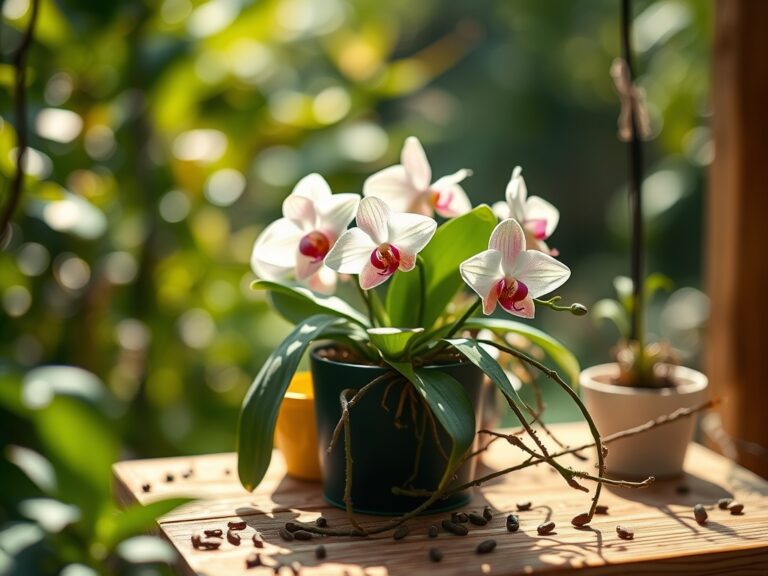
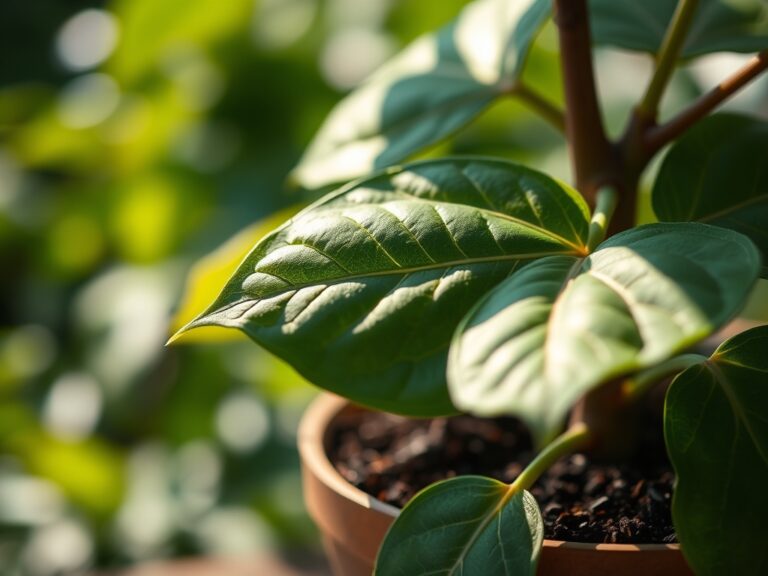
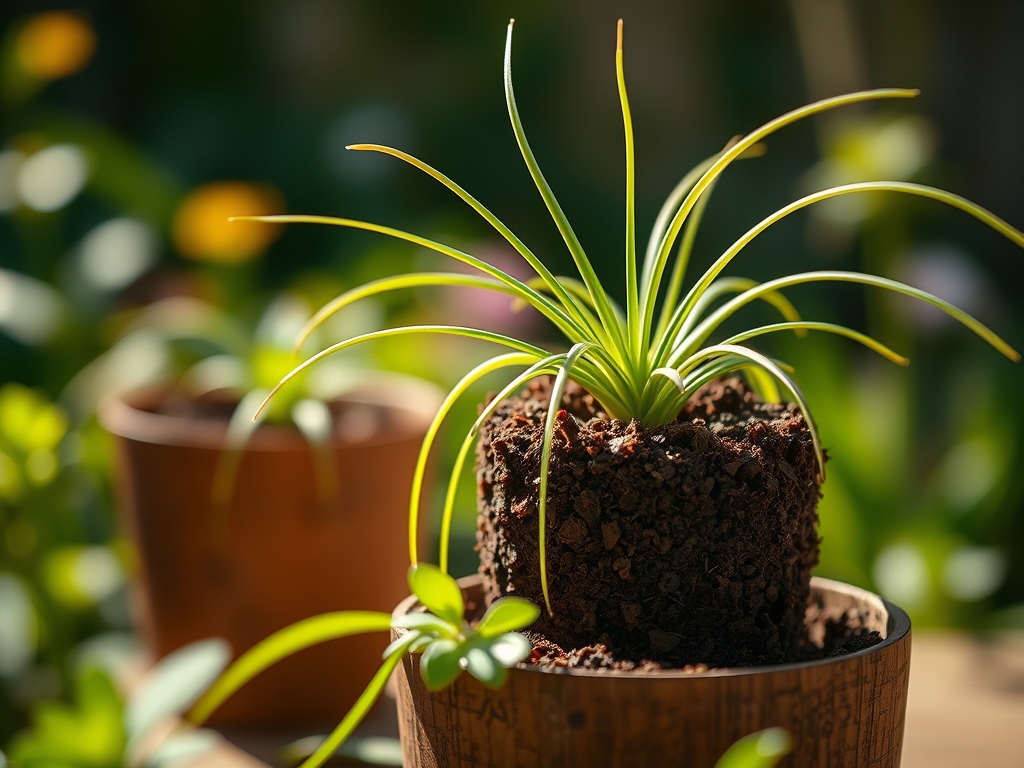
Damp earth carries a specific olfactory profile of geosmin and decomposing organic matter when you disturb a healthy root ball. A thriving Chlorophytum comosum exhibits high turgor pressure in its arching leaves; a physical rigidity that signals optimal cellular hydration. When the thick, tuberous roots begin to coil tightly against the interior of a ceramic vessel, the plant enters a state of resource restriction. Executing the correct steps for repotting a spider plant ensures that the rhizosphere remains aerated and capable of efficient nutrient uptake. Neglecting this process leads to salt accumulation and root constriction, which eventually triggers leaf tip necrosis. You must transition the plant before it becomes completely pot-bound to maintain its metabolic rate. This procedure requires a surgical focus on moisture management and substrate composition to prevent transplant shock. By following a structured protocol, you facilitate a seamless transition into a larger volume of soil, allowing the root system to expand and support new vegetative growth without the stress of sudden environmental shifts.
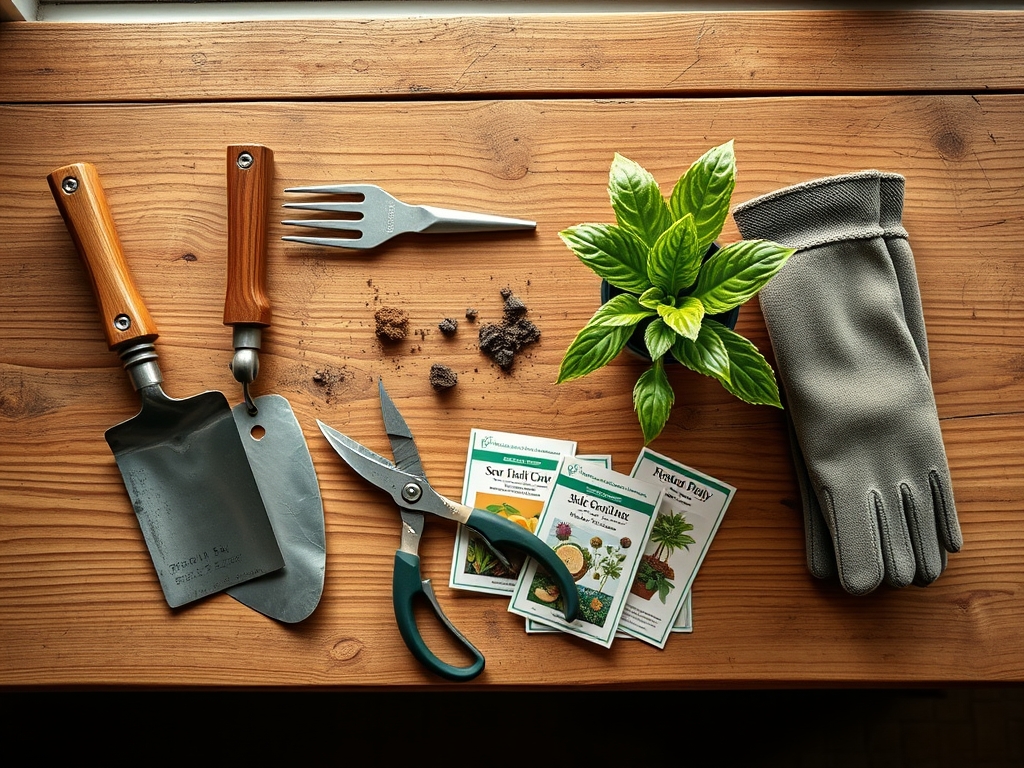
Materials:
The substrate is the foundation of the plant’s health. You require a friable loam with a **pH range between 6.0 and 7.2**. The soil must have a high Cation Exchange Capacity (CEC) to hold onto essential nutrients while allowing excess salts to leach away. Prepare a custom blend consisting of **50% peat moss or coconut coir, 30% perlite for aeration, and 20% aged compost**.
The nutrient profile should favor root development and foliage strength. Use a slow-release fertilizer with an NPK ratio of 10-15-10 mixed into the soil at a rate of one tablespoon per gallon of substrate. This phosphorous-heavy ratio supports the energy-intensive process of root establishment. Ensure the new container is only 2 inches wider in diameter than the current one; excessive soil volume leads to perched water tables and anaerobic conditions that cause root rot.
Timing:
In USDA Hardiness Zones 9 through 11, spider plants can remain outdoors year-round, but for most indoor specimens, timing depends on the biological clock. The ideal window for repotting is early spring, approximately 14 to 21 days before the spring equinox. This aligns with the plant's transition from winter dormancy to its primary vegetative growth stage.
During this period, increasing photoperiods trigger the production of auxins, the hormones responsible for root and shoot elongation. Avoid repotting during the peak of summer heat when temperatures exceed 85 degrees Fahrenheit, as the plant's transpiration rate is at its highest and the risk of desiccation is extreme. Conversely, repotting in late autumn interferes with the plant's natural senescence and preparation for lower metabolic activity during winter.
Phases:
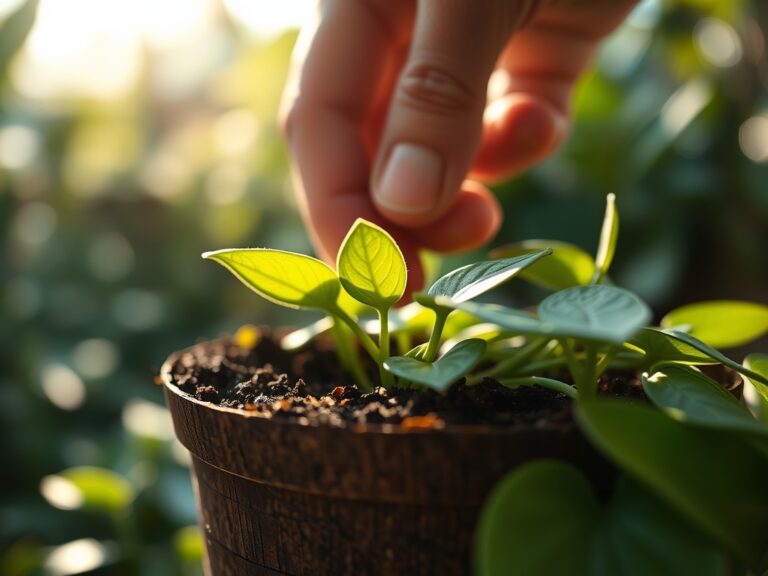
Sowing and Preparation
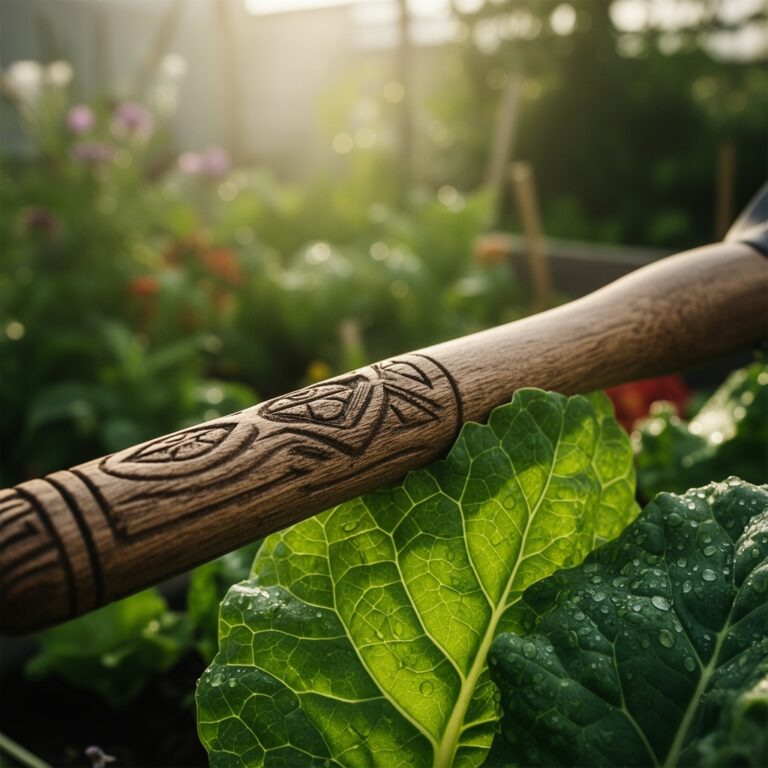
Before removing the plant, hydrate it thoroughly 24 hours in advance. This ensures the cells are at maximum turgidity, making the foliage less prone to mechanical damage. Prepare your workspace and tools; a hori-hori knife is essential for loosening the root ball if it has adhered to the pot walls.
Pro-Tip: Pre-moistening the substrate to a "wrung-out sponge" consistency prevents the dry soil from wicking moisture away from the roots immediately after transplanting. This maintains the hydrostatic pressure within the root hairs, preventing immediate cellular collapse.
Transplanting
Invert the pot and support the base of the plant between your fingers. Gravity and light tapping should release the mass. If the roots are circling the base (girdling), use bypass pruners to make three or four vertical shallow cuts around the root ball. This breaks apical dominance in the roots and encourages lateral branching into the new soil.
Pro-Tip: Stimulating lateral root growth through pruning utilizes the plant's wound-response mechanism. This triggers a localized surge in cytokinins, which are plant hormones that promote cell division and the formation of new, efficient feeder roots.
Establishing
Place the plant in the new container, ensuring the top of the root ball sits 1 inch below the rim to allow for localized watering. Fill the voids with your prepared mix, tapping the pot on a hard surface to settle the soil rather than pressing down with your hands. Pressing too hard collapses the macropores necessary for oxygen exchange.
Pro-Tip: Maintaining soil porosity is vital for mycorrhizal symbiosis. These beneficial fungi require aerobic conditions to colonize the root system and assist the plant in phosphorus uptake, which is critical during the first 30 days of establishment.
The Clinic:
Physiological disorders in spider plants often manifest through foliage changes. Use the following diagnostic criteria to troubleshoot:
- Symptom: Brown, crispy leaf tips.
- Solution: This is often caused by fluoride or chlorine toxicity in municipal water. Switch to distilled water or rainwater. Ensure the soil is flushed every 90 days to remove accumulated mineral salts.
- Symptom: Pale, yellowing leaves (Chlorosis).
- Solution: This indicates a Nitrogen deficiency or a pH imbalance preventing nutrient uptake. Test the soil pH; if it is above 7.5, apply a chelated iron supplement or a high-nitrogen (20-10-10) liquid fertilizer at half strength.
- Symptom: Soft, translucent leaves at the base.
- Solution: This is a sign of Pythium root rot caused by overwatering. Immediately reduce irrigation and check that the drainage holes are not obstructed.
Fix-It for Nutrient Deficiency: If you observe interveinal chlorosis on new growth, the plant likely lacks magnesium. Mix one teaspoon of Epsom salts into a quart of water and apply as a soil drench to restore chlorophyll production.
Maintenance:
Post-repotting care requires precision. Use a soil moisture meter to monitor the substrate; do not water until the top 2 inches of soil register as "dry" or approximately 30% moisture content. In a standard indoor environment, this usually equates to 1.5 inches of water per week applied directly to the soil surface.
Avoid getting water in the central crown of the plant, as stagnant water here can lead to crown rot. Every 6 months, use your bypass pruners to remove spent flower stalks or "babies" (plantlets) to redirect energy back into the main root system. If the plant is situated near a window, rotate it 90 degrees every week to ensure even light distribution and prevent lopsided growth due to phototropism.
The Yield:
While spider plants are not edible, they produce "yield" in the form of plantlets. These should be harvested when the small nodes at the base of the plantlet show visible root nubs of at least 0.5 inches. Use a sharp knife to sever the stolon (runner) close to the plantlet.
For "day-one" freshness and successful propagation, immediately place the harvested plantlet into a small vessel of dechlorinated water or a moist vermiculite starter. Maintain a constant temperature of 70 to 75 degrees Fahrenheit during the rooting phase. Once the new roots reach 2 inches in length, they are ready for their first potting in the standard friable loam mix described above.
FAQ:
How do I know when to repot?
Observe the drainage holes. If thick, white, tuberous roots are protruding or if water sits on the soil surface for more than 30 seconds, the plant is root-bound. The pot may also bulge or crack from internal pressure.
What is the best soil for spider plants?
Use a well-draining, peat-based mix with a pH of 6.0 to 7.2. A blend of 50% organic matter and 50% inorganic aggregates like perlite or coarse sand ensures the necessary aeration for the rhizosphere.
Can I use tap water after repotting?
Spider plants are sensitive to fluoride and salts. Use distilled water or rainwater for the first three waterings after repotting to minimize stress on the newly pruned root system and prevent immediate leaf tip necrosis.
How much bigger should the new pot be?
Select a container that is 2 inches larger in diameter than the previous one. A pot that is too large holds excessive moisture, leading to anaerobic conditions and increasing the risk of fungal root pathogens like Rhizoctonia.