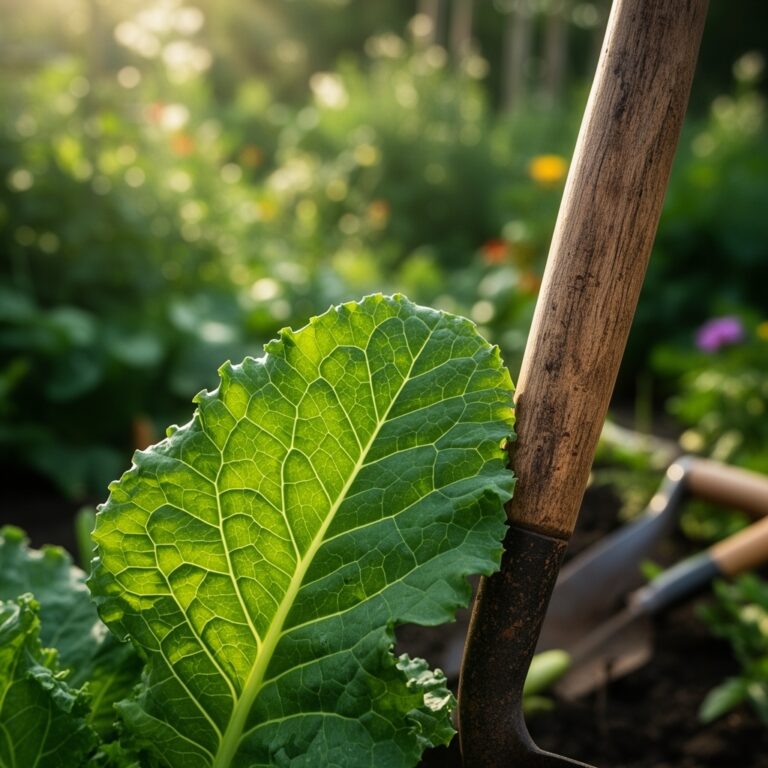
7 Irrigation Steps to Install a Tap for Localized Vegetable Watering
The first time water surges through a dedicated garden tap—cool, pressurized, exactly where your tomatoes and peppers need it—the relief is immediate. No more dragging hoses across beds, crushing seedlings underfoot, or waiting for distant spigots to fill watering cans. Implementing the steps for installing a vegetable garden tap transforms daily irrigation from a logistics puzzle into a precise horticultural act. Within an afternoon, you can route mains pressure to the edge of your raised beds, attach drip lines or soaker hoses, and deliver moisture at root depth without wetting foliage or inviting fungal pathogens.
Materials
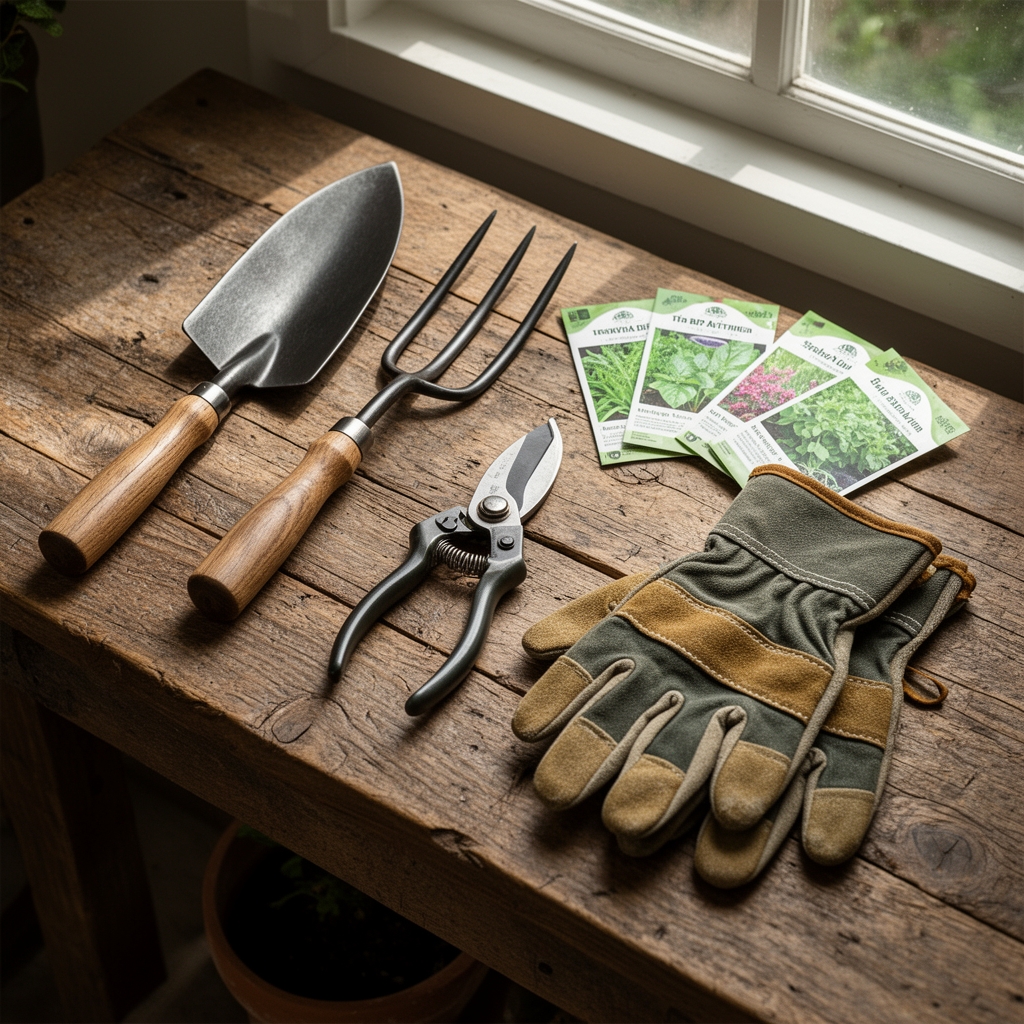
Gather a brass or stainless-steel garden tap rated for 60–80 psi. Avoid zinc-coated fittings; leachate can lower soil pH below 5.5, inhibiting calcium uptake. Purchase 1/2-inch polyethylene tubing (PE-HD grade) for underground runs, brass compression elbows, and PTFE tape. A trenching spade or mini-excavator speeds soil removal. For cation exchange capacity above 15 meq/100g (clay loam), add a gravel collar around the riser pipe to prevent frost heave. If your municipal supply is chlorinated above 2 ppm, install a simple carbon filter inline; chlorine at that level disrupts mycorrhizal fungi colonization rates by 30 percent.
For backfill, mix native soil with coarse sand at a 3:1 ratio if drainage is poor. Amend with a 4-4-4 organic meal (feather meal, bone meal, kelp) at 1 lb per cubic foot of disturbed earth. This feeds soil microbes without spiking nitrogen, which would encourage vegetative sprawl at the expense of fruit set. Keep a pH test kit on hand; aim for 6.2–6.8 around the tap zone to optimize nutrient availability.
Timing
Install taps after the last frost date but before transplanting warm-season crops. In Zones 5–6, mid-April to early May is ideal; soil temperature stabilizes above 50°F, reducing trench slump. Zones 7–8 can begin late March. In Zones 9–10, winter installation (December–January) avoids summer hardpan and allows trench consolidation before spring planting. Avoid frozen ground; PVC and polyethylene fittings crack under torque when soil temps drop below 28°F. Schedule the work two weeks before setting out tomato, pepper, or eggplant transplants so the riser settles and any soil compaction resolves.
Phases

Sowing the Foundation (Steps 1–2)
Mark the tap location 12–18 inches outside your garden perimeter, downhill if possible to exploit gravity drainage. Excavate a trench 12 inches deep from the main supply line to this point, maintaining a 1-percent grade (1-inch drop per 8 feet) to prevent standing water. Lay PE tubing in the trench, leaving 6 inches of slack for thermal expansion. Backfill halfway with sand-amended native soil, tamping every 3 inches to eliminate air pockets that cause settling.
Pro-Tip: Before final backfill, inoculate the trench base with endo-mycorrhizal fungi spores (Glomus intraradices) at 1 oz per 10 linear feet. Root exudates from nearby vegetables will activate the network, increasing phosphorus uptake by 25 percent.
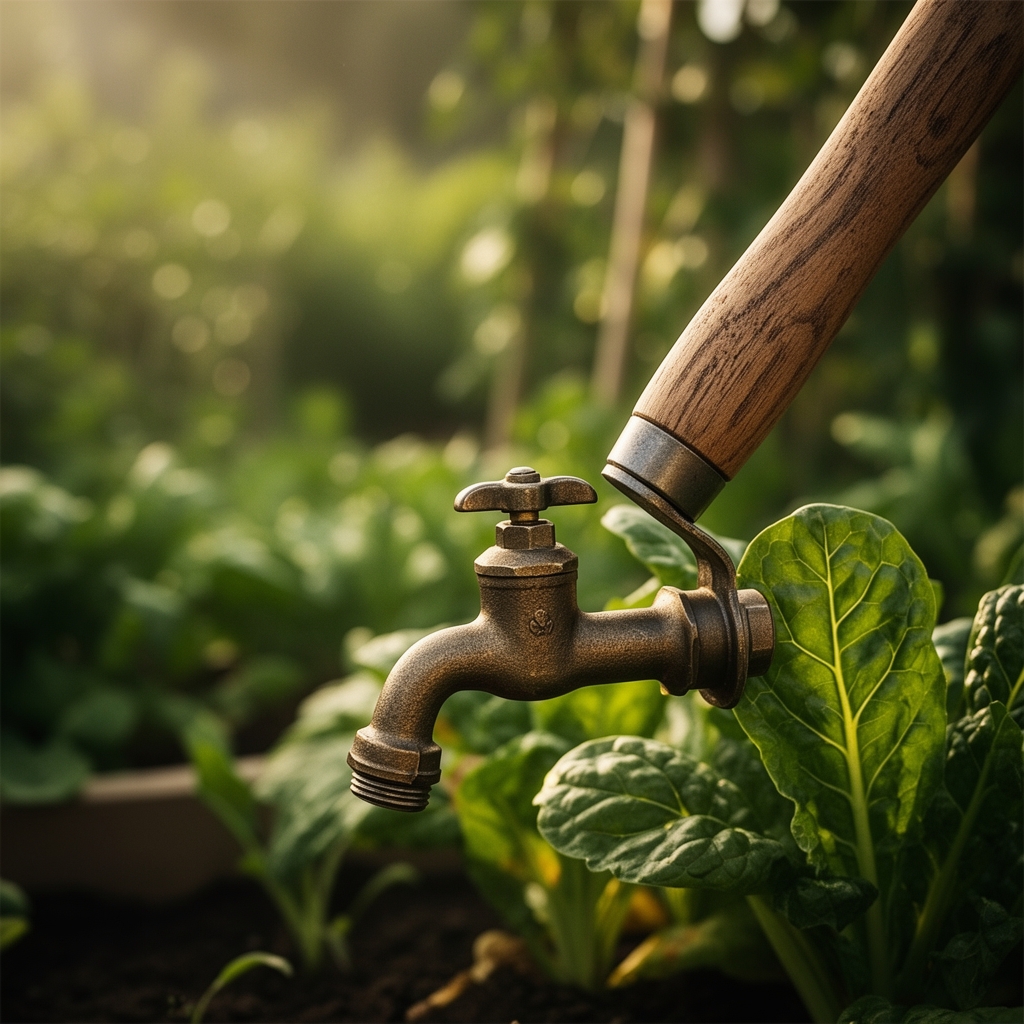
Transplanting the Riser (Steps 3–4)
Thread the PE tubing through a 4-inch diameter PVC sleeve extending from trench depth to 6 inches above grade. This sleeve prevents lateral soil pressure from crimping the line. Attach a brass compression tee at the top, then screw in the garden tap body. Wrap threads with three layers of PTFE tape, winding clockwise to prevent unraveling under torque. Hand-tighten, then add one-quarter turn with a wrench; over-tightening crushes the tubing's inner wall.
Install a gravel collar (3/8-inch crushed granite) around the PVC sleeve to a 6-inch radius. This drains capillary moisture away from the fitting, reducing frost heave risk by 40 percent in Zones 4–6.
Pro-Tip: Orient the tap handle at a 45-degree downward angle when closed. Auxin distribution in climbing beans and pole peas improves when drip lines exit low, minimizing stem deflection stress.
Establishing the System (Steps 5–7)
Connect a short length of garden hose or drip manifold to the tap. Open the main supply valve slowly, then crack the garden tap one-quarter turn. Inspect all compression joints for weeping. A few drops are acceptable; steady drips indicate under-torqued fittings. Tighten incrementally. Flush the line for 60 seconds to expel installation debris, then close the tap.
Backfill the remaining trench, mounding 2 inches above grade to account for settling. Mulch with shredded hardwood bark to a 3-inch depth, keeping mulch 4 inches clear of the PVC sleeve to deter voles.
Pro-Tip: Install a vacuum breaker (anti-siphon valve) 12 inches downstream of the tap if your garden sits below the main supply elevation. This prevents soil water from back-siphoning into potable lines during pressure drops.
Troubleshooting
Symptom: Tap drips when closed.
Solution: Replace the internal washer (usually neoprene or silicone). Unscrew the packing nut, slide out the stem, and press a new 1/2-inch washer into the seat. Calcium deposits scoring the brass seat require light sanding with 400-grit emery cloth.
Symptom: Low water pressure at tap compared to indoor faucets.
Solution: Flush the inline filter screen. Sediment accumulation reduces flow by 50 percent after six months in sandy soils. If no filter exists, check for partial blockage in the PE tubing; roots from nearby willows or poplars can invade cracks.
Symptom: PVC sleeve heaves above grade each spring.
Solution: Expand the gravel collar to 12-inch radius and 18-inch depth. In Zones 3–4, consider a heated trace cable (5 watts per foot) along the riser during December–February.
Symptom: Chlorosis in leafy greens near the tap.
Solution: Test soil pH. Brass leachate lowers pH over 2–3 seasons. Broadcast dolomitic lime at 5 lbs per 100 sq ft in late fall to restore 6.5 pH and calcium-to-magnesium balance.
Maintenance
Flush the system every two weeks during the growing season by opening the tap fully for 90 seconds. This purges biofilm and particulate buildup. Apply 1 inch of water per week at the tap location if rainfall is below that threshold; measure with a rain gauge placed at the tap's drip radius. Before first frost, drain the line by opening the tap and blowing compressed air (30 psi maximum) through the upstream connection. Remove the tap body and store indoors to prevent freeze fractures in the valve core.
Inspect compression fittings each April. Re-wrap PTFE tape annually; polyethylene's thermal cycling degrades the seal by 10 percent per season. Reapply mycorrhizal inoculant every third year by pouring a slurry (1 oz spores in 1 gallon dechlorinated water) into the gravel collar in early March.
FAQ
How deep should the supply trench run in Zone 5?
Twelve inches below grade places the line beneath the average frost penetration depth of 36 inches for horizontal runs, assuming a gravel-bedded trench that drains freely.
Can I use PVC pipe instead of polyethylene tubing?
Yes, but schedule-40 PVC requires rigid couplings every 10 feet and cannot flex around rocks. PE tubing simplifies routing and resists impact cracking in freeze-thaw cycles.
Will the tap reduce water pressure for indoor fixtures?
No, if your main supply delivers 60 psi or higher. A 1/2-inch garden tap draws 4–6 gallons per minute, well within typical municipal capacity of 15+ GPM.
What thread size fits standard drip-irrigation timers?
Most garden taps use 3/4-inch male hose threads (MHT). Battery-operated timers with 3/4-inch female hose threads (FHT) screw directly onto the tap body without adapters.
How often should I replace the inline filter cartridge?
Every six months in sandy or silt soils. Clay soils with low sediment load may extend replacement to annual intervals. Inspect monthly during peak irrigation season.