7 Classic Steps to Build a Garden Gazebo for Vegetable Viewing
The morning sun filters through lattice walls onto rows of ripening tomatoes while you sip coffee beneath the shelter of your own garden structure. A well-positioned gazebo transforms vegetable observation from a chore into a sanctuary. Following proven steps for building a vegetable garden gazebo ensures you create both functional workspace and peaceful retreat within arm's reach of your raised beds and trellises.
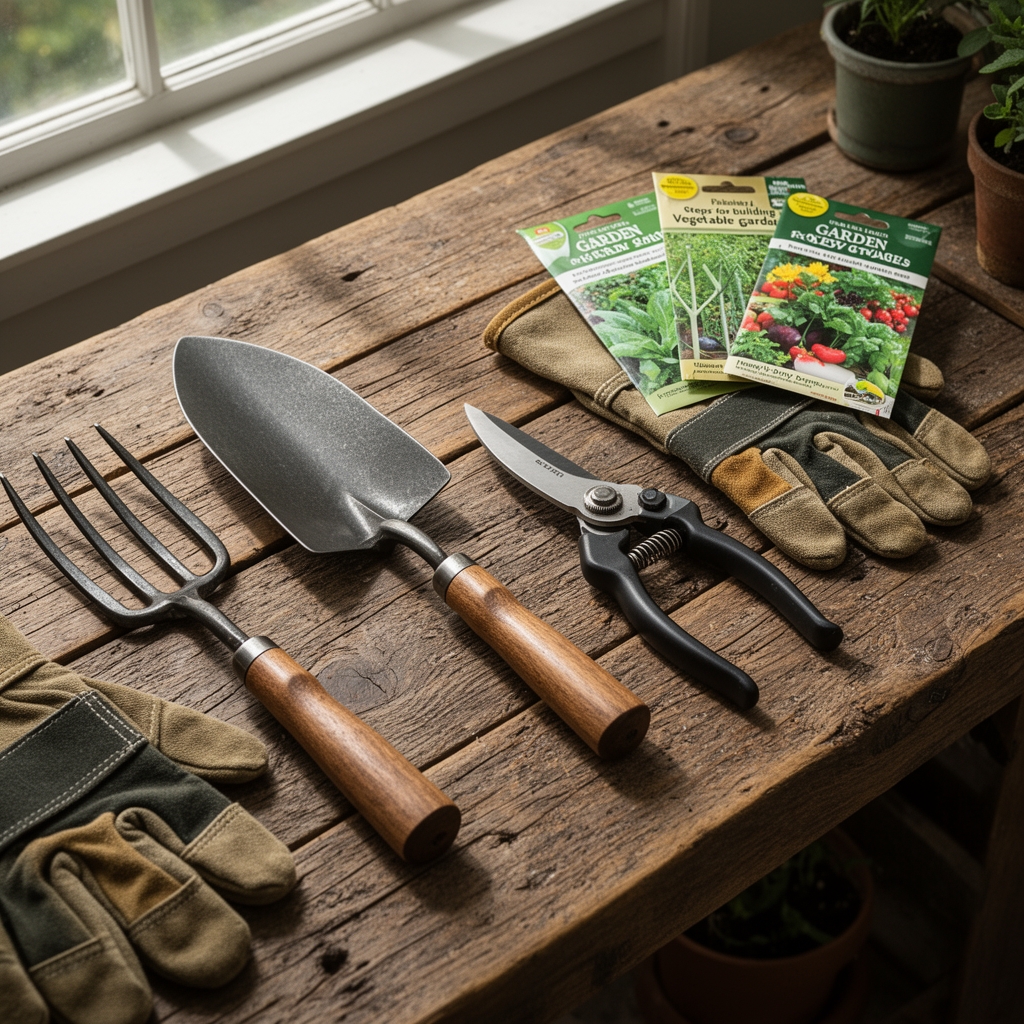
Materials
Pressure-treated lumber forms the foundation. Select 4×4 posts rated for ground contact, milled from southern yellow pine with copper azole preservative. These posts resist decay for 15-20 years when properly installed below frost line.
Cedar shingles or corrugated polycarbonate panels provide overhead coverage. Cedar contains natural oils that repel insects and maintain structural integrity through freeze-thaw cycles. Polycarbonate transmits 88% of photosynthetically active radiation, supporting adjacent plantings while blocking UV degradation.
Hardware requires galvanized or stainless steel. Use 3-inch deck screws, joist hangers rated for 500 pounds, and lag bolts of 3/8-inch diameter. Corrosion from fertilizer salts and irrigation mist will compromise standard zinc plating within three seasons.
Concrete mix for footings should test at 3,000 PSI minimum. A standard 50-pound bag of Quikrete yields 0.375 cubic feet when hydrated. Calculate eight bags per post for a 12-inch diameter footing extending 36 inches deep.
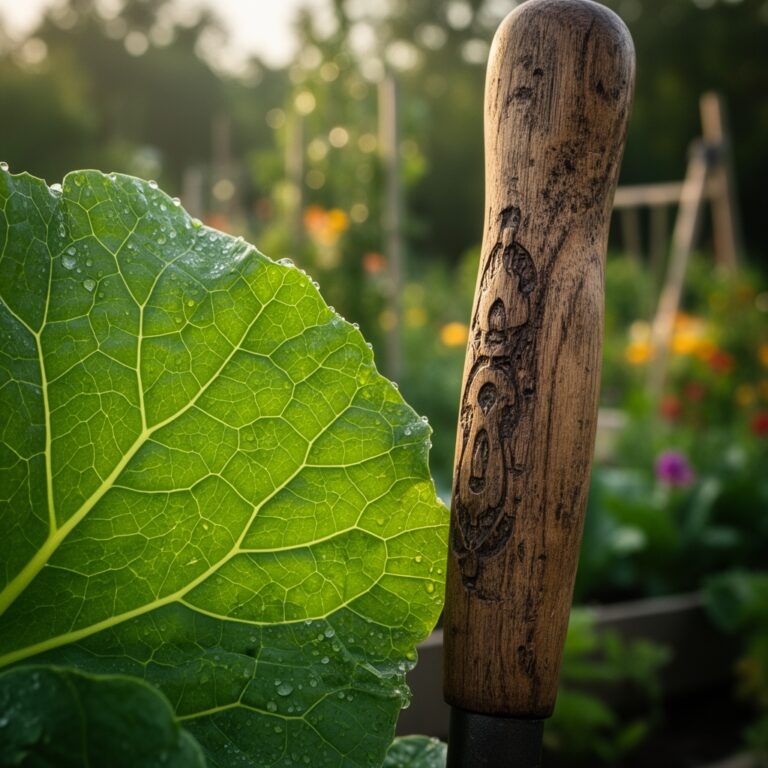
Lattice panels in 4×8 sheets create visual interest and support climbing varieties. Mount panels between posts using quarter-round molding and finish nails. The diamond pattern accommodates pole beans, cucumbers, and ornamental gourds that benefit from auxin distribution along vertical surfaces.
Stain or sealant extends wood life by 40%. Choose water-based acrylic formulations with mildewcide additives. These products maintain cation exchange capacity in surrounding soil better than oil-based alternatives that leach petrochemicals during rainfall.
Timing
Begin construction in Zones 3-5 during late April through May, after final frost date but before peak growing season demands attention. Soil temperature reaches 55°F, allowing comfortable excavation without frost heave concerns.
Zones 6-8 permit year-round construction, though October through March offers cooler temperatures for physical labor. Concrete cures optimally between 50-75°F. Temperatures below 40°F require insulated blankets over fresh footings for 72 hours.
Zones 9-10 should avoid midsummer work. Ambient temperatures exceeding 95°F accelerate concrete curing beyond ideal rates, potentially causing surface cracking and reduced compressive strength.
Schedule foundation work two weeks before transplanting summer crops. The gazebo then serves as staging area for seedling hardening-off, protecting tender starts from wind damage while acclimating them to direct sun exposure.
Phases
Foundation and Post Installation
Mark an octagonal footprint using stakes and mason's line. Each post hole requires 12-inch diameter and depth of 36 inches in Zones 5 and colder, 24 inches in warmer zones. Pour 6 inches of gravel base before setting posts. This drainage layer prevents frost heave and wicking moisture into end grain.
Mix concrete to consistency of thick oatmeal. Fill holes, tamping every 4 inches to eliminate air pockets. Insert posts, checking plumb on two adjacent faces. Brace with diagonal 2x4s staked 4 feet from base. Allow 48-hour cure before removing braces.
Pro-Tip: Coat below-grade post sections with rubberized foundation sealant. This barrier prevents capillary action from drawing soil moisture above concrete collar.

Frame Construction
Install support beams connecting post tops using Simpson Strong-Tie LUS joist hangers. Cut beams to precise length with 10-inch compound miter saw. Beams must sit level within 1/8 inch over 8-foot span.
Rafters extend from central hub to beam tops at 22.5-degree intervals for octagonal design. Cut bird's mouth notches where rafters meet beams, removing 1.5 inches of depth to create bearing surface. Secure with three 3-inch screws per connection, driven at 30-degree angles to maximize shear strength.
Install cross-bracing between rafters using 2×4 stock. This triangulation resists lateral wind loads up to 70 mph in properly anchored structures.
Pro-Tip: Pre-drill all screw holes 1/8 inch smaller than fastener diameter. This prevents splitting while maintaining pullout resistance exceeding 400 pounds per screw.
Roof and Finishing
Attach roof panels working from perimeter toward center. Overlap polycarbonate sheets 2 inches, sealing with butyl tape. Cedar shingles require 5-inch exposure with 1-inch overlap, starting from eave and progressing to peak.
Install lattice panels between posts. Cut openings where panels interfere with climbing supports already established with mycorrhizal fungi colonization.
Apply two coats of semi-transparent stain. First coat penetrates 1/8 inch into wood fiber. Second coat, applied after 24-hour dry time, builds surface film that sheds water at 45-degree angle.
Pro-Tip: Add copper strips along roof ridge. Oxidized copper releases ions that inhibit moss and algae growth for 7-10 years.
Troubleshooting
Symptom: Posts lean after first winter.
Solution: Frost heave indicates insufficient depth. Excavate to frost line plus 6 inches. Install concrete collars extending to proper depth. Posts in Zones 3-4 require 42-inch footings.
Symptom: Roof drips collect on vegetable foliage below.
Solution: Install aluminum drip edge along eave perimeter. Angle edge 15 degrees downward. Add rain chains directing water to collection barrels positioned 8 feet from plantings.
Symptom: Wood splinters within 18 months.
Solution: Insufficient sealant coverage permits moisture penetration. Sand affected areas to bare wood using 80-grit paper. Apply three thin coats rather than two heavy applications.
Symptom: Carpenter bees bore into posts.
Solution: Fill existing holes with wood putty containing boron. Coat all exposed surfaces with almond oil monthly during April-June emergence period. Install bee houses 30 feet distant to provide alternative nesting sites.
Symptom: Structure sways during wind events.
Solution: Add knee braces connecting posts to beams at 45-degree angles. Each brace requires 24-inch length cut from 2×6 stock. This diagonal reinforcement increases rigidity by 300%.
Maintenance
Inspect fasteners each spring and fall. Retighten any lag bolts showing 1/4-turn of play. Check for rust bloom indicating compromised galvanization.
Reseal wood surfaces every 24 months. Clean using oxygen bleach solution mixed at 1 cup per gallon before application. This removes mildew without damaging wood lignin.
Apply 1 inch of water weekly to plantings visible from gazebo. Morning irrigation reduces foliar disease pressure by 60% compared to evening watering.
Prune climbing plants monthly during growing season. Remove lateral shoots exceeding 18 inches to maintain sightlines while concentrating plant energy into fruit production.
Clear leaf litter from roof quarterly. Decomposing organic matter creates acidic conditions that accelerate fastener corrosion and wood decay.
FAQ
How long does gazebo construction take?
Plan 16-20 labor hours spread across four days. Concrete curing requires 48-hour intervals between foundation and framing phases.
What size accommodates two people and tool storage?
An 8-foot octagon provides 200 square feet, sufficient for bench seating and a 4×2 storage cabinet while maintaining clearance around edges.
Can I build on sloped ground?
Grade changes up to 18 inches accommodate stepped footings. Each post footing must reach undisturbed soil. Steeper slopes require professional assessment for proper drainage and stability.
Do I need building permits?
Structures under 120 square feet without electrical service typically exempt in most jurisdictions. Verify local codes before excavation. Setback requirements commonly mandate 5-foot minimum distance from property lines.
Which vegetables grow best near gazebos?
Heat-tolerant crops thrive in reflected warmth. Plant peppers, eggplant, and cherry tomatoes within 6 feet of posts where soil temperature increases 3-5°F above ambient. Position leafy greens in afternoon shade cast by roof overhang.