7 Steps to Prepare a Scenic Permanent Property Bench Site
The smell of damp earth after a saturation event signals the peak of microbial activity within the rhizosphere. When you press your thumb against a leaf, the turgor pressure should resist your touch; a sign of optimal cellular hydration and vascular health. Integrating a permanent structure into this living environment requires more than a level eye. Learning how to prepare a site for a garden bench involves managing soil compaction, drainage kinetics, and the physiological needs of the surrounding flora. A bench is not merely furniture; it is a heavy anchor that alters the local microclimate and soil gas exchange. If the site is poorly prepared, the weight of the bench compresses the pore space, suffocating aerobic bacteria and inducing root rot in nearby specimens. Successful installation demands a technical understanding of the substrate and the biological cycles of the landscape.
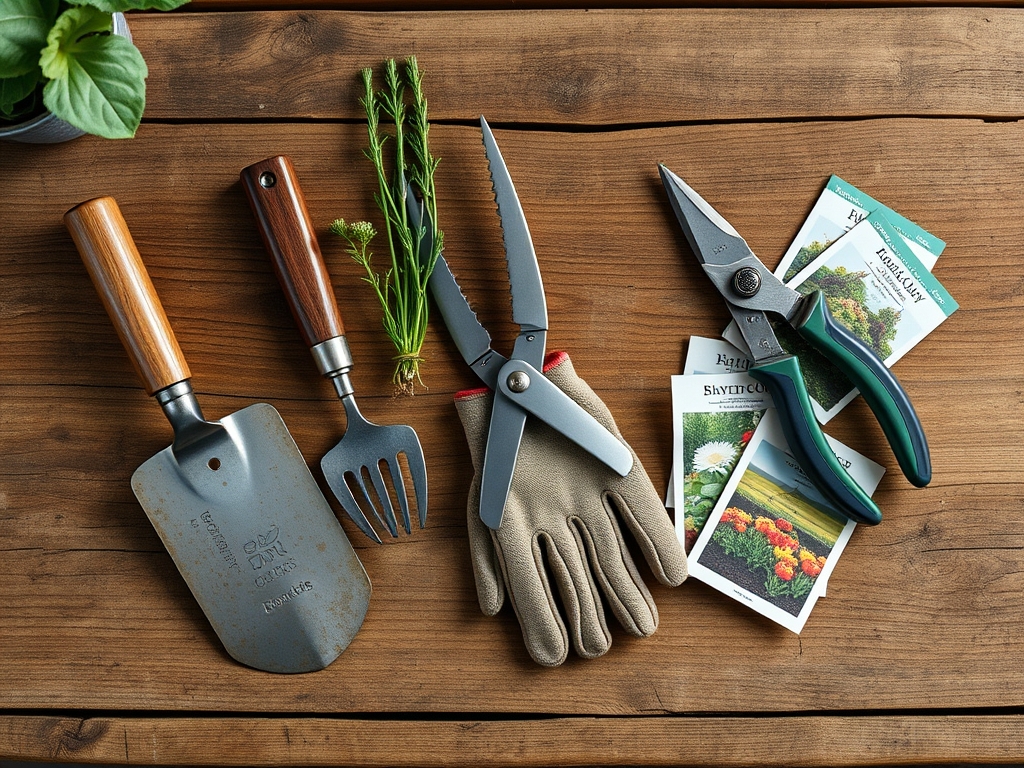
Materials:
The foundation of a permanent site begins with the chemical and physical analysis of the soil. Aim for a **pH range of 6.2 to 6.8** to ensure maximum nutrient bioavailability for the surrounding ornamental plants. The ideal substrate is a **friable loam** consisting of 40 percent sand, 40 percent silt, and 20 percent clay. This ratio provides a high Cation Exchange Capacity (CEC), allowing the soil to hold onto essential nutrients like Calcium and Magnesium rather than leaching them during heavy rain.
For the surrounding vegetation, maintain a nutrient profile of 10-10-10 NPK (Nitrogen, Phosphorus, Potassium) to support balanced growth. Nitrogen drives vegetative biomass; Phosphorus facilitates root development and ATP energy transfer; Potassium regulates stomatal opening and water retention. Use a base of 4 inches of crushed 3/4-inch minus limestone for the bench footprint to ensure structural stability and rapid drainage away from the bench legs.
Timing:
Installation should occur during the dormant season or early spring before the "Biological Clock" shifts from vegetative growth to reproductive stages. In Hardiness Zones 5 through 7, the window opens once the soil temperature reaches a consistent 45 degrees Fahrenheit but before the first flush of spring growth. This timing prevents excessive stress on the root systems of nearby perennials that may be disturbed during excavation.
Monitor the photoperiod; as days lengthen, plants increase their metabolic rate. Performing site work during the transition from senescence to active growth allows the soil to settle while the roots are still in a low-oxygen demand state. Avoid site preparation during periods of high heat or drought, as the loss of soil moisture will cause the soil structure to collapse, leading to permanent compaction and reduced porosity.
Phases:
Sowing the Perimeter
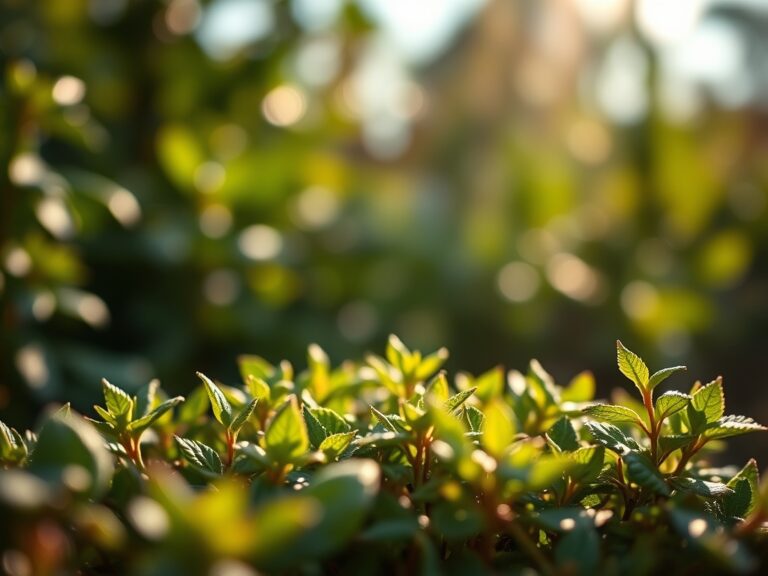
Before the bench is placed, establish low-impact groundcovers or structural grasses around the perimeter. Use a seeding rate of 5 pounds per 1,000 square feet for fescues or similar hardy species. Ensure the seed-to-soil contact is firm to facilitate imbibition, the process where the seed absorbs water to trigger germination.
Pro-Tip: Utilize mycorrhizal inoculants during sowing. This establishes a mycorrhizal symbiosis where fungal hyphae extend the root system's reach, increasing phosphorus uptake and drought resistance for the plants bordering the bench site.
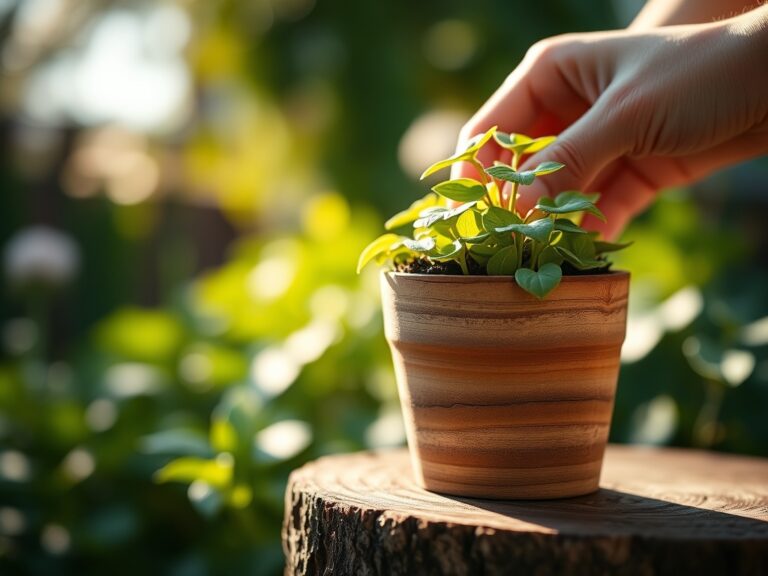
Transplanting Surrounding Flora
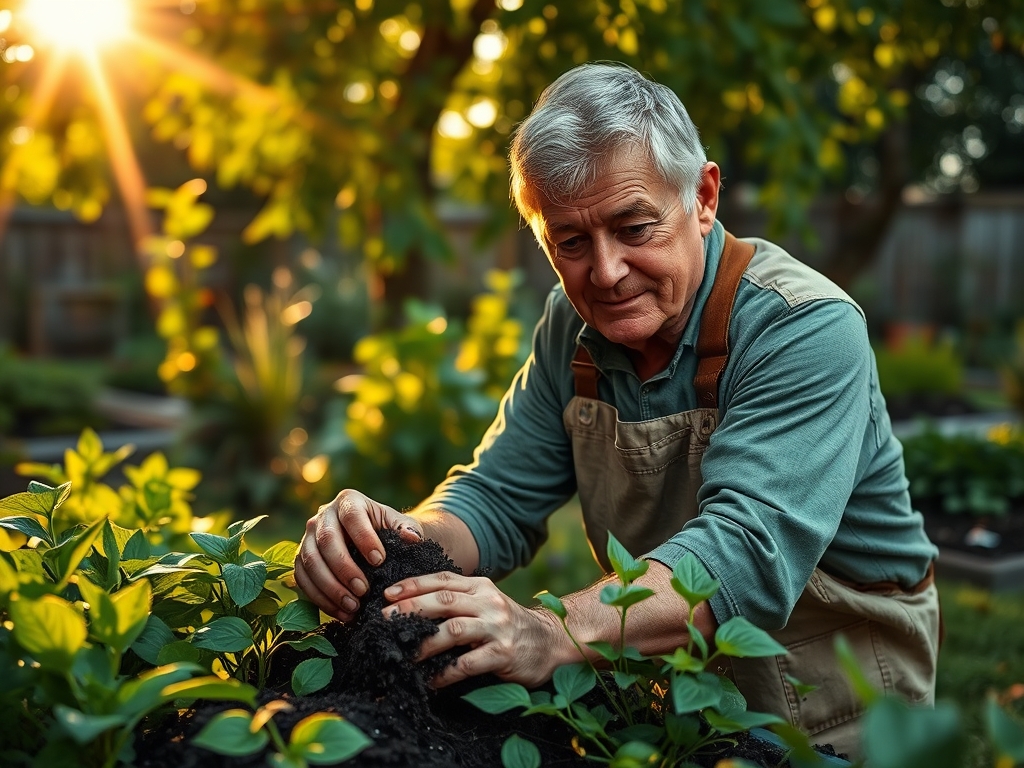
If the bench site requires moving existing shrubs, dig a root ball that is at least 12 inches wider than the current canopy spread. Maintain the original planting depth to prevent stem girdling or root suffocation. Use a hori-hori knife to clean any jagged root edges, which promotes faster callous formation and new root initiation.
Pro-Tip: When pruning back disturbed shrubs, avoid removing the terminal buds unless necessary. This prevents auxin suppression; the hormone auxin is produced in the tips and travels downward to inhibit lateral bud growth, maintaining the plant's natural architectural form.
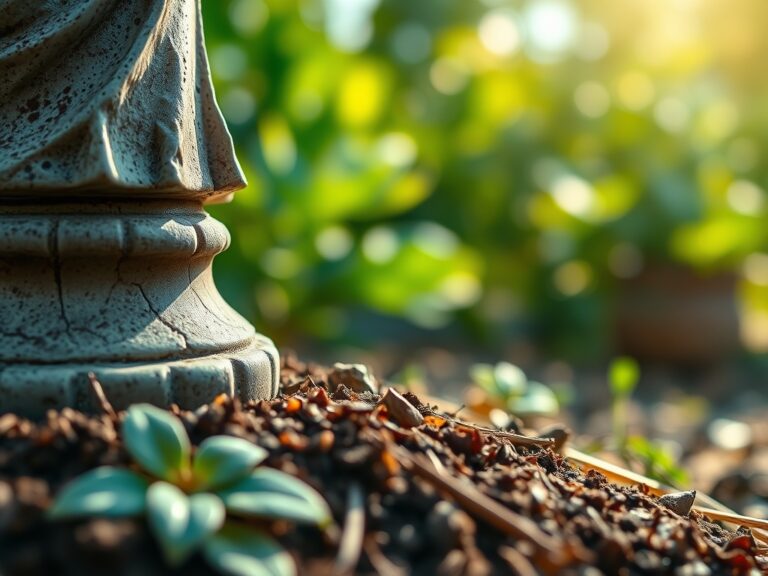
Establishing the Base
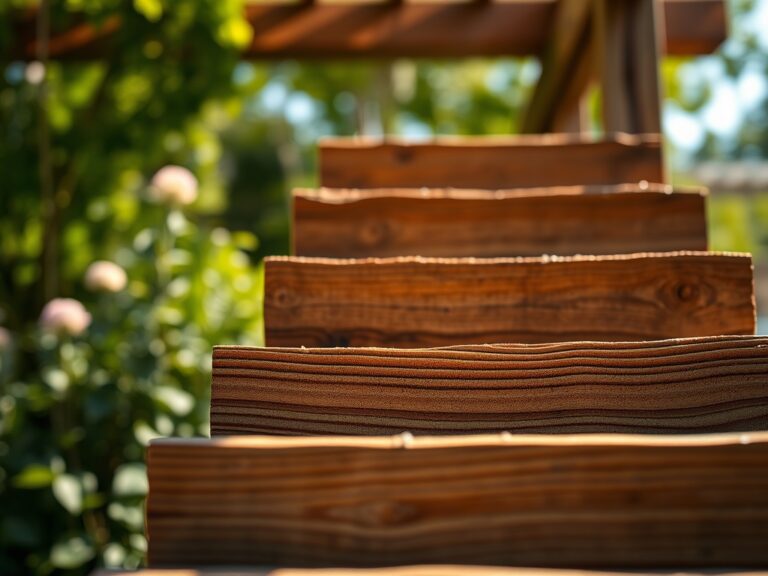
Excavate the site to a depth of 6 inches. Line the base with a heavy-duty geotextile fabric to prevent the migration of fines into the gravel layer. Fill with 4 inches of compacted aggregate, followed by a 2-inch leveling layer of coarse sand. This creates a stable platform that resists frost heave and ensures the bench remains level through seasonal freeze-thaw cycles.
Pro-Tip: Ensure the site has a 2 percent slope away from the center. This utilizes gravity to prevent water pooling, which would otherwise lead to anaerobic soil conditions and the localized death of beneficial soil microbes.
The Clinic:
Observe the surrounding vegetation for signs of physiological distress caused by the site installation.
- Symptom: Interveinal chlorosis (yellowing between leaf veins).
- Solution: This indicates a Manganese or Iron deficiency, often caused by a pH spike from the limestone base. Apply a chelated micronutrient foliar spray to bypass soil lock-up.
- Symptom: Leaf scorch or marginal necrosis.
- Solution: Likely a sign of Potassium deficiency or high salinity from de-icing salts. Flush the soil with 2 inches of fresh water to leach excess salts and apply a high-potash fertilizer.
- Symptom: Stunted growth and dark purple foliage.
- Solution: Phosphorus deficiency caused by cold soil temperatures or compaction. Aerate the soil around the bench with a garden fork to increase oxygen flow and stimulate root metabolism.
Fix-It Section: For general Nitrogen chlorosis (entire leaf turning pale yellow), apply a quick-release 21-0-0 Ammonium Sulfate at a rate of 0.5 pounds of actual nitrogen per 1,000 square feet to rapidly restore chlorophyll production.
Maintenance:
A permanent bench site requires consistent hydrological monitoring. Provide 1.5 inches of water per week at the drip line of surrounding plants, especially during the first two growing seasons. Use a soil moisture meter to verify that the moisture has penetrated to a depth of 8 inches.
Inspect the bench legs for settling every six months. If the bench tilts, it indicates a failure in the sub-base compaction. Use a hori-hori knife to remove encroaching weeds without disturbing the aggregate layer. Prune overhanging branches with bypass pruners to maintain a clear 2-foot buffer around the bench; this prevents the buildup of organic debris which can rot and alter the soil pH.
The Yield:
If the bench is situated within a cutting garden or orchard, harvest timing is critical for longevity. Harvest flowers in the early morning when turgor pressure is at its maximum. Cut stems at a 45-degree angle to increase the surface area for water uptake. For woody stems, use the "sear" method or immediate immersion in 110-degree Fahrenheit water to prevent air embolisms in the xylem, ensuring day-one freshness for several days.
FAQ:
How deep should I dig the foundation for a garden bench?
Excavate to a depth of 6 to 8 inches. This allows for a 4-inch layer of compacted gravel and a 2-inch leveling layer of sand, providing a stable, well-drained base that prevents frost heave and soil subsidence.
Can I put a bench directly on the grass?
No. Placing a bench directly on turf leads to soil compaction and anaerobic conditions. The weight kills the grass and compresses the soil pores, preventing oxygen and water from reaching the roots of nearby trees and shrubs.
What is the best material for a bench base?
Crushed limestone or 3/4-inch minus gravel is superior to solid concrete. These materials allow for water infiltration into the subsoil, maintaining the natural hydrological cycle while providing a rigid, level surface for the bench legs.
How do I prevent weeds from growing under my bench?
Install a heavy-duty geotextile weed barrier beneath the gravel layer. This prevents weed seeds in the soil from germinating while allowing water to pass through, maintaining the health of the surrounding soil ecosystem and preventing drainage issues.