7 Training Steps to Prepare an Indoor Bonsai Training Shelf
Successful bonsai cultivation begins with the tactile reality of high turgor pressure in the leaf and the earthy scent of active microbial respiration in the rhizosphere. When you learn how to prepare a plant shelf for bonsai, you are not merely organizing furniture; you are engineering a controlled microclimate designed to sustain woody perennials in a state of arrested development. Indoor environments lack the natural humidity and light cycles of the exterior world. To compensate, a training shelf must serve as a life support system that manages light intensity, air circulation, and moisture retention. A properly calibrated shelf ensures that the vascular cambium remains active while preventing the leggy growth associated with low light levels. Precision in the setup phase determines whether a tree thrives or undergoes slow senescence. Every inch of vertical space must be calculated to account for the specific photoperiod requirements of your species. This guide provides the technical framework to transition from a casual hobbyist to a disciplined practitioner of indoor silviculture.
Materials:
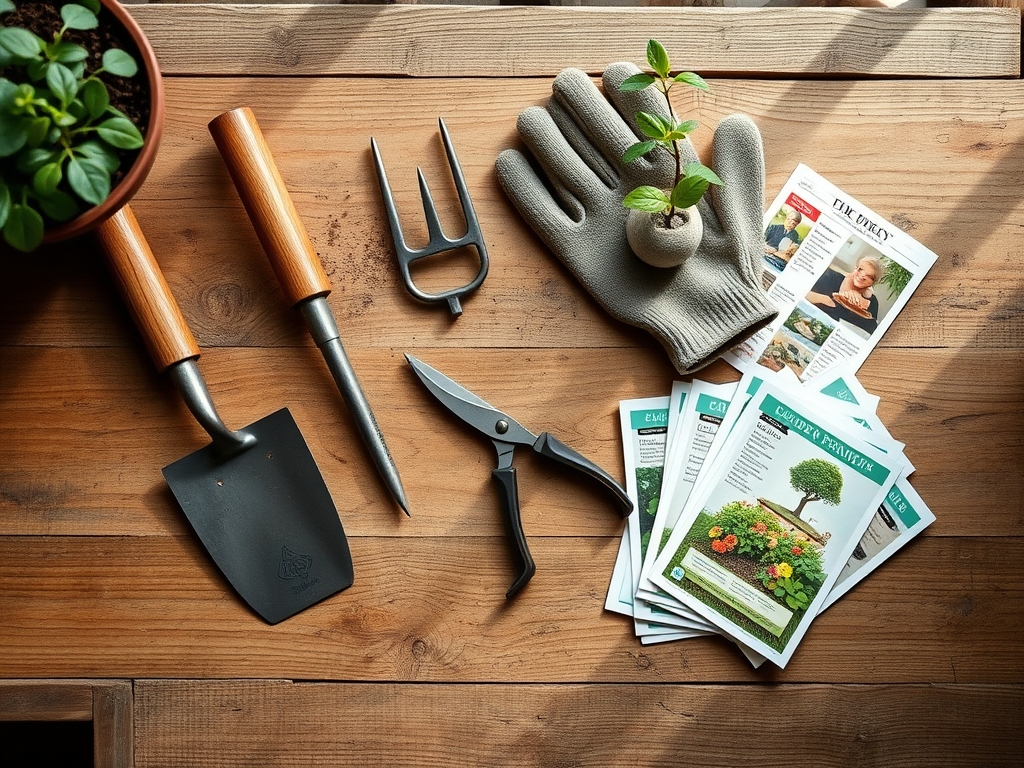
The foundation of a bonsai shelf is the substrate and the structural integrity of the shelving unit. You require a shelf capable of supporting **50 to 100 pounds per square foot** to account for the weight of ceramic pots and saturated aggregate. For the substrate, focus on a friable loam or inorganic mix with a **pH of 5.5 to 6.5**. Use a blend of **2 parts Akadama, 1 part Pumice, and 1 part Lava Rock** to ensure high Cation Exchange Capacity (CEC). This allows the medium to hold nutrients effectively.
Fertilization requires specific NPK ratios depending on the growth stage. For developmental training, use a 10-10-10 balanced fertilizer to support overall structural integrity. During the refinement stage, switch to a low-nitrogen 0-10-10 formula to prevent excessive internode stretching. Ensure you have a soil moisture meter and a digital hygrometer to monitor the shelf microclimate.
Timing:
Indoor bonsai are shielded from the Hardiness Zone extremes found in Zones 4 through 8, but they still respond to seasonal shifts in light. The "Biological Clock" of a tree is governed by the photoperiod. Even in an indoor setting, you must mimic the transition from the vegetative stage to the dormant or reproductive stage. Most indoor species, such as Ficus retusa or Carmona microphylla, should be established on the shelf during the spring equinox when natural light levels increase. This aligns with the tree's internal surge of auxins, the hormones responsible for apical dominance and root initiation. Avoid major structural changes or shelf transitions during the winter solstice when the plant's metabolic rate is at its lowest.
Phases:
Sowing and Initial Potting
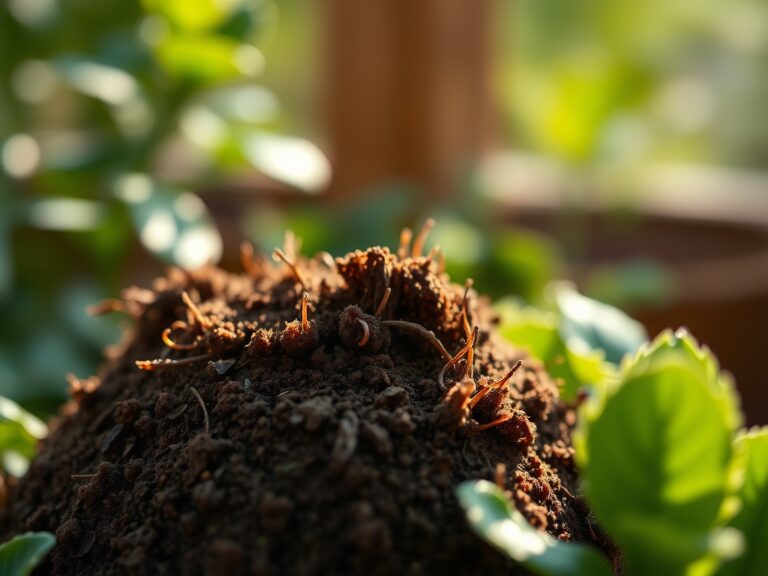
Start with high-quality seeds or cuttings in a propagation tray placed on the lowest level of your shelf. Maintain a consistent temperature of 70 to 75 degrees Fahrenheit. Use a heat mat to stimulate root respiration.
Pro-Tip: Maintaining high soil temperature encourages mycorrhizal symbiosis. These beneficial fungi attach to the root system, extending the reach of the root hairs and increasing the absorption of phosphorus and micronutrients.
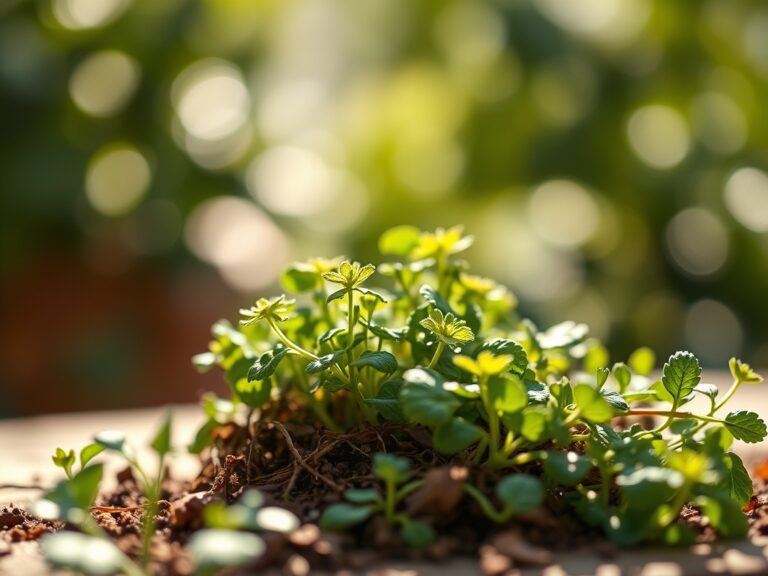
Transplanting to Training Pots
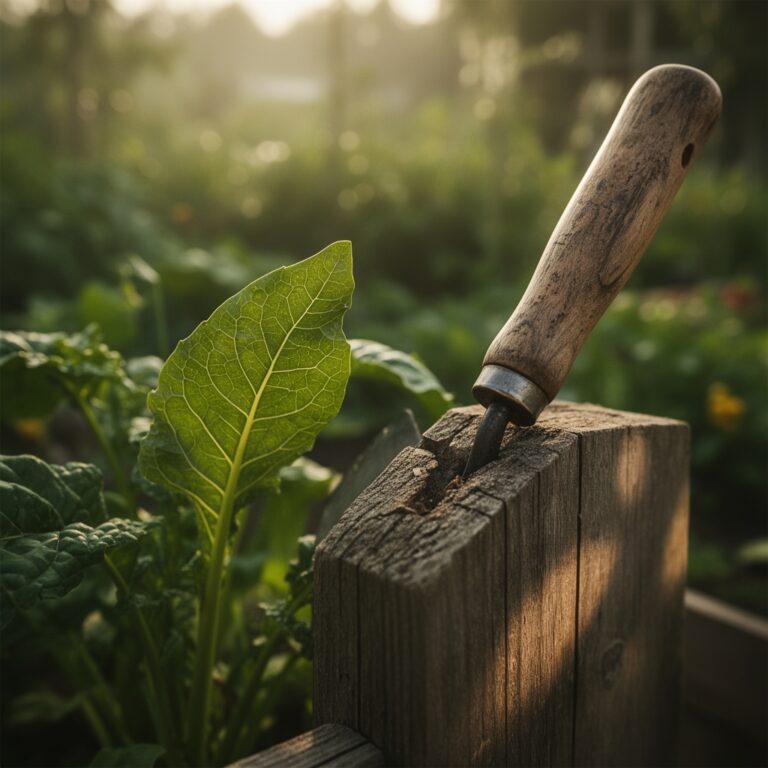
Once the seedling develops its second set of true leaves, move it into a training pot. This stage requires the use of a hori-hori knife to clean the root flare. Secure the tree to the pot using 2.0mm copper wire to prevent movement that could damage new root tips.
Pro-Tip: Secure anchoring prevents the disruption of the rhizosphere. If the tree moves, the delicate root hairs break, leading to a loss of turgor pressure and potential wilting.
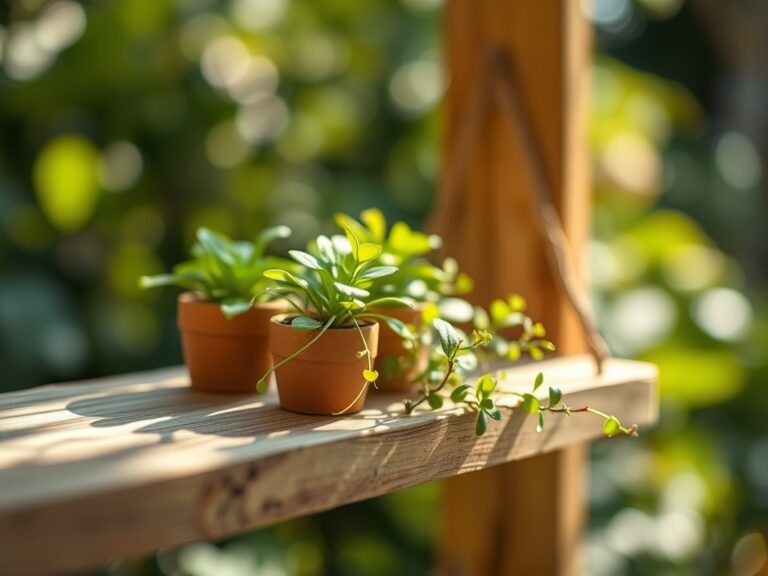
Establishing the Microclimate
Place the training pots on the middle and upper shelves where light intensity is highest. Install full-spectrum LED grow lights positioned 6 to 12 inches above the canopy. Use a small fan to provide constant air movement, which strengthens the trunk through mechanical stress.
Pro-Tip: Air movement prevents the buildup of stagnant air pockets, which reduces the risk of fungal pathogens and encourages thigmomorphogenesis. This is the biological process where plants grow shorter and thicker in response to physical touch or wind.
The Clinic:
Physiological disorders often manifest through foliage discoloration. Use this diagnostic guide to troubleshoot your shelf:
- Symptom: Interveinal chlorosis (yellowing between leaf veins).
- Solution: This indicates a Magnesium deficiency or high pH. Lower the pH to 6.0 and apply a 1% Epsom salt solution.
- Symptom: Leaf drop with soft, black roots.
- Solution: Root rot caused by anaerobic conditions. Reduce watering frequency and increase the proportion of pumice in the substrate for better aeration.
- Symptom: Long, weak internodes (stretching).
- Solution: Low light intensity. Increase the photoperiod to 14 hours or move the light source closer to the canopy.
Fix-It: Nitrogen Chlorosis
If the oldest leaves are turning a uniform pale yellow, the plant is suffering from Nitrogen deficiency. Apply a liquid fertilizer with a 5-1-1 ratio (such as fish emulsion) to provide an immediate boost of bioavailable Nitrogen.
Maintenance:
Daily observation is the hallmark of a master horticulturist. Use a soil moisture meter to ensure the substrate never reaches a permanent wilting point. Most bonsai require watering when the top 0.5 inches of soil feels dry. When watering, apply enough liquid so that it drains freely from the bottom of the pot; this flushes out accumulated mineral salts.
Monthly maintenance involves using bypass pruners to maintain the silhouette. Remove any "sucker" growth from the base of the trunk to redirect energy to the primary branches. Every six months, rotate the pots 180 degrees to ensure even light distribution and prevent lopsided growth due to phototropism, where the plant grows toward the light source.
The Yield:
In bonsai, the "yield" is the development of ramification and trunk girth. To maximize this, allow the tree to grow freely during the peak summer months before performing a "cut back" in late summer. This technique forces the tree to push new buds closer to the trunk, increasing the density of the foliage pad. When pruning, use concave cutters to create a wound that heals flat, preventing unsightly scars. After pruning, apply a wound sealant to protect the exposed xylem and phloem from desiccation.
FAQ:
How much light does an indoor bonsai shelf need?
Most species require 12 to 16 hours of light daily. Use full-spectrum LEDs providing at least 5,000 lumens. Maintain a distance of 6 to 10 inches from the canopy to prevent leaf scorch while ensuring adequate photosynthetic activity.
What is the best humidity level for a bonsai shelf?
Aim for a relative humidity of 50% to 70%. Use humidity trays filled with water and pebbles beneath the pots. This creates a localized microclimate that prevents the stomata from closing, which allows for continuous gas exchange and growth.
How often should I fertilize trees on my shelf?
During the active growing season, apply a balanced liquid fertilizer every two weeks. Reduce this to once a month during the winter. Always flush the soil with plain water between applications to prevent harmful salt buildup in the substrate.
Can I use regular potting soil for my bonsai?
No. Regular potting soil retains too much moisture and lacks sufficient aeration for bonsai. Use a specialized aggregate mix like Akadama or expanded clay. This ensures a high Cation Exchange Capacity and prevents root rot through superior drainage.