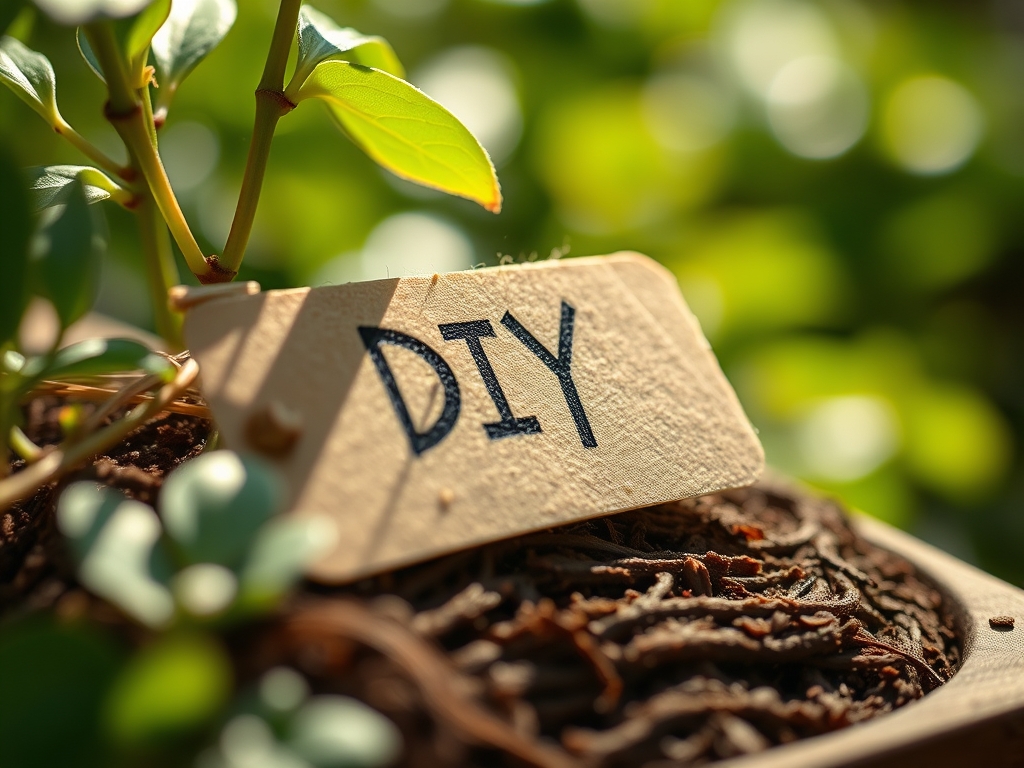
8 Natural Steps to Prepare a DIY Wood or Slate Plant Label
The smell of damp earth and the high turgor pressure of a healthy leaf signify a garden in peak physiological balance. Success in the rhizosphere depends on precision; misidentifying a cultivar leads to improper nutrient application and failed yields. Learning how to prepare a DIY plant label is not merely an aesthetic choice. It is a fundamental record-keeping requirement for tracking specific cultivars, sowing dates, and metabolic cycles within your microclimate.
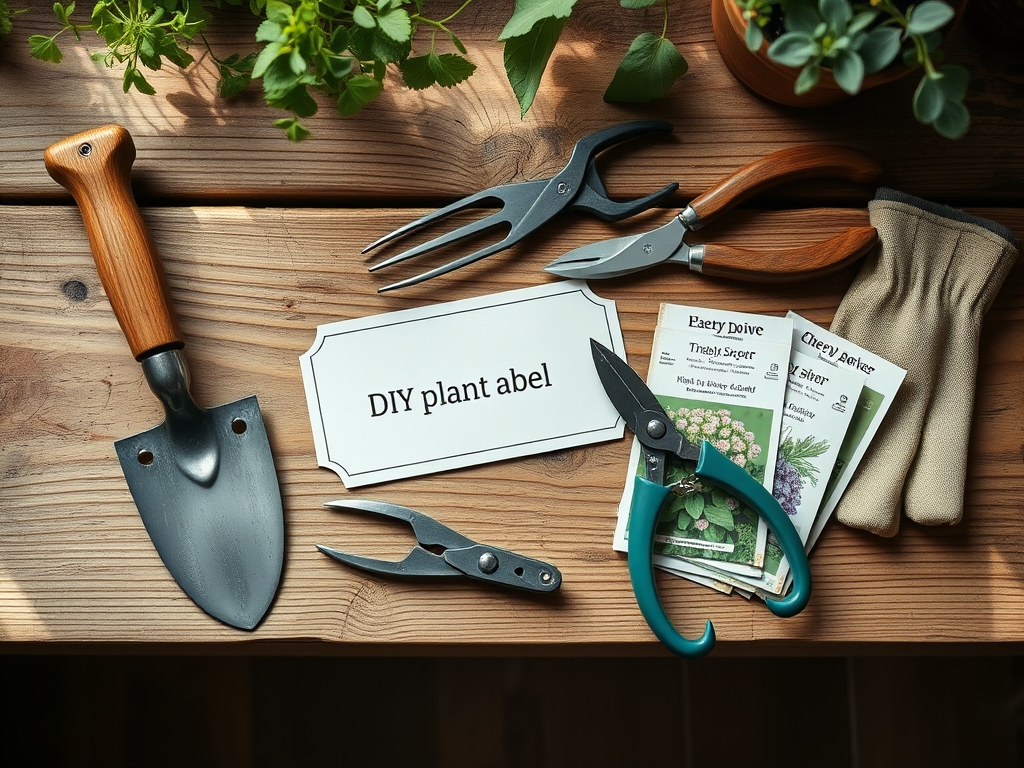
Materials:
Selecting the right substrate for your labels depends on the soil environment they will inhabit. For a **friable loam** with a **pH of 6.5 to 7.0**, cedar or slate materials offer the best longevity against microbial decomposition. If your soil has a high Cation Exchange Capacity (CEC) above **25 meq/100g**, it likely retains high moisture levels; therefore, slate is the superior choice to prevent fungal decay.
For labels intended for heavy feeders requiring an NPK ratio of 10-10-10, use weather-resistant carbon-based inks. Nitrogen-rich environments accelerate the oxidation of cheap pigments. You will need:
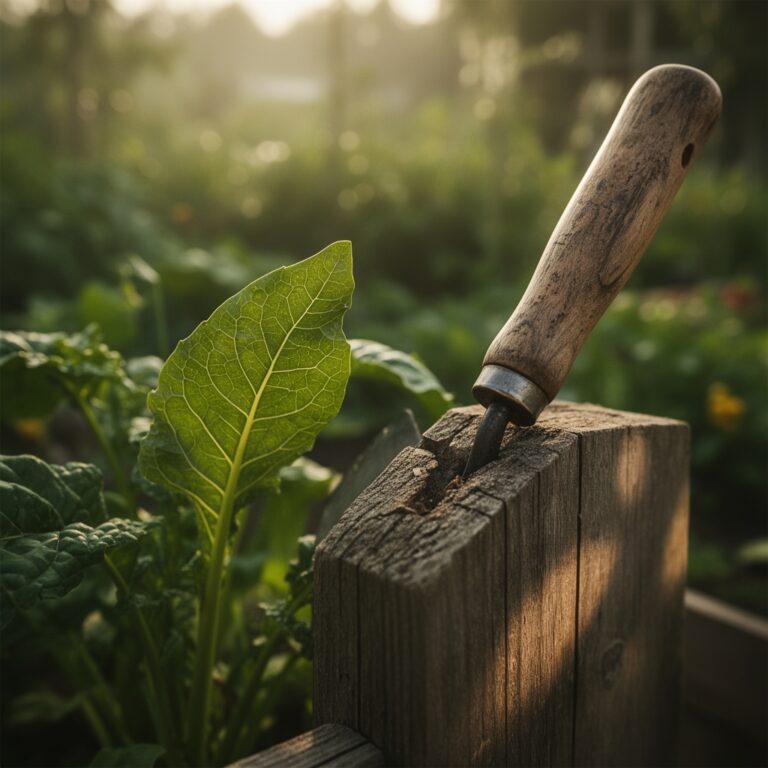
- Reclaimed cedar or slate fragments (minimum 0.25 inches thick).
- 220-grit sandpaper for surface preparation.
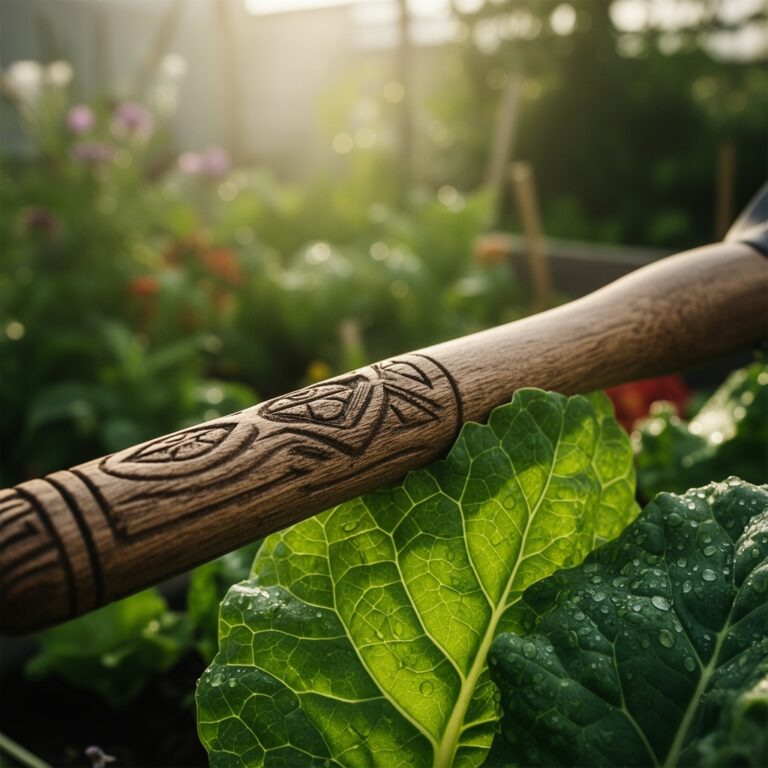
- Industrial-grade paint pens or laser engraving tools.
- Tung oil or linseed oil for organic sealing.
Timing:
Hardiness Zones 3 through 9 dictate the window for label installation. In northern zones, labels must be driven into the ground at least 4 inches deep before the first hard frost to prevent "frost heaving," where the freeze-thaw cycle ejects objects from the topsoil.
The biological clock of the plant also informs timing. Labels should be prepared and installed during the vegetative stage before the plant reaches senescence. Labeling during the transition to the reproductive stage ensures that you capture data on the photoperiod requirements of each specific species. For short-day plants, this transition occurs when daylight drops below 12 hours.
Phases:

Sowing
During the initial sowing phase, labels must include the seed depth (typically 2 to 3 times the seed diameter) and the date of radical emergence. Use slate for seed trays to maintain a sterile environment and prevent the introduction of damping-off pathogens.
Pro-Tip: Proper labeling at sowing prevents the disruption of phototropism. If you know exactly where a seedling is located, you can avoid shading it with larger tools or mulch, ensuring the auxin hormones concentrate on the shaded side to drive straight upward growth.
Transplanting
When moving seedlings into the field, the label must follow the plant to its permanent location. Ensure the label is placed on the north side of the plant to avoid interfering with solar radiation absorption on the southern foliage.
Pro-Tip: Placing a wooden label near the root zone can actually encourage mycorrhizal symbiosis. As the wood slowly breaks down at the soil line, it provides a localized carbon source for beneficial fungi that extend the root system's reach for phosphorus.
Establishing
As the plant establishes its secondary xylem and fills its allotted space, the label serves as a boundary marker. Monitor the distance between the label and the main stem to ensure at least 6 inches of clearance, preventing physical abrasion to the epidermis.
Pro-Tip: Maintaining a clear label helps manage auxin suppression. By identifying the main leader of a plant via the label's data, you can prune appropriately to break apical dominance and encourage lateral branching for a higher yield.
The Clinic:
Physiological disorders often stem from environmental stressors that a label can help track.
- Symptom: Interveinal chlorosis in young leaves.
Solution: This indicates a lack of iron or manganese. Fix-It: Check the soil pH recorded on your label. If the pH is above 7.5, these micronutrients are locked out. Apply a chelated iron foliar spray.
- Symptom: Tip burn on new growth.
Solution: Calcium deficiency or inconsistent transpiration. Fix-It: Ensure the label notes the last date of gypsum application. Maintain a steady soil moisture level of 20% to 30% using a moisture meter.
- Symptom: Purpling of lower foliage.
Solution: Phosphorus deficiency, often caused by cold soil temperatures below 55 degrees Fahrenheit. Fix-It: Use the label to record soil temperature trends. Apply a high-phosphorus starter fertilizer with an NPK of 5-20-5.
Maintenance:
Effective garden management requires a disciplined schedule. Use a soil moisture meter daily to ensure the root zone receives exactly 1.5 inches of water per week at the drip line. Avoid wetting the foliage to prevent the spread of fungal spores.
Use a hori-hori knife to clear weeds within a 12-inch radius of your DIY labels; this prevents competition for nitrogen and ensures the label remains visible. Every autumn, inspect wooden labels for structural integrity. If you see signs of soft rot, replace the label to prevent the introduction of saprophytic fungi into the rhizosphere. Use bypass pruners to remove any dead or diseased wood from nearby plants that might fall and damage your slate markers.
The Yield:
Harvesting is the culmination of the data tracked on your DIY label. For most fruiting crops, harvest when the fruit reaches its "mature green" or fully ripe stage, depending on the species. For leafy greens, harvest before the plant reaches the bolting stage, which is triggered by soil temperatures exceeding 75 degrees Fahrenheit.
To maintain "day-one" freshness, harvest in the early morning when turgor pressure is at its highest. Use a sharp, sterilized blade to make a clean cut, minimizing the surface area of the wound. Immediately move the harvest to a cool, shaded area to reduce the rate of respiration and preserve cellular sugars.
FAQ:
What is the best wood for DIY plant labels?
Cedar and redwood are the most effective choices. These woods contain natural tannins and oils that resist rot and insect damage for multiple seasons. They maintain structural integrity even in high-moisture soils with a CEC above 20.
How deep should I place a slate label?
Drive the label at least 3 to 4 inches into the substrate. This depth ensures the label remains stable during heavy rain events and stays below the frost line in most temperate regions, preventing displacement during winter.
Can I use permanent markers on wood labels?
Standard permanent markers often fade due to UV degradation within 60 days. Use industrial-grade paint pens or carbon-based garden markers. For permanent records, laser engraving or wood-burning provides the most durable solution against solar radiation.
How do I clean slate labels for reuse?
Use a solution of 10% bleach and water to kill any lingering pathogens or fungal spores. Scrub the surface with a stiff brush to remove mineral deposits. Once dry, the slate is ready for new data regarding NPK requirements or cultivar names.