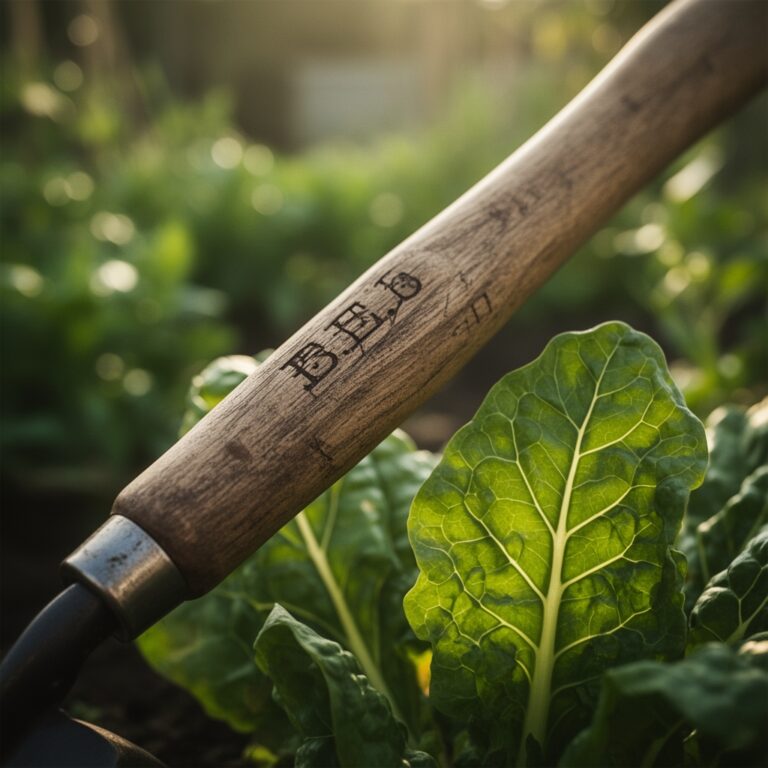
9 Productive Steps to Prepare a Container Vegetable Garden
Productive Steps for Preparing Your Container Vegetable Garden
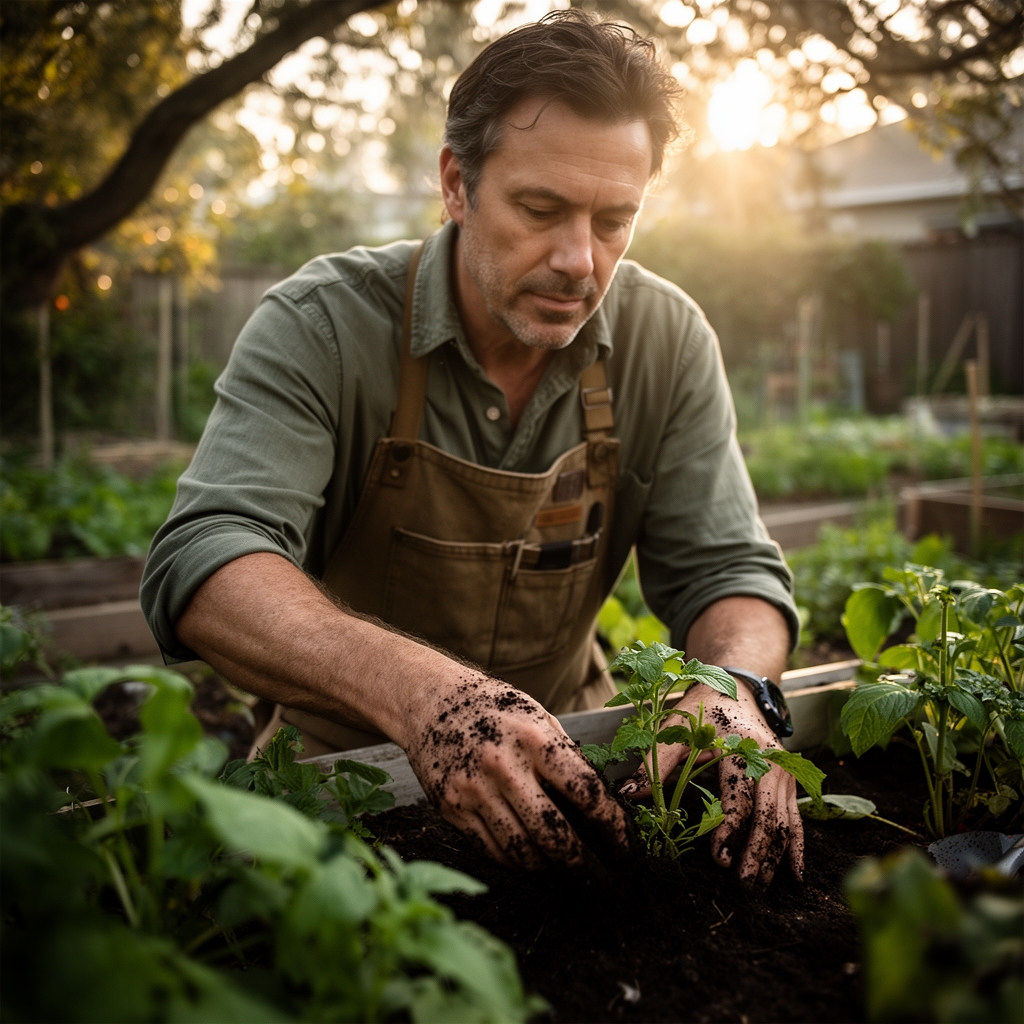
The scent of crushed tomato foliage and warm growing medium signals a productive container garden. Learning how to prepare a garden for a container vegetable garden demands attention to substrate physics, nutrient ratios, and spatial planning before a single seed enters soil. Container cultivation concentrates root systems into engineered environments where every decision about drainage, fertility, and microbial life affects yield. This preparation sequence transforms empty vessels into biologically active production systems.
Materials
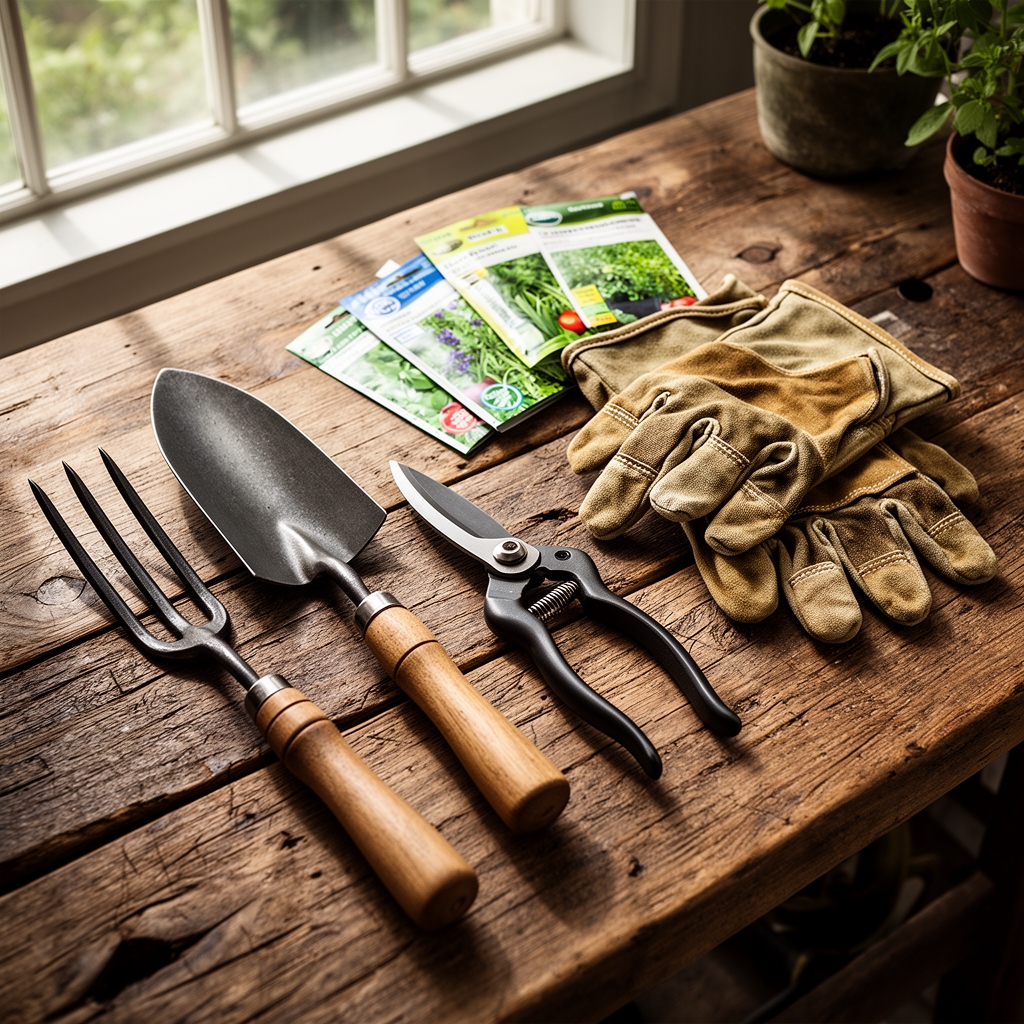
Select containers with minimum volumes: 5 gallons for determinate tomatoes, 3 gallons for peppers, 2 gallons for leafy greens. Drainage holes measuring 0.5 inches ensure adequate percolation without substrate loss.
Growing Medium (pH 6.0–6.8):
Combine 40% coconut coir, 30% perlite, 20% compost, and 10% worm castings. This ratio provides cation exchange capacity near 25 meq/100g while maintaining air-filled porosity above 15%.
Base Nutrients:
Apply 4-4-4 organic fertilizer at 2 tablespoons per gallon of substrate. This balanced NPK supports vegetative growth and flowering without excessive nitrogen that delays fruiting.
Amendments:
Add dolomitic lime at 1 tablespoon per gallon to buffer pH. Incorporate mycorrhizal fungi inoculant (Glomus intraradices) at seeding to enhance phosphorus uptake by 40%.
Trace Minerals:
Kelp meal at 1 teaspoon per gallon provides boron, manganese, and natural cytokinins that improve stress tolerance.
Timing
Container preparation begins 2–3 weeks before the last frost date for your hardiness zone. Zone 5 gardeners start indoor preparation in late March. Zone 7 regions begin in mid-March. Zone 9 growers can establish cool-season containers in January.
Warm-season crops require soil temperatures above 60°F. Use a probe thermometer to verify substrate temperature at 4-inch depth before transplanting tomatoes, peppers, or cucumbers.
Cool-season vegetables tolerate soil temperatures of 45–50°F. Lettuce, spinach, and brassicas establish in containers 4–6 weeks before the last frost when ambient temperatures remain above 40°F at night.
Phases
Sowing Phase
Fill containers to 2 inches below the rim. Moisten substrate until water drains freely, then allow 24 hours for medium to equilibrate. This pre-wetting prevents hydrophobic pockets that cause uneven moisture distribution.
Direct-sow large seeds (beans, squash) at twice their diameter in depth. Small seeds (lettuce, carrots) require surface sowing with light vermiculite cover at 1/8 inch.
Create sowing depressions with a dowel for uniform depth. Space seeds according to mature spread: 6 inches for bush beans, 12 inches for determinate tomatoes.
Pro-Tip: Apply Trichoderma harzianum to seed furrows at 1 gram per gallon. This beneficial fungus colonizes roots and suppresses damping-off pathogens by 60%.
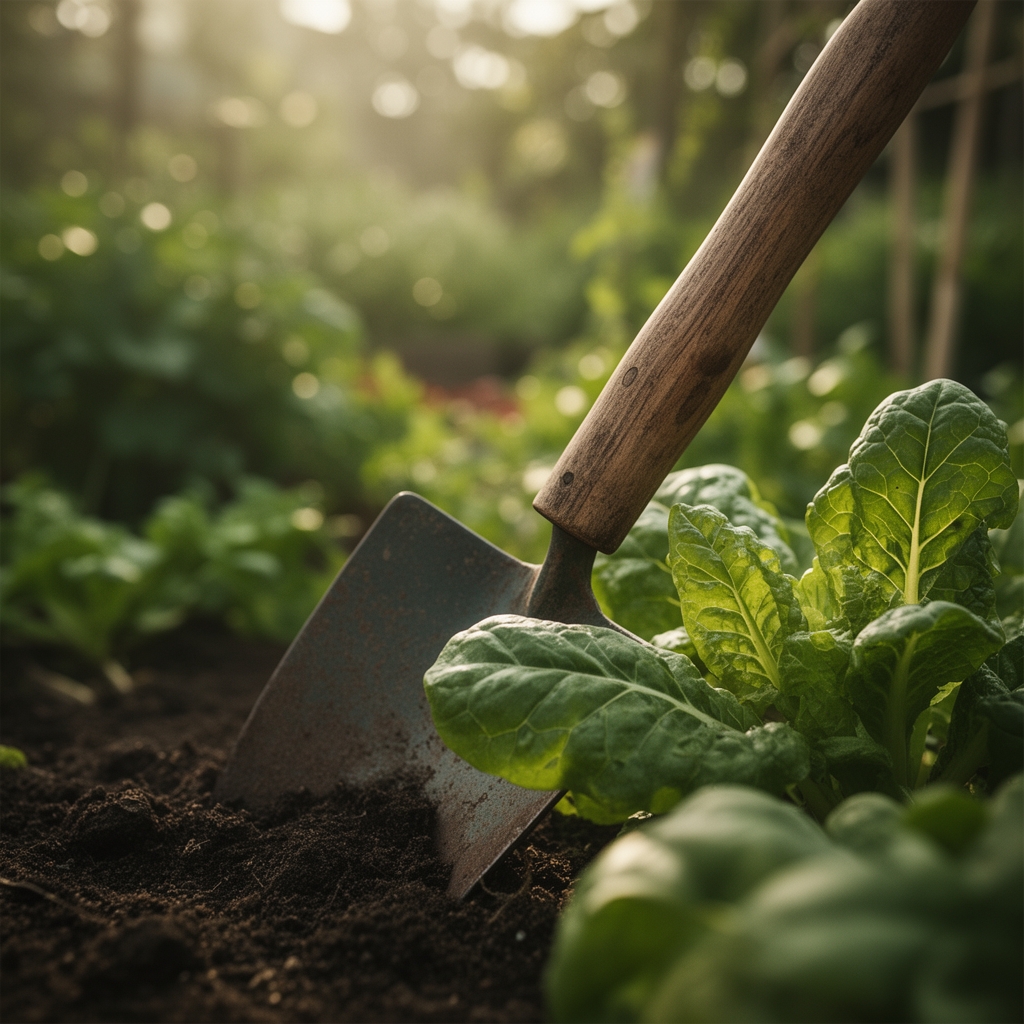
Transplanting Phase
Harden off seedlings over 7–10 days by gradually increasing outdoor exposure. Begin with 2 hours of morning sun, adding 1 hour daily until plants tolerate full conditions.
Transplant at the same depth as the nursery container, except for tomatoes. Bury tomato stems up to the first true leaves. Adventitious roots form along buried stem tissue, increasing water and nutrient absorption capacity by 30%.
Water transplants with diluted fish emulsion (2-4-1 NPK) at half-strength to reduce transplant shock. This soluble nitrogen supports immediate root growth without burning tender tissues.
Pro-Tip: Prune the lowest 3 inches of foliage from tomato transplants at a 45-degree angle using sterilized shears. This pruning redirects auxin distribution upward and prevents soil-borne disease contact.
Establishing Phase
Monitor soil moisture with a probe inserted 3 inches deep. Water when medium feels dry at this depth but remains slightly moist at 5 inches.
Apply liquid kelp at 1 tablespoon per gallon of water 10 days post-transplant. Natural growth hormones in kelp accelerate lateral root development during establishment.
Install supports (cages, stakes, trellises) within 5 days of transplanting. Early installation prevents root disturbance. Tie plants to supports using figure-eight loops that allow stem expansion.
Pro-Tip: Mulch container surfaces with 1 inch of rice hulls or shredded bark. This layer moderates soil temperature fluctuations by 8–10°F and reduces moisture evaporation by 40%.
Troubleshooting
Symptom: Yellowing lower leaves with green veins.
Solution: Iron deficiency from pH above 7.0. Apply chelated iron at 1 teaspoon per gallon and drench with diluted sulfur solution to lower pH.
Symptom: Blossom-end rot on tomatoes and peppers.
Solution: Calcium deficiency from inconsistent watering. Maintain even moisture and spray foliage with calcium chloride solution (1 tablespoon per gallon) weekly.
Symptom: Stunted growth with purple leaf undersides.
Solution: Phosphorus deficiency from cold substrate. Move containers to warmer location and apply bone meal at 1 tablespoon per gallon.
Symptom: Wilting despite moist soil.
Solution: Root rot from Pythium or Phytophthora. Improve drainage, reduce watering frequency, and drench with hydrogen peroxide at 1 tablespoon per gallon.
Symptom: White trails on leaves.
Solution: Leafminer larvae damage. Remove affected leaves and apply spinosad spray at 4 tablespoons per gallon weekly.
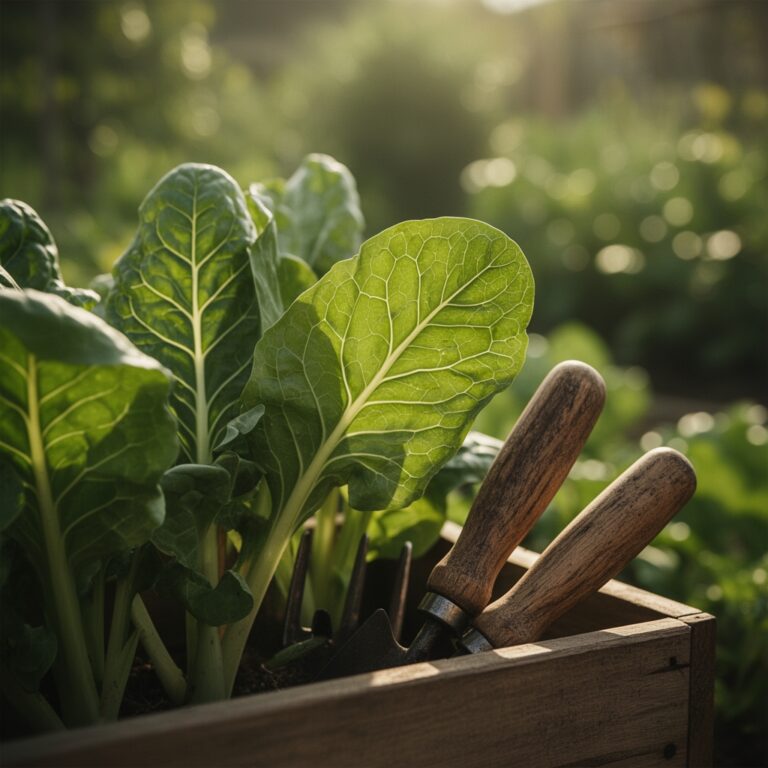
Maintenance
Apply 1 inch of water when the top 2 inches of substrate feel dry. Container gardens typically require daily watering when temperatures exceed 85°F.
Feed every 14 days with liquid fertilizer at 5-5-5 NPK ratio diluted to half-strength (1 tablespoon per gallon). Fruiting crops benefit from switching to 3-8-8 formula when flowers appear.
Prune indeterminate tomatoes to 2–3 main stems. Remove suckers when they reach 2 inches by pinching at the base. This pruning concentrates energy into fruit production.
Rotate containers weekly by 90 degrees to ensure even light exposure. South-facing positions receive 8+ hours of direct sun necessary for fruiting crops.
FAQ
How deep should containers be for root vegetables?
Carrots and beets require 12-inch depth. Potatoes need 16 inches minimum. Shallow containers cause forking and stunted roots.
Can I reuse container soil next season?
Refresh used substrate by removing old roots, mixing in 30% new compost, and adding 4-4-4 fertilizer at 2 tablespoons per gallon. Avoid reusing soil from diseased plants.
What container material works best?
Fabric grow bags provide superior aeration and prevent root circling. Plastic containers retain moisture longer. Terracotta dries quickly but moderates temperature extremes.
How often should I fertilize container vegetables?
Feed every 2 weeks with liquid fertilizer. Slow-release granules (14-14-14) applied monthly reduce feeding frequency for low-maintenance systems.
Do containers need winter preparation?
Empty and clean containers with 10% bleach solution. Store upside-down to prevent cracking from freeze-thaw cycles. Terracotta must be stored indoors in zones below 7.