9 Delicate Steps to Use Specialized African Violet Soil
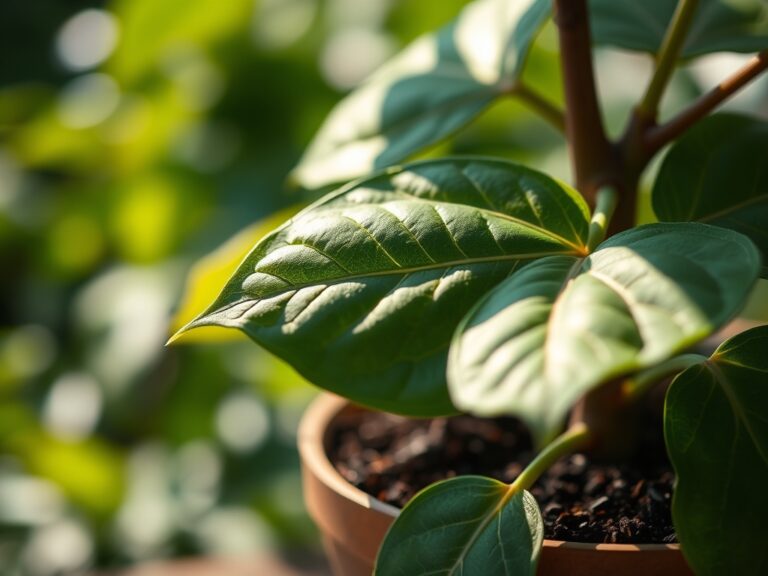
Crushing a handful of damp substrate reveals the structural integrity of a professional potting mix; it should crumble under light pressure rather than clumping into a dense mass. This friability is the hallmark of a healthy rhizosphere. When the Saintpaulia ionantha leaf displays high turgor pressure, it stands rigid and resists drooping, a direct result of optimal osmotic potential within the cells. Achieving this physiological state requires precise moisture management and gas exchange at the root level. Using a specialized violet soil provides the exact porosity needed to prevent anaerobic conditions that lead to root rot. Standard potting soils often lack the necessary aeration, causing the delicate fibrous roots to suffocate. A professional grade mix balances water retention with drainage, ensuring that the plant can access dissolved nutrients without the risk of fungal pathogens. By maintaining a pH between 5.8 and 6.2, the substrate allows for maximum bioavailability of essential minerals. This technical approach to soil selection is the foundation of long term plant health and consistent floral production.
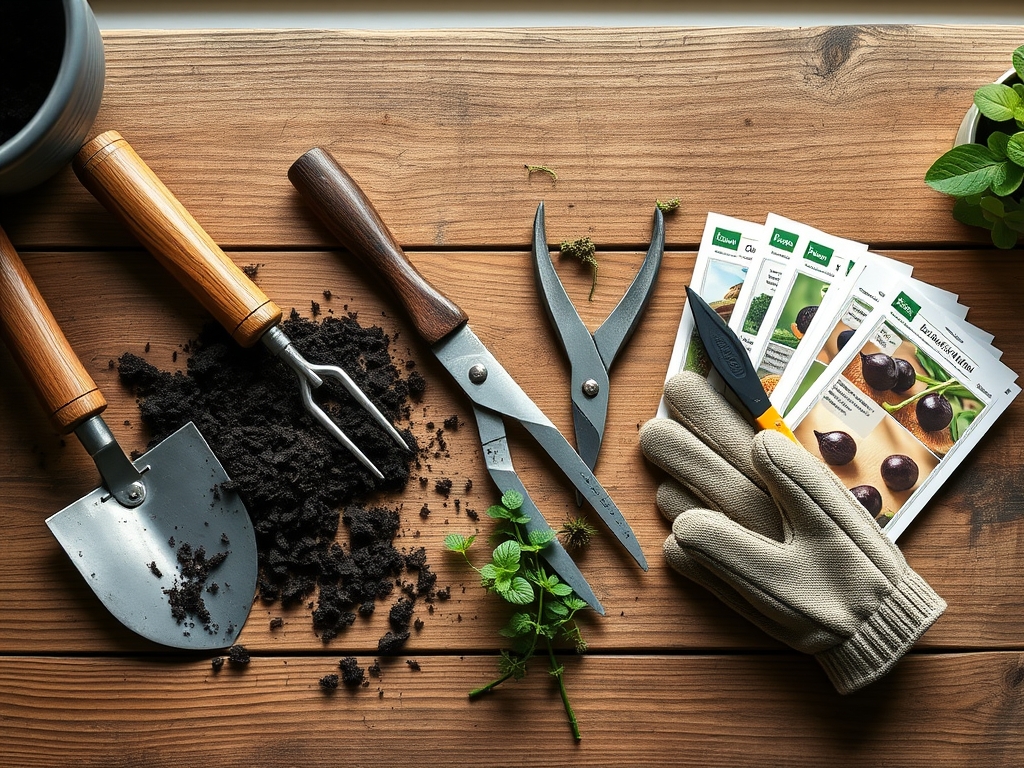
Materials:
Success starts with a substrate that maintains a **pH of 5.8 to 6.2**. This acidic range is critical because it prevents the lockout of micronutrients like iron and manganese. The ideal specialized violet soil is a friable loam composed of **50 percent peat moss or coconut coir, 25 percent perlite, and 25 percent vermiculite**. This ratio ensures a high Cation Exchange Capacity (CEC), allowing the soil to hold onto positively charged ions like potassium and calcium.
The nutrient profile must be lean to avoid salt accumulation. Look for an NPK ratio of 1-2-1 or 5-10-5. High phosphorus levels are necessary to support the transition from vegetative growth to reproductive flowering. The physical texture must be light; if you squeeze a handful of moist soil, it should fall apart immediately upon releasing your grip. This prevents the compaction that inhibits oxygen diffusion to the roots.
Timing:
African violets are typically grown indoors, making them independent of traditional Hardiness Zones; however, they thrive best when ambient temperatures remain between 65 and 75 degrees Fahrenheit. In colder regions like Zones 3 through 5, seasonal shifts in indoor humidity can drastically affect the "Biological Clock" of the plant. During the transition from the vegetative stage to the reproductive stage, the plant requires a consistent 12 to 14 hour photoperiod.
If the temperature drops below 60 degrees Fahrenheit, the plant enters a state of semi-dormancy where metabolic processes slow down. Conversely, temperatures exceeding 85 degrees Fahrenheit can cause flower senescence and leaf scorch. The best time for repotting or refreshing the soil is in early spring, just as the plant begins its peak growth cycle, ensuring the root system can rapidly colonize the new substrate.
Phases:

Sowing and Propagation
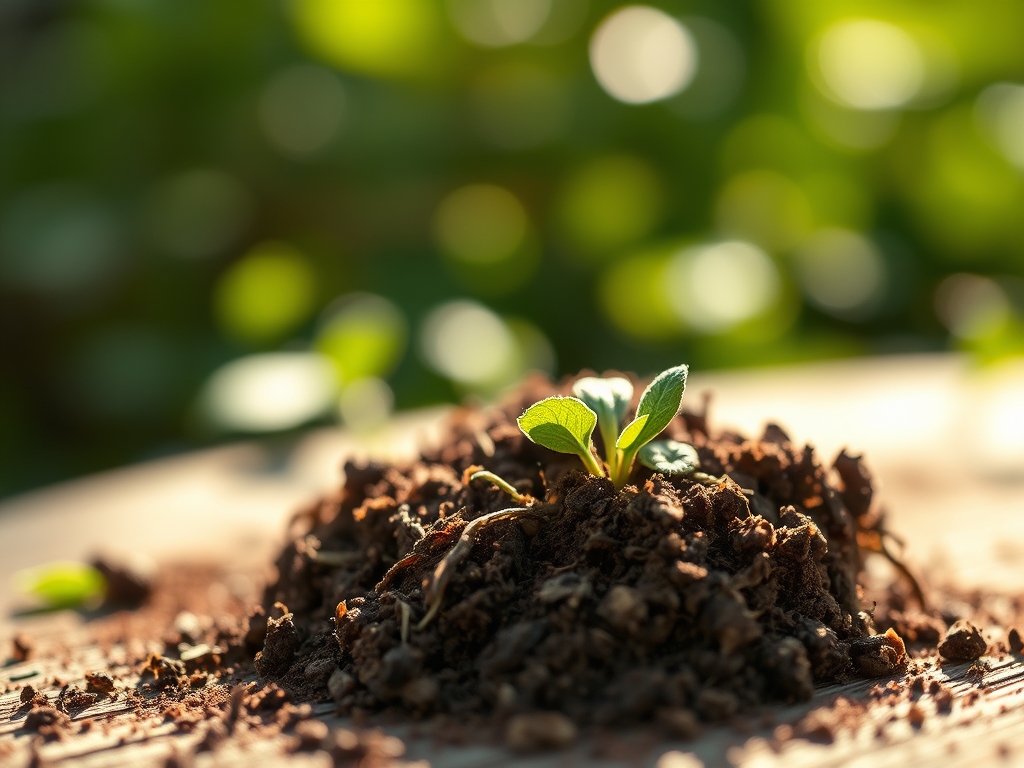
When propagating from leaf cuttings, use a sterile, soilless version of the specialized violet mix. Insert the petiole at a 45 degree angle into the substrate, ensuring at least 1 inch of the stem is buried. Maintain a constant temperature of 72 degrees Fahrenheit to stimulate cell division at the base of the cutting.
Pro-Tip: Auxin suppression is key here. By wounding the base of the petiole, you trigger a localized concentration of auxins, which are plant hormones that stimulate root initiation rather than leaf growth.
Transplanting
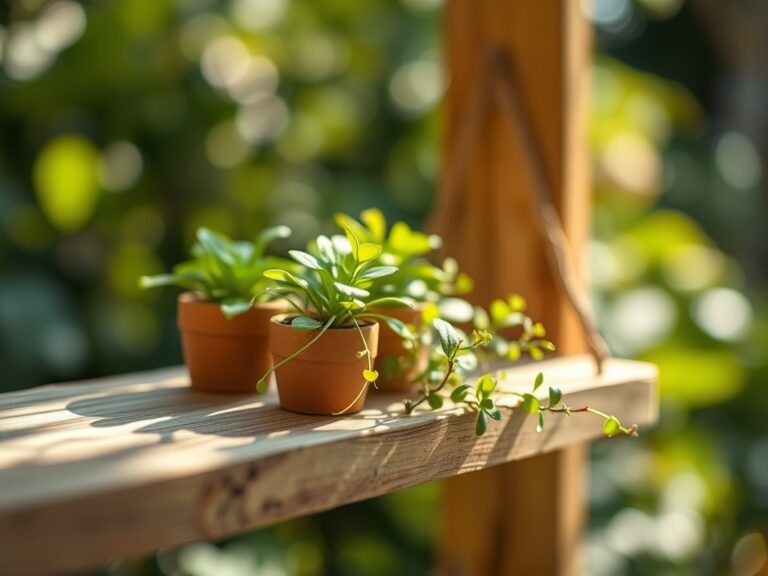
Remove the plant from its old container and gently tease the root ball to remove exhausted media. Using a specialized violet soil, fill a pot that is exactly one third the diameter of the plant's leaf span. This prevents the soil from staying too wet, which happens when the pot is too large for the root system to process the available water.
Pro-Tip: Mycorrhizal symbiosis can be enhanced by dusting the roots with a fungal inoculant during transplanting. These fungi extend the root system's reach, improving the uptake of phosphorus and water.
Establishing
After transplanting, place the violet in a location with filtered light. Avoid direct sunlight, which can cause rapid transpiration and wilt. Monitor the soil moisture daily. The plant is established once you see new, central leaf growth, indicating that the vascular system is successfully drawing nutrients from the new substrate.
Pro-Tip: Phototropism will cause the plant to lean toward the light source. Rotate the pot 90 degrees every week to ensure even distribution of growth hormones and a symmetrical rosette shape.
The Clinic:
Physiological disorders often stem from substrate imbalances or improper watering techniques.
- Symptom: Nitrogen Chlorosis. The older, lower leaves turn a pale yellow while the veins remain slightly darker.
- Solution: Apply a water soluble fertilizer with a higher nitrogen count for two weeks. Ensure the soil pH has not drifted above 7.0, which locks out nitrogen.
- Symptom: Crown Rot. The center of the plant becomes mushy and turns brown or black.
- Solution: This is caused by overwatering or burying the crown too deep in the specialized soil. Remove the affected tissue with a sterile blade and repot into fresh, dry substrate.
- Symptom: Tight Center Growth. New leaves are stunted, brittle, and crowded.
- Solution: This often indicates a micronutrient toxicity or excessive light. Flush the soil with distilled water to remove accumulated salts and move the plant to a lower light area.
Maintenance:
Precision is mandatory for long term maintenance. Use a soil moisture meter to ensure the substrate is at a "moist but not saturated" level before adding water. For African violets, water from the bottom by placing the pot in a tray of room temperature water for 20 minutes. This prevents water from touching the foliage, which can cause necrotic spots.
Use a hori-hori knife to gently scrape the top 0.25 inches of soil every few months to break up mineral crusting. If the plant becomes "long necked" due to the loss of lower leaves, use bypass pruners to trim the root ball and sink the neck back into fresh specialized violet soil. Maintain a consistent fertilization schedule using a quarter strength solution every time you water.
The Yield:
While African violets are not edible, their "yield" is measured in the frequency and density of their blooms. To maximize flower production, pinch off spent blooms at the base of the pedicel. This prevents the plant from diverting energy into seed production and encourages the development of new flower buds.
For "day one" freshness in a display, ensure the plant has been watered 24 hours prior to moving it. This ensures maximum turgidity in the petals. If you are showing the plant, use a soft brush to remove dust from the leaves, moving from the center of the rosette outward to avoid damaging the delicate trichomes (leaf hairs).
FAQ:
Why can't I use regular potting soil?
Regular soil is too dense and lacks the porosity required for African violet roots. It retains excessive water, leading to anaerobic conditions and root rot. Specialized soil ensures the correct oxygen diffusion and a stable pH for nutrient uptake.
How often should I change the specialized soil?
Refresh the substrate every 6 to 12 months. Over time, peat moss breaks down and acidifies, while fertilizer salts accumulate. New soil restores the Cation Exchange Capacity and provides a fresh structure for root respiration.
What is the ideal pot size for this soil?
The pot should be one-third the diameter of the plant. A 12-inch wide violet needs a 4-inch pot. This ratio ensures the roots can utilize the moisture in the specialized soil before it becomes stagnant and sour.
Does this soil need extra fertilizer?
Most specialized mixes contain a starter charge of nutrients. However, because the soil is highly porous, nutrients leach out quickly. Begin a regular fertilization program using a diluted, balanced fertilizer approximately four weeks after repotting.