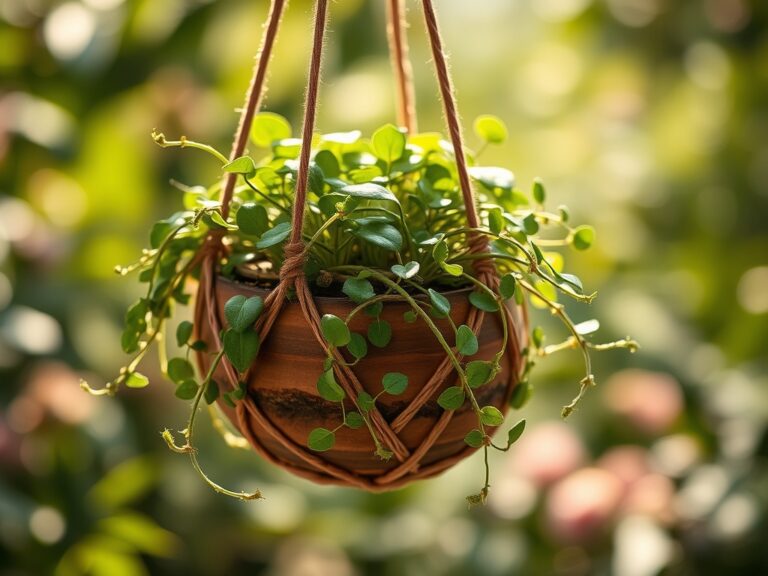
9 Collection Steps to Prepare a DIY Indoor Plant Shelf
Crushed perlite dust and the sharp, metallic scent of damp humus signal the start of a controlled indoor ecosystem. Success depends on turgor pressure; the internal hydraulic force that keeps a leaf rigid against gravity. To master how to prepare a DIY plant shelf, you must move beyond aesthetics and treat the structure as a life-support system. This requires precise management of the rhizosphere and a deep understanding of how light intensity dictates metabolic rates. A shelf is not furniture; it is a calibrated stage for photosynthesis where every inch of vertical space must account for airflow and gas exchange.
Materials:
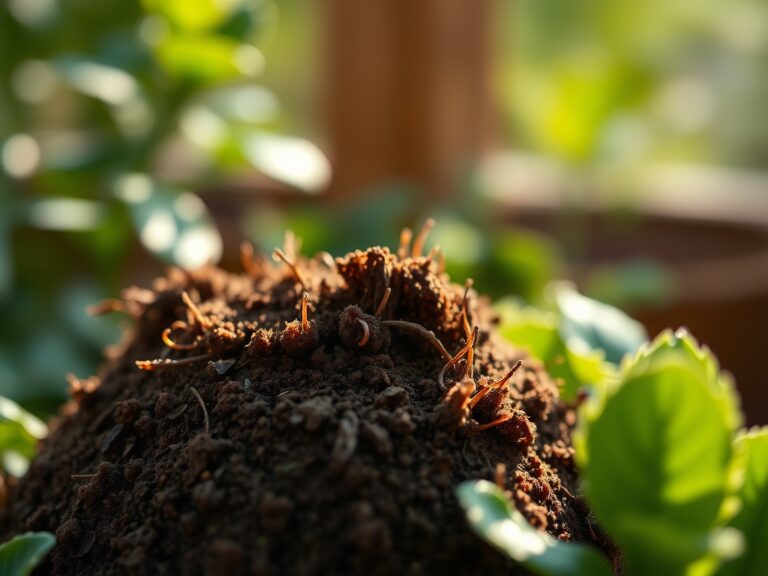
Substrate selection is the foundation of the shelf. You require a **friable loam** that maintains a **Cation Exchange Capacity (CEC)** high enough to hold nutrients but porous enough to prevent anaerobic conditions. For most tropical indoor species, aim for a **pH range of 5.8 to 6.5**.
Stock your shelf with specific amendments based on growth stages. Use a 10-10-10 NPK ratio for general maintenance; however, for heavy foliage growth, transition to a high-nitrogen 20-10-10 blend. If you are cultivating flowering indoor species, utilize a 10-30-20 ratio to provide the phosphorus necessary for bud initiation. The physical medium should consist of 40 percent peat or coco coir, 30 percent perlite for aeration, and 30 percent composted organic matter. This ratio ensures that water moves through the profile at a rate that prevents root senescence while providing the structural integrity needed for root anchorage.
Timing:
Indoor environments bypass the traditional constraints of USDA Hardiness Zones 1 through 11, yet they are still beholden to the biological clock of the plant. Even behind glass, plants sense the shortening of the photoperiod during winter months. You must synchronize your shelf preparation with the transition from the dormant phase to the vegetative stage, typically occurring when ambient light exceeds 12 hours per day.
The biological clock is regulated by phytochromes; light-sensitive proteins that tell the plant when to shift energy from root development to leaf production. If you are starting seeds on your shelf, initiate sowing 6 to 8 weeks before the local last frost date if you plan to move them outdoors. For permanent indoor residents, the ideal window for repotting and shelf placement is early spring, when the plant's metabolic rate increases and it can quickly recover from transplant shock.
Phases:
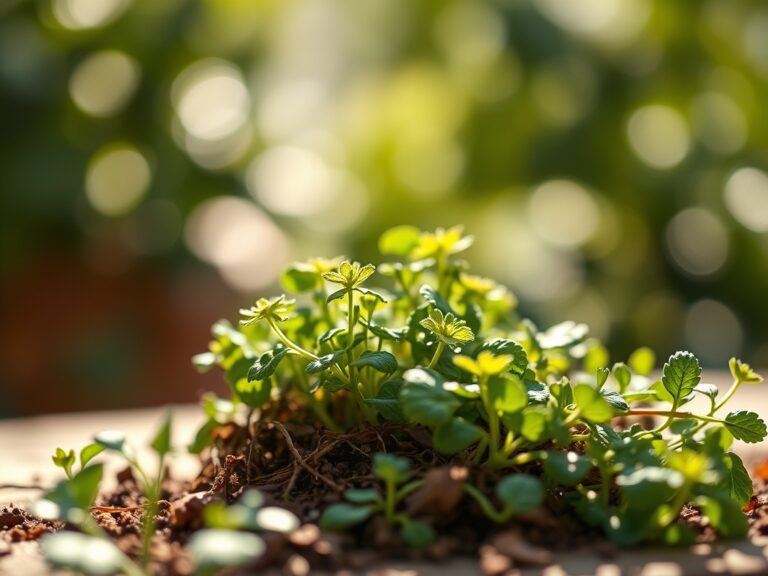
Sowing and Germination
Place seed trays on the warmest tier of your shelf, ideally maintained at 70 to 75 degrees Fahrenheit using a waterproof heat mat. Ensure the medium is consistently moist but not saturated to avoid "damping off," a fungal condition caused by Pythium species.
Pro-Tip: Utilize a humidity dome to maintain high vapor pressure deficit (VPD). This prevents excessive transpiration in seedlings that have not yet developed a robust root system to replace lost moisture.
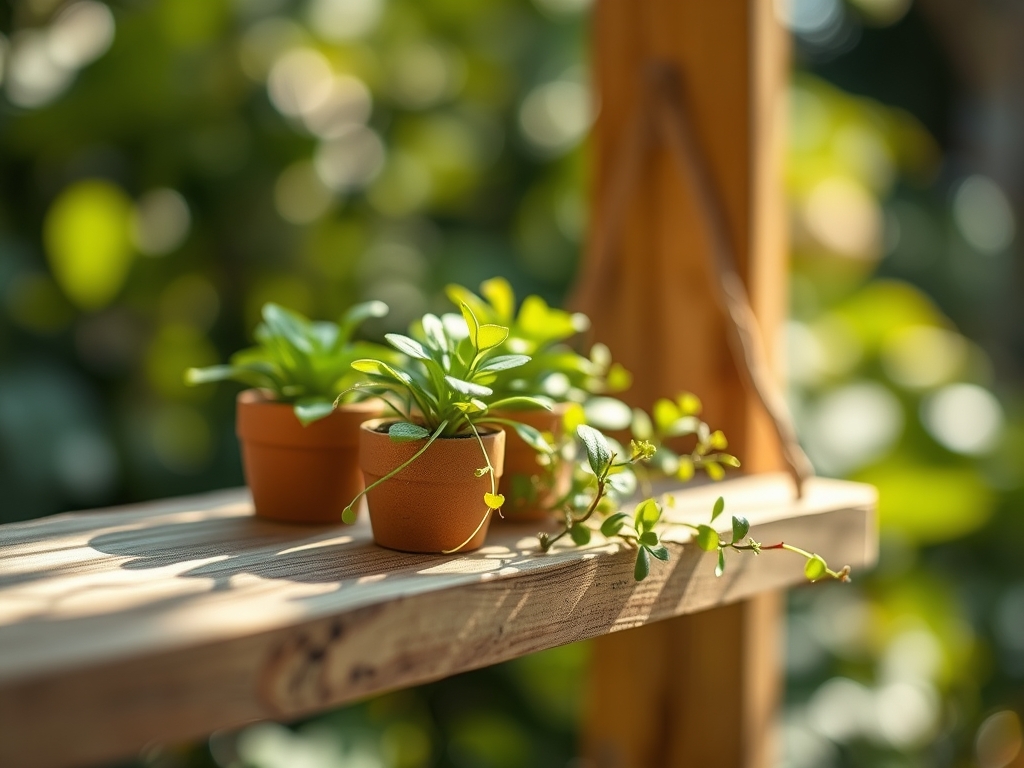
Transplanting and Spacing
When the second set of "true leaves" appears, move the plants into individual containers. Space them on the shelf to allow for 360-degree airflow. Stagnant air leads to a boundary layer of high humidity around the stomata, which can invite pathogens and slow down nutrient uptake.
Pro-Tip: When handling seedlings, never touch the stem. Damage to the vascular tissue (xylem and phloem) can permanently stunt the plant. Always lift by the cotyledons or the root ball.
Establishing and Hardening
As the plants grow, rotate them 90 degrees every week. This prevents phototropism, where the plant leans toward the light source, causing asymmetrical growth and weakened structural integrity.
Pro-Tip: Introduce a small oscillating fan to the shelf. The mechanical stress of the moving air triggers the release of ethylene, which strengthens the cell walls in the stem; a process known as thigmomorphogenesis.
The Clinic:
Physiological disorders often mimic infectious diseases. You must diagnose the chemical or environmental root cause before applying a fix.
- Symptom: Interveinal Chlorosis. The leaf remains green along the veins while the rest turns yellow.
- Solution: This indicates a Magnesium deficiency. Apply a foliar spray of 1 teaspoon of Epsom salts per gallon of water to restore chlorophyll production.
- Symptom: Leaf Tip Burn. The distal ends of the leaves turn brown and crispy.
- Solution: This is often caused by "salt burn" from excess fertilizer or fluoride in tap water. Flush the substrate with three times the volume of the pot using distilled water.
- Symptom: Epinasty. Leaves curve downward and stems appear twisted.
- Solution: This is a sign of ethylene gas buildup or overwatering. Increase ventilation and allow the top 2 inches of soil to dry completely before the next irrigation cycle.
- Symptom: Nitrogen Deficiency. General paling of the entire plant, starting with older, lower leaves.
- Solution: Nitrogen is a mobile nutrient; the plant steals it from old growth to support new growth. Apply a high-nitrogen liquid fertilizer (5-1-1) immediately.
Maintenance:
Precision maintenance is the difference between a surviving plant and a thriving one. Use a soil moisture meter to verify that the root zone is actually dry before adding water; surface appearance is often deceptive. Most indoor plants require the equivalent of 1 inch of water per week, delivered in a single deep soaking rather than frequent light mists.
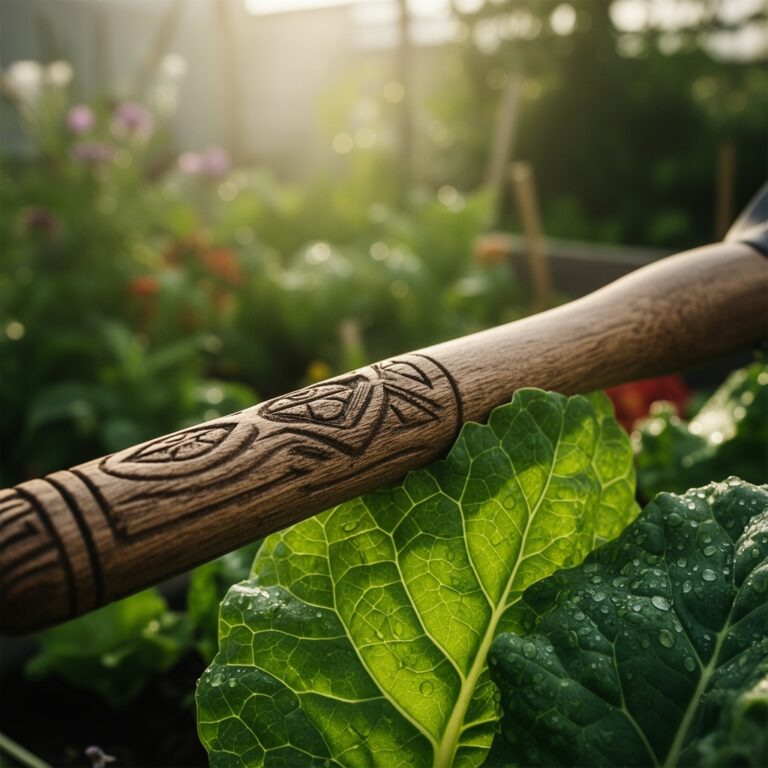
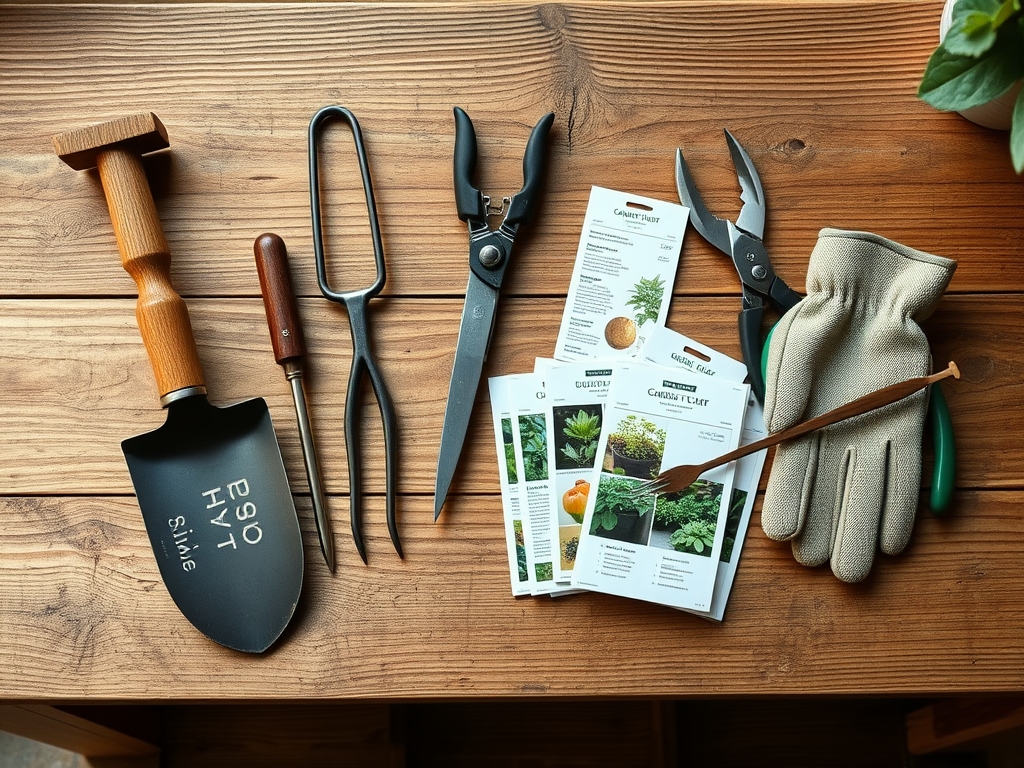
Keep a hori-hori knife available for dividing overcrowded root balls and a pair of sharp bypass pruners for removing necrotic tissue. When pruning, always cut at a 45-degree angle just above a node to encourage branching. Clean your tools with 70 percent isopropyl alcohol between every plant to prevent the mechanical transmission of pathogens. Monitor the "drip line" of the shelf; ensure that runoff from higher shelves does not contaminate the pots below.
The Yield:
For those using their DIY shelf for herbs or microgreens, timing the harvest is critical for essential oil concentration. Harvest leafy greens in the early morning when turgor pressure is at its peak. This ensures the cell walls are fully hydrated, providing a crisp texture.
Use sharp snips to take no more than 30 percent of the plant's biomass at one time to avoid systemic shock. For woody herbs like rosemary or thyme, cut just above a woody junction to promote soft new growth. Post-harvest, submerge the cuttings in 40-degree Fahrenheit water for fifteen minutes to remove field heat and preserve "day-one" freshness before refrigeration.
FAQ:
How much light does my DIY shelf need?
Most indoor plants require 10 to 14 hours of light. Use a light meter to ensure a minimum of 200 to 400 foot-candles for low-light plants and 1,000+ foot-candles for succulents or herbs.
What is the best material for a plant shelf?
Use non-porous materials like powder-coated steel or sealed hardwood. Avoid untreated softwoods, which absorb moisture and harbor fungal spores. Ensure each tier can support at least 50 pounds to account for wet soil weight.
How do I prevent root rot on a shelf?
Ensure every container has drainage holes. Use a "cachepot" system where the nursery pot sits inside a decorative one, but never let the plant sit in standing water. Maintain a soil temperature above 65 degrees.
Why are my plants growing tall and skinny?
This is etiolation, caused by insufficient light. The plant is rapidly elongating its internodes to reach a light source. Move the shelf closer to a window or install full-spectrum LED grow lights 6 to 12 inches above the canopy.