9 Clearing Tips to Use a Garden Saw for Woody Vegetable Growth
The fibrous stems of asparagus and artichoke, the woody trunks of old brassica stalks, and the thick canes of perennial rhubarb all demand more than a hand pruner when clearing beds for spring rotation. Using a garden saw for vegetable clearing becomes essential when dealing with these lignified tissues that resist secateurs and can damage knife edges. The right saw technique preserves soil structure, protects underground crowns, and accelerates the breakdown of plant material destined for the compost pile.
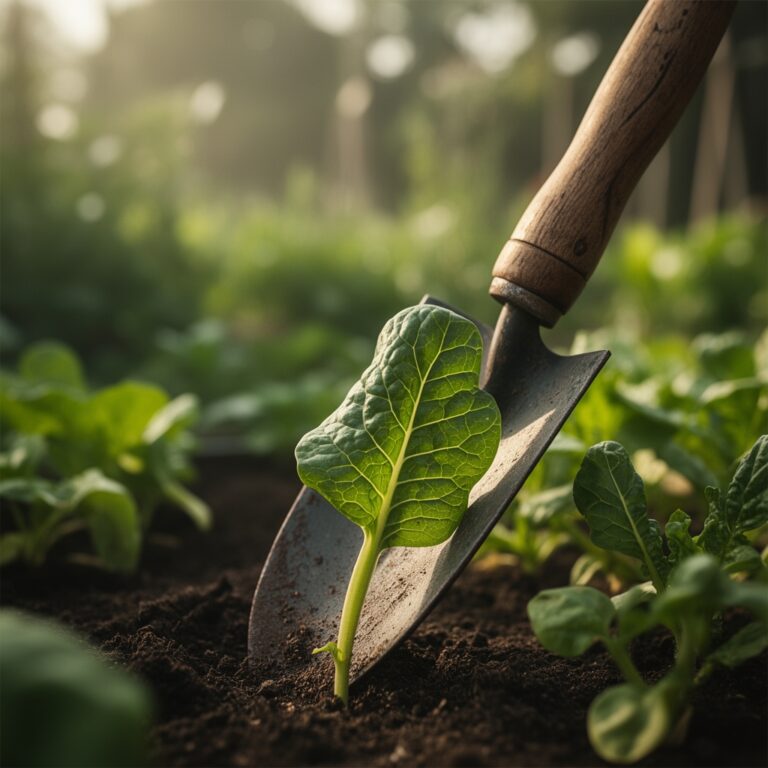
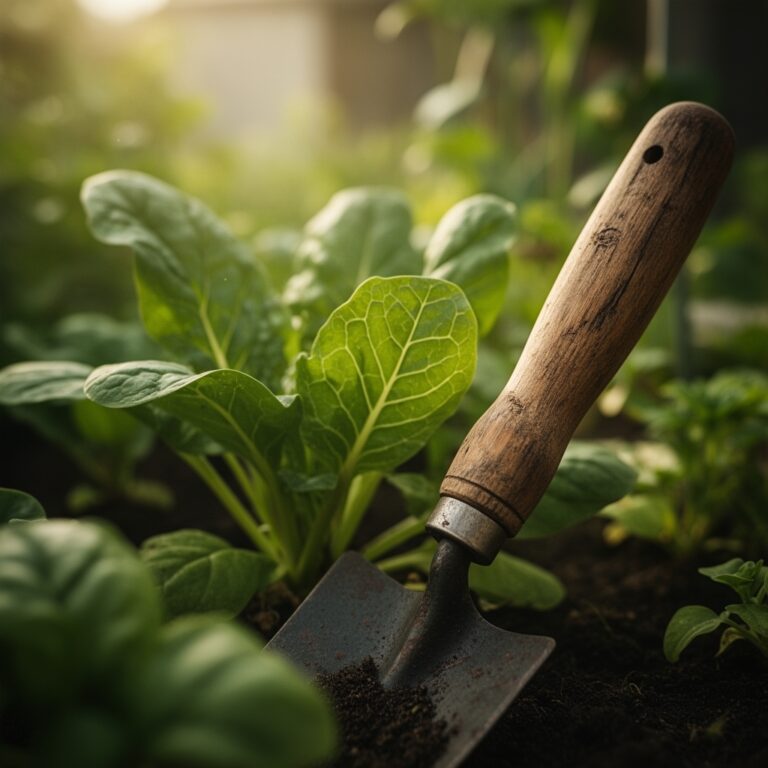
Materials and Tools
![]()
A folding pruning saw with 7-inch curved blade and 7 TPI (teeth per inch) handles woody vegetable stems up to 3 inches in diameter. The curved design increases cutting efficiency on pull strokes while minimizing soil contamination. Pair this with bypass loppers rated for 1.5-inch branches to address mid-range stems.
For post-clearing soil amendment, woody vegetable gardens benefit from balanced organic fertilizer at 4-4-4 or 5-5-5 NPK ratios. These formulations supply nitrogen for microbial decomposition of lignin-rich residues while maintaining phosphorus for root establishment and potassium for disease resistance. Incorporate 2 pounds per 100 square feet prior to replanting. The cation exchange capacity of most vegetable soils (8-15 meq/100g) requires supplemental calcium from dolomitic lime at 5 pounds per 100 square feet if pH falls below 6.2.
Mycorrhizal fungi inoculant containing Glomus intraradices establishes symbiotic relationships with successor crops. Apply 1 tablespoon per transplant hole after clearing operations conclude.
Timing by Climate Zone
In USDA Hardiness Zones 3-5, clear woody vegetable debris 2-3 weeks before the last spring frost date. Soil temperatures remain below 50°F, preventing premature microbial activity that would immobilize nitrogen. The frozen or semi-frozen ground provides firm footing and reduces compaction risk.
Zones 6-7 permit clearing operations from late February through mid-March, targeting the window when daytime temperatures reach 45-55°F but nighttime lows still dip to 32-35°F. This thermal range allows comfortable work conditions while maintaining dormancy in perennial crowns.
Zones 8-10 require autumn clearing between October and December. Summer heat stress has concluded, but winter rains have not yet saturated soils. Remove woody asparagus ferns after the first light frost blackens foliage, typically when soil temperature at 4-inch depth drops below 55°F.
Clearing Phases
![]()
Assessment and Crown Protection
Locate underground crowns of perennial vegetables before sawing. Asparagus crowns sit 6-8 inches below surface grade. Rhubarb buds cluster at soil line. Mark these locations with survey flags to prevent accidental damage during aggressive cutting. Remove annual woody stems like bolted broccoli or overwintered Brussels sprouts by sawing at ground level. The saw blade should enter perpendicular to the stem axis at a 90-degree angle for clean cuts that heal rapidly.
Pro-Tip: Sterilize saw blades between cuts with 10% bleach solution when clearing diseased material. Verticillium and Fusarium persist on contaminated tools for 8-12 months.
Stem Sectioning
Cut woody stems into 6-inch segments for faster composting. Lignin and cellulose in thick vegetable stems require 18-24 months to decompose in standard compost piles unless mechanically reduced. The increased surface area from sectioning accelerates microbial colonization. Stack cut sections in alternating layers with high-nitrogen materials at a 25:1 carbon-to-nitrogen ratio. Aged chicken manure (3-2-2 NPK) or blood meal (12-0-0) supplies nitrogen for thermophilic bacteria that process woody tissue.
Pro-Tip: Saw stems when ambient temperature exceeds 40°F. Cold wood fibers splinter rather than cut cleanly, dulling teeth prematurely.
Root Ball Extraction
For complete removal of woody tap-rooted vegetables like mature cardoon or bolted parsley, saw vertically around the root perimeter at 8-10 inches from the central stem. This severs lateral roots while preserving surrounding soil structure. Insert a digging fork at 45 degrees beneath the severed root mass and lever upward. The combination of saw work and mechanical leverage extracts roots without excessive soil disruption that damages cation exchange sites.
Pro-Tip: Examine extracted roots for root-knot nematode galls (Meloidogyne species). Irregular swellings 2-5mm in diameter indicate infestation requiring 4-year rotation away from susceptible crops.
Troubleshooting Common Issues
Symptom: Saw blade binds in green, sappy stems of early-season clearing.
Solution: Allow stems to dry for 72 hours post-frost before cutting. Moisture content above 65% creates friction and gum buildup. Alternatively, use pruning shears for stems under 0.75 inches diameter when tissue remains hydrated.
Symptom: Regrowth from supposedly removed woody perennials within 3-4 weeks.
Solution: Crown fragments as small as 1 cubic inch can regenerate. After sawing at soil level, excavate an additional 2-3 inches below the cut surface to remove all meristematic tissue. Auxin distribution in perennial crowns concentrates in the upper 3 inches, driving rapid bud break if tissue remains.
Symptom: Saw teeth clog with soil during ground-level cuts.
Solution: Clear surface debris and mulch in a 6-inch radius around each stem before cutting. Elevate the cut point 0.5 inches above soil grade for the first pass, then make a second flush cut after removing the bulk of the stem. This two-cut method reduces soil contact by 80%.
Symptom: Jagged cuts that fail to decompose and harbor fungal pathogens.
Solution: Maintain saw sharpness through professional resharpening every 40 hours of use. Dull teeth tear rather than slice, creating irregular surfaces with 3-4 times more area for pathogen colonization. Replace blades showing more than 15% tooth damage.
Maintenance Protocol
Water cleared beds to 1 inch depth immediately after removal operations conclude. This settles disturbed soil and initiates decomposition of small root fragments left in place. Apply water in early morning when evapotranspiration rates remain below 0.15 inches per day.
Test soil pH and nutrient levels 10-14 days post-clearing. Woody tissue decomposition temporarily reduces soil pH by 0.3-0.5 units as organic acids release. Adjust with calcitic lime if pH drops below 6.0 for most vegetable crops.
Turn cleared beds with a broadfork to 8-inch depth, incorporating any remaining surface debris. Avoid rotary tilling, which pulverizes woody fragments into pieces too small for efficient composting but large enough to interfere with seedling emergence.
Frequently Asked Questions
Can I use a chainsaw instead of a pruning saw for vegetable clearing?
Chainsaw weight and bar length create excessive soil disturbance in garden beds. The 8-12 pound tool weight compacts soil to bulk densities exceeding 1.6 g/cm³, restricting root penetration for 12-18 months. Reserve chainsaws for woody perennials exceeding 4 inches diameter.
How long before replanting after clearing woody vegetables?
Wait 14-21 days after clearing to allow volatile organic compounds from cut plant tissue to dissipate. Fresh-cut lignin releases allelopathic compounds that inhibit seed germination by 40-60% for 10-15 days. Soil microbial populations neutralize these compounds within three weeks.
Should I compost or burn cleared woody vegetable material?
Composting retains nutrients in the garden system. A cubic yard of woody vegetable waste contains approximately 15 pounds nitrogen, 4 pounds phosphorus, and 12 pounds potassium. Burning volatilizes 85% of nitrogen content while creating ash that spikes pH above 7.5.
Do different vegetables require different sawing techniques?
Monocot vegetables like asparagus produce fibrous stems that saw cleanly in any direction. Dicot vegetables including brassicas and artichokes feature distinct bark and pith layers. Saw these from the outside inward to prevent bark stripping that extends decay into healthy crown tissue.
What tooth configuration works best for vegetable clearing?
Choose 6-7 TPI for stems 1-3 inches diameter and 8-10 TPI for stems under 1 inch. Coarser teeth remove material faster but leave rougher cuts. Finer teeth produce smooth cuts that compost 25% faster due to increased microbial access points along the cut surface.