9 Best Erasable Plant Labels for Indoor Organization
The scent of damp, pasteurized peat moss and the sharp metallic tang of a sterilized hori-hori knife define the indoor growing environment. Success in a controlled climate depends on the turgor pressure of the foliage and the meticulous tracking of genetic lineages. Without a systematic identification method, a collection of rare cultivars quickly descends into a chaotic monoculture of unidentified greenery. Implementing the Best plant labels ensures that specific nutrient requirements and photoperiod schedules remain tied to the correct specimen. In a high-humidity grow room, paper tags fail within days due to fungal degradation. Serious horticulturalists require erasable, non-porous surfaces that withstand ultraviolet exposure and constant irrigation. Precision in labeling is the foundation of data-driven gardening; it allows for the exact monitoring of growth rates and the timing of reproductive transitions. When every seedling looks identical during the cotyledon stage, the label is the only bridge between a successful harvest and a wasted season of guesswork.
Materials:

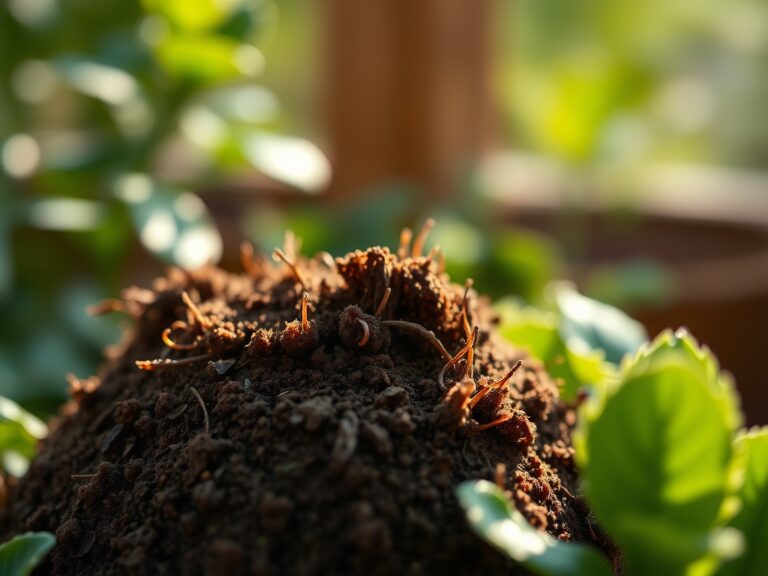
Indoor organization begins with the substrate. For most tropical indoor species, a **friable loam** with a **pH between 5.8 and 6.5** is optimal. This acidity range ensures that essential micronutrients like iron and manganese remain bioavailable. The Cation Exchange Capacity (CEC) of your potting medium dictates how well it retains nutrients; a high CEC means fewer applications of fertilizers. When selecting erasable labels, choose materials like matte-finish PVC or anodized aluminum. These surfaces hold specialized wax pencils or alcohol-based ink without smudging under a 1.5-inch weekly irrigation cycle.
For vegetative growth, prioritize an NPK ratio of 3-1-2. This high nitrogen content supports the production of chlorophyll and the expansion of the leaf canopy. As plants transition to the reproductive phase, shift to a 1-3-2 ratio to provide the phosphorus necessary for flower development and root fortification. The physical texture of the soil should allow for immediate drainage to prevent anaerobic conditions in the rhizosphere.
Timing:
Indoor gardening bypasses traditional Hardiness Zones, but the "Biological Clock" of the plant remains tethered to light cycles. Most indoor species require a 14 to 16-hour photoperiod during the vegetative state. The transition to the reproductive stage is often triggered by a shift to a 12/12 light-dark cycle, simulating the shortening days of autumn.
Frost-date windows are irrelevant for climate-controlled rooms, yet "biological windows" for pruning and repotting are critical. Repotting should occur when the root mass occupies 80 percent of the container volume. This prevents the plant from becoming root-bound, which leads to a decline in hydraulic conductance. Use your soil moisture meter to ensure the substrate remains at 40 to 60 percent field capacity during these transitions to minimize transplant shock.
Phases:

Sowing
Place seeds at a depth exactly two times their diameter. Maintain a constant substrate temperature of 72 to 78 degrees Fahrenheit using a heat mat. Erasable labels must be inserted at the edge of the tray to avoid disturbing the emerging radicle.
Pro-Tip: Seeds exhibit skotomorphogenesis in total darkness, stretching rapidly to find light. Providing immediate high-intensity discharge (HID) or LED light upon emergence suppresses excessive hypocotyl elongation by regulating auxin distribution.
Transplanting
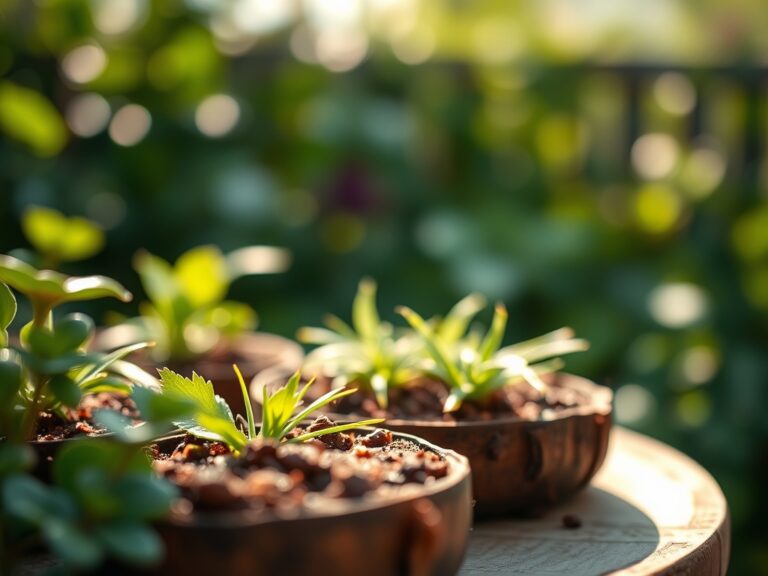
Move seedlings when they possess two sets of true leaves. Use a bypass pruner to remove any circling roots. Ensure the new container provides at least two inches of clearance around the existing root ball. Label each pot immediately to track the specific date of the move.
Pro-Tip: Inoculating the new site with mycorrhizal fungi increases the effective root surface area by up to 1,000 times. This symbiosis enhances the uptake of immobile nutrients like phosphorus through fungal hyphae.
Establishing
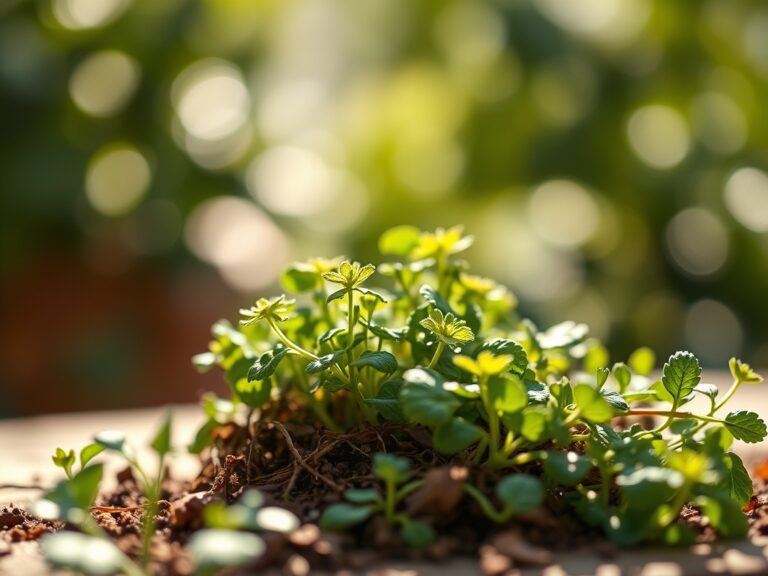
During the first 14 days post-transplant, maintain humidity at 70 percent to reduce the vapor pressure deficit (VPD). This allows the plant to maintain turgor while the root system integrates with the new medium. Monitor the label for the "Last Fed" date to avoid over-salting the young rhizosphere.
Pro-Tip: Maintaining high humidity prevents excessive transpiration, which can outpace the water-gathering capacity of a compromised root system. This balance ensures the plant does not wilt while the vascular tissues recover.
The Clinic:
Physiological disorders often mimic pathogen attacks but are usually rooted in environmental or nutritional imbalances.
Symptom: Interveinal chlorosis on older leaves.
Solution: This indicates Magnesium deficiency. Apply a foliar spray of magnesium sulfate at a concentration of 1 tablespoon per gallon. Magnesium is a central atom in the chlorophyll molecule; its absence halts photosynthesis.
Symptom: Necrotic leaf tips and "hooking" of new growth.
Solution: This is a classic sign of Calcium deficiency. Increase the calcium nitrate in your nutrient solution. Calcium is immobile within the plant, meaning it cannot be translocated from old leaves to new ones.
Symptom: Rapid wilting despite moist soil.
Solution: This suggests Pythium root rot. Improve drainage and apply a biological fungicide containing Bacillus amyloliquefaciens. Ensure the soil temperature does not exceed 75 degrees Fahrenheit, as warm, wet conditions accelerate pathogen respiration.
Fix-It for Nitrogen Chlorosis: If the entire plant turns pale green, increase the Nitrogen (N) concentration immediately. Nitrogen is highly mobile; the plant will cannibalize its lower leaves to support new growth if the substrate is depleted.
Maintenance:
Precision maintenance requires the right equipment. Use a soil moisture meter daily to ensure the root zone stays within the 3 to 5 range on a standard 10-point scale. Most indoor plants require approximately 1.5 inches of water per week delivered at the drip line to ensure even distribution throughout the root mass.
Keep your bypass pruners sharp and sterilized with 70 percent isopropyl alcohol between every plant to prevent the mechanical transmission of viruses. When removing dead tissue, cut at a 45-degree angle to prevent water from pooling on the wound, which can lead to localized necrosis. Update your erasable labels every time you apply a systemic treatment or a heavy pruning session to maintain a clean record of the plant's history.
The Yield:
For flowering or fruiting indoor plants, harvest timing is determined by the color of the trichomes or the senescence of the pistils. When 70 percent of the reproductive structures have transitioned from clear to amber or brown, the plant has reached peak secondary metabolite production.
Use sterilized snips to remove the harvest. To maintain "day-one" freshness, keep the harvested material at 60 degrees Fahrenheit with 60 percent relative humidity. This slow-drying process prevents the rapid breakdown of volatile terpenes and maintains the cellular integrity of the tissue. Proper labeling during this stage is vital for identifying which phenotype produced the highest quality yield.
FAQ:
What material is best for erasable plant labels?
Matte PVC or anodized aluminum are superior. These materials resist degradation from UV light and moisture while allowing for clean erasure with isopropyl alcohol. Avoid porous wood or thin plastics that crack under structural stress.
How do I prevent ink from fading on labels?
Use an industrial-grade grease pencil or a UV-resistant paint marker. Standard permanent markers often break down when exposed to high-intensity grow lights. Re-apply markings if the text shows signs of "ghosting" or pigment loss.
Can I reuse erasable labels for different plant species?
Yes. Clean the surface thoroughly with a 90 percent alcohol solution to remove all previous ink residues and potential pathogens. This ensures that no cross-contamination occurs between different biological batches or cultivars.
Why is labeling important for nutrient management?
Different species require specific NPK ratios and pH levels. Accurate labeling prevents the accidental application of high-nitrogen fertilizers to plants in the flowering stage, which can cause nutrient burn or delayed reproductive development.