8 Quick Access Steps to Build a Functional Garden Gate
The scent of cedar sawdust drifts across the garden bed as the first hinge plate bites into fresh timber. A properly constructed gate transforms a vegetable patch from an open invitation to wildlife into a controlled growing system where rabbits stay out and harvests stay in. Learning the steps for building a vegetable garden gate requires no advanced carpentry skills, only attention to material selection, precise measurements, and an understanding of how wood movement affects long-term function. This guide delivers eight actionable steps tested across USDA Hardiness Zones 3 through 10.
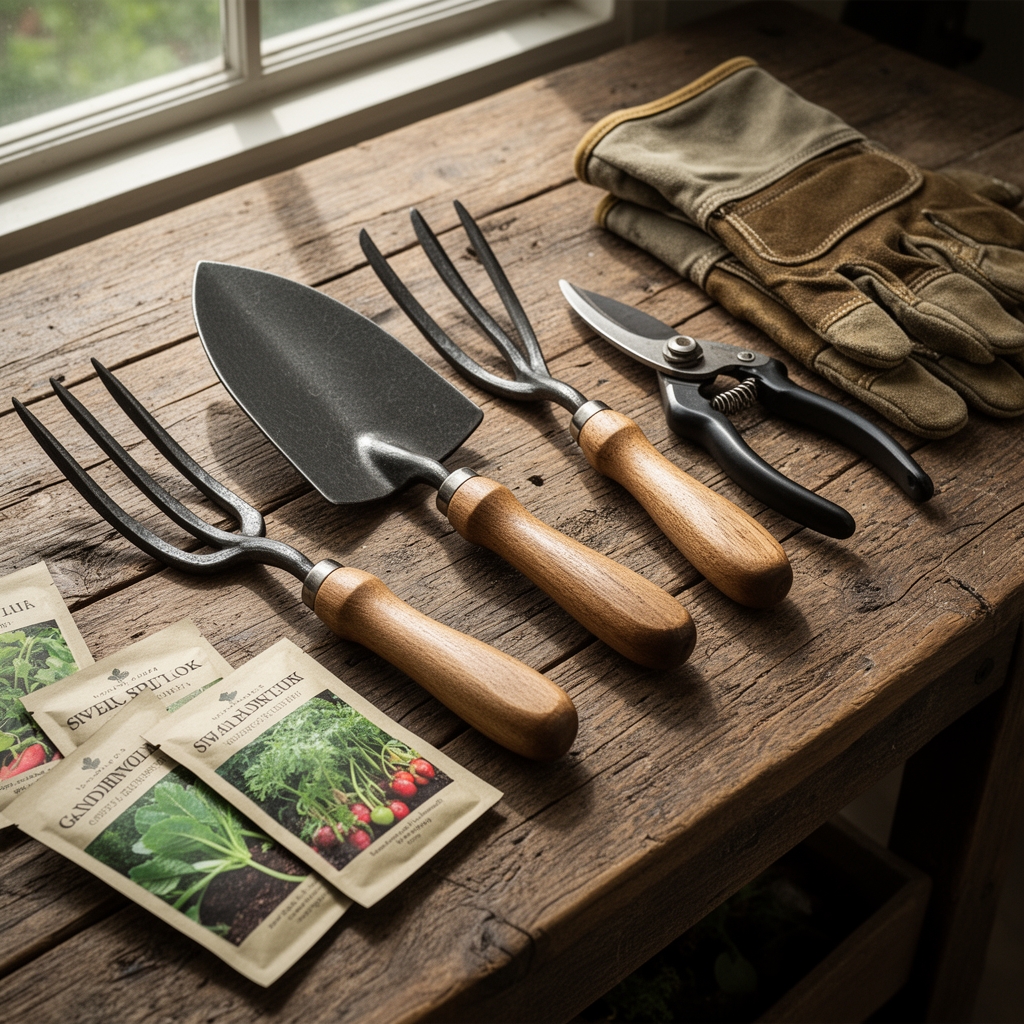
Materials
Selecting gate components follows the same principles as amending soil. The substrate must match the environmental load.
Frame lumber (pressure-treated pine or naturally rot-resistant cedar): Cedar contains thujaplicins, organic compounds that resist fungal decomposition without chemical treatment. Use 2×4 boards for gates under 4 feet wide, 2×6 for spans exceeding 48 inches. The lignin structure in cedar maintains dimensional stability across freeze-thaw cycles.
Hardware cloth or welded wire (galvanized steel, 1/2-inch to 1-inch mesh): Zinc coating provides corrosion resistance equivalent to pH 7.0 buffering in soil. Smaller mesh (1/2-inch) excludes juvenile rabbits and ground squirrels. Calculate 10 percent overage for folding and edge reinforcement.
Hinges (strap or T-pattern, hot-dipped galvanized): Load capacity should exceed gate weight by 40 percent. Strap hinges distribute load across grain lines, reducing auxin-driven wood expansion stress at attachment points.
Fasteners (3-inch exterior screws, ring-shank nails): Mechanical hold mirrors root anchorage. Ring-shank fasteners increase pullout resistance by 300 percent compared to smooth-shank equivalents.
Latch assembly (gravity or spring-loaded): Spring tension maintains closure despite seasonal wood movement averaging 2 to 4 percent across grain width.
Timing
Construct gates during stable weather windows when wood moisture content reaches equilibrium with ambient humidity. In Zones 3-5, build between late April and mid-October when temperatures hold above 45°F for three consecutive days. Zones 6-8 allow year-round construction, but avoid periods of sustained rain that raise lumber moisture above 19 percent. Zones 9-10 should avoid summer months when extreme heat causes rapid moisture loss and checking in cut ends.
Post installation requires frost-free soil. Dig postholes after the last spring frost date, when soil temperature at 6-inch depth stabilizes above 50°F. This ensures proper concrete curing and minimizes frost heaving that destabilizes hinge alignment.
Phases
Phase One: Foundation and Post Installation
Dig postholes to one-third the height of the above-ground post plus 6 inches for gravel base. A 6-foot post requires a 30-inch hole. Add 6 inches of crushed stone to improve drainage and prevent capillary moisture rise, which functions like poor soil cation exchange capacity, unable to buffer water movement.
Set posts plumb using a 4-foot level on two adjacent faces. Pour concrete collar extending 2 inches above grade with a crown slope to shed water. Cure for 72 hours before attaching gate components.
Pro-Tip: Apply copper naphthenate wood preservative to the below-grade post section. Copper ions disrupt fungal cytochrome systems similar to how excess copper disrupts plant micronutrient uptake at concentrations above 20 ppm.

Phase Two: Frame Assembly
Construct a rectangular frame using butt joints reinforced with corner braces or half-lap joints. Cut a diagonal brace running from the bottom hinge-side corner to the top latch-side corner. This mimics the tension/compression balance in a plant stem resisting wind load.
Pre-drill all screw holes at 1/16-inch smaller than fastener diameter to prevent splitting. Splitting occurs when radial pressure exceeds lignin shear strength, typically 800 psi in softwoods.
Attach hardware cloth using fence staples every 6 inches along perimeter. Fold cloth edges back 1 inch to eliminate sharp projections.
Pro-Tip: Orient gate frame so annual growth rings curve downward at the hinge side. Cupping follows ring orientation, and this placement counteracts sag over time.
Phase Three: Hanging and Adjustment
Mount hinges on the gate frame first, positioned 6 inches from top and bottom. Transfer measurements to the post, supporting gate weight on shims to establish 1/2-inch ground clearance.
Install latch hardware with 1/8-inch tolerance for seasonal expansion. Wood swells perpendicular to grain in humid conditions, requiring lateral play in the striking plate.
Pro-Tip: Rub hinge pins with graphite powder (not oil). Graphite creates a dry lubricant film that repels dust accumulation, maintaining smooth operation across 500+ cycles per season.
Troubleshooting
Symptom: Gate sags within first growing season.
Solution: Diagonal brace installed in wrong orientation. Reverse brace so compression load runs from bottom hinge corner upward, or add turnbuckle cable along correct diagonal.
Symptom: Hardware cloth rusts through in 18-24 months.
Solution: Insufficient zinc coating. Replace with true hot-dipped galvanized wire (minimum 2.0 oz zinc per square foot). Electro-galvanized products fail rapidly in humid environments.
Symptom: Gate binds during summer, gaps in winter.
Solution: Inadequate clearance tolerance. Plane 1/8 inch from latch-side stile. Seasonal movement in 36-inch-wide softwood gates averages 1/4 inch across width.
Symptom: Posts lean after winter.
Solution: Frost heaving from inadequate hole depth or poor drainage. Reset posts with deeper excavation below frost line (36 inches in Zone 5, 48 inches in Zone 4).
Maintenance
Apply penetrating oil finish (linseed or tung oil) annually in spring. Oil penetrates 1/8 inch into wood surface, slowing moisture exchange without forming a surface film that traps water and promotes decay.
Tighten all fasteners each autumn. Seasonal wood shrinkage loosens connections by 10-15 percent.
Apply 1/4 inch of wood ash (pH 9-11) around post bases each fall. Alkalinity suppresses fungal spore germination in the critical ground-contact zone.
Inspect hardware cloth quarterly for damage. Replace compromised sections immediately. A 4-inch breach admits cottontail rabbits that consume 1/2 pound of vegetables daily.
FAQ
How wide should I build my vegetable garden gate?
36 to 42 inches accommodates wheelbarrows (standard 24-inch width) with clearance for knuckles and load overhang.
What is the minimum post depth for a 4-foot gate?
30 inches in stable soil, 36 inches in sandy or loose substrates. Add 6 inches in Zones 3-5 to reach below frost line.
Can I use untreated lumber?
Cedar, black locust, and white oak contain natural extractives that resist decay for 15-20 years untreated. Pine and fir require chemical treatment or fail within 3-5 years in ground contact.
How much weight can standard strap hinges support?
Quality 12-inch strap hinges rated at 150 pounds per pair handle typical garden gates (40-60 pounds) with 300 percent safety margin.
Should I use nails or screws?
Screws provide superior withdrawal resistance (400 pounds per fastener versus 150 pounds for nails) and allow disassembly for repairs. Use screws for all structural connections.