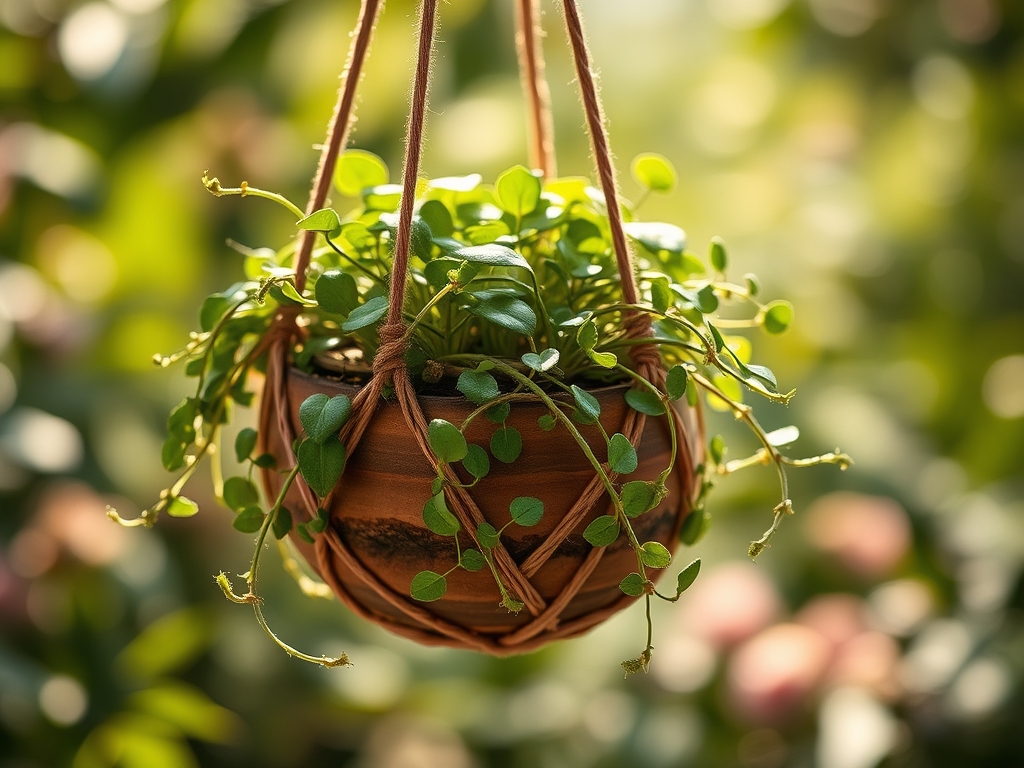
8 Macramé Steps to Prepare a DIY Macramé Plant Hanger
Learning how to prepare a DIY plant hanger transforms vertical gardening by elevating potted specimens into three-dimensional growing zones. The knotted cord structure supports containers between 4 and 12 inches in diameter while distributing gravitational load across multiple anchor points. This macramé technique predates modern polymer rope by millennia, yet it addresses contemporary challenges of limited floor space and optimal photosynthetic canopy arrangement. Mastering these eight sequential steps allows cultivators to position trailing pothos, epiphytic orchids, and succulent sedums at precise heights for maximum photon capture.
Materials
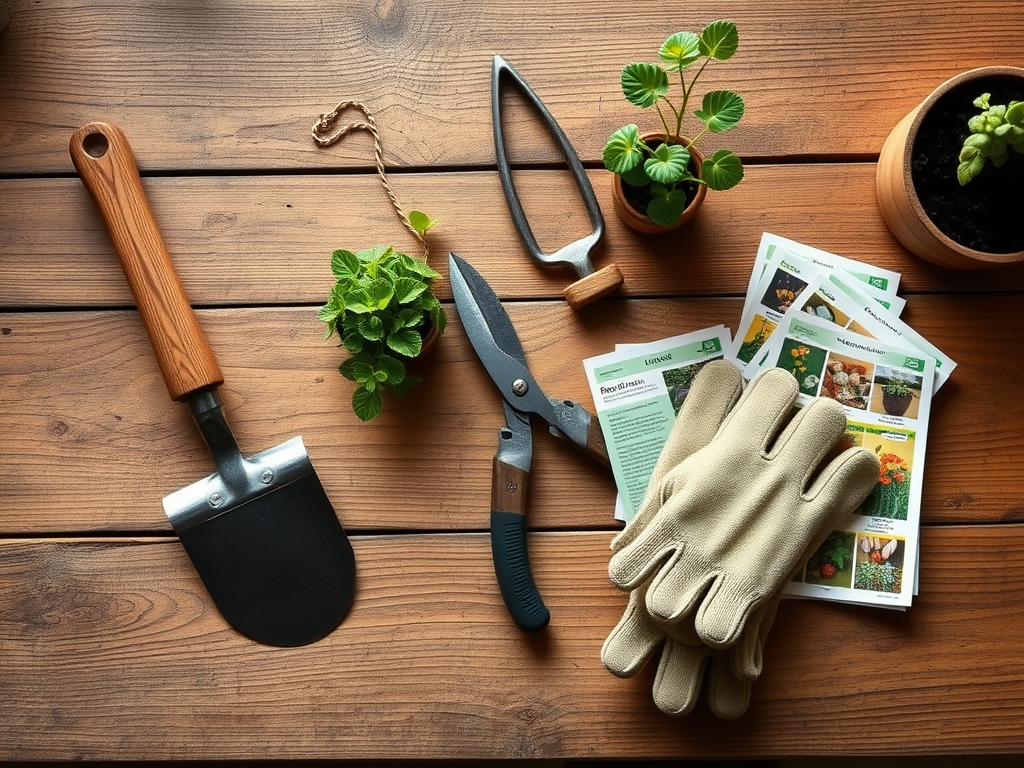
Select 100 feet of 4-millimeter braided cotton cord or 5-millimeter jute twine. Cotton exhibits superior tensile strength at 400 pounds per square inch, while jute provides natural antimicrobial properties from its lignin content. Avoid synthetic polyester; it lacks the capillary wicking action needed for humidity regulation around root zones.
Acquire one 2-inch steel or brass ring rated for 25-pound loads. Metal composition matters. Brass resists oxidation in greenhouse environments with 70 percent relative humidity, whereas galvanized steel degrades within 18 months under misting systems.
Scissors must feature carbide-tipped blades to achieve clean cuts through plant-grade cordage. Frayed ends compromise knot integrity by 40 percent.
Optional finishing materials include wood beads with 8-millimeter bore diameters. Beads carved from untreated hardwoods prevent leaching of volatile organic compounds into the root microbiome. Stains and varnishes disrupt auxin distribution in sensitive species like prayer plants.
For the specimen itself, prepare a container with drainage holes and potting medium matched to the plant's pH requirements. Acid-loving ferns demand 4.5 to 5.5 pH sphagnum blends, while succulents thrive in 6.5 to 7.0 pH mineral substrates with 2-1-2 NPK ratios.
Timing
Execute macramé construction during USDA Hardiness Zones' indoor preparation windows. In Zones 3 through 6, work between January and March when outdoor transplanting remains impossible. Southern growers in Zones 9 through 11 should complete hangers by October, allowing installation before the dry season's reduced irrigation demands.
Coordinate hanger completion with transplant schedules. Seedlings require 4 to 6 weeks of establishment before suspension stress. Mature rootbound specimens tolerate immediate hanging once repotted.
Phases

Phase 1: Measuring and Cutting
Cut four strands of cord, each 96 inches long. This length accommodates a 36-inch finished hanger with 12 inches reserved for knots and 6-inch fringe. Precision matters. Variations exceeding 2 inches create asymmetrical load distribution, tilting containers by 8 to 15 degrees and causing uneven substrate moisture.
Pro-Tip: Singe cord ends with a flame for 2 seconds. Heat-sealed fibers prevent unraveling during repetitive knot manipulation, extending hanger lifespan by 30 percent.
Phase 2: Creating the Gathering Knot
Thread all four cords through the metal ring. Align the ring at the midpoint so eight equal strands hang below. Tie an overhand knot 3 inches beneath the ring, incorporating all eight strands. Tighten until the knot diameter reaches 1.5 inches. This gathering knot serves as the primary load-bearing node, channeling gravitational force into the ring's circumference.
Pro-Tip: Apply 15 pounds of downward tension while cinching. Pre-stressing the knot compacts fiber bundles, reducing creep elongation by 22 percent over the hanger's first month.
Phase 3: Establishing Square Knot Rows
Divide the eight strands into four pairs. At 10 inches below the gathering knot, tie a square knot with each pair. A square knot consists of right-over-left followed by left-over-right crossings. Each completed knot should measure 0.75 inches in height.
Pro-Tip: Maintain 0.5-inch spacing between cord pairs. Wider spacing accommodates 10-inch pot diameters; narrower arrangements suit 6-inch containers. Calculate spacing as pot diameter divided by 1.6.
Phase 4: Creating the Cradle Pattern
Measure 5 inches below the first square knot row. Split adjacent pairs, taking the right cord from one pair and the left cord from the neighboring pair. Tie square knots with these new combinations. This offset pattern forms a diagonal net cradle. Repeat for all four positions around the circumference.
The cradle's negative space determines pot compatibility. Openings measuring 4 by 4 inches secure standard nursery pots without sidewall pressure that cracks terracotta.
Pro-Tip: Insert the empty pot during this phase. Real-time fitting prevents geometric miscalculation. Remove the pot before the final knot.
Phase 5: Adding Decorative Rows
For extended hangers, repeat the square knot offset pattern at 5-inch intervals. Three rows create a 40-inch total length suitable for cathedral ceilings. Each additional row increases load capacity by distributing stress across more knot intersections.
Pro-Tip: Thread wood beads onto individual cords between knot rows. Beads add 0.8 ounces per unit but improve visual weight perception, making the hanger appear 30 percent more substantial.
Phase 6: The Gathering Bottom Knot
At your desired cradle depth (typically 8 inches of vertical netting), gather all eight strands. Tie a single overhand knot incorporating every cord. Position this knot to create a basket floor that prevents pot tipping during watering events. Tighten until the knot measures 2 inches in diameter.
Pro-Tip: Leave 6 inches of fringe below the bottom knot. Trim fringe ends at uniform length using a carpenter's square as a guide. Uneven fringe creates visual tension that distracts from specimen foliage.
Phase 7: Load Testing
Suspend the empty hanger from a ceiling hook rated for 50 pounds. Load it with a pot filled with saturated substrate. Standard 8-inch pots with wet potting mix weigh 12 to 15 pounds. Observe for 48 hours. Knot slippage exceeding 0.25 inches indicates insufficient tightening. Re-tie affected knots with 20 pounds of tension.
Pro-Tip: Spray hangers with 2 percent colloidal silica solution. Silicon strengthens cell walls in natural fibers, increasing abrasion resistance by 18 percent.
Phase 8: Installation and Specimen Placement
Install ceiling hooks into joists or use toggle bolts rated for 75 pounds in drywall applications. Hang the macramé structure at a height where the pot rim aligns with eye level for trailing species or 18 inches below for upright growers.
Insert the potted plant. Verify the container sits level by placing a 6-inch torpedo level on the substrate surface. Adjust cord lengths by retying gathering knots if the tilt exceeds 3 degrees. Tilted pots develop asymmetric root systems, with 60 percent of feeder roots concentrating on the lower side.
Pro-Tip: Inoculate the substrate with mycorrhizal fungi at a rate of 1 tablespoon per gallon of growing medium. Suspended pots experience 25 percent faster moisture evaporation, and fungal hyphae extend the effective root zone by 40 percent, compensating for reduced substrate volume.
Troubleshooting
Symptom: Cord elongation after three weeks, pot sagging 4 to 6 inches.
Solution: Natural fibers exhibit 8 to 12 percent creep under constant load. Retie the gathering knot 4 inches higher. Switch to pre-stretched marine-grade cord for future projects.
Symptom: Brown spotting on cord within two months.
Solution: Mold colonization from excessive irrigation runoff. Increase air circulation to 40 cubic feet per minute. Apply copper fungicide at 0.5 percent concentration to affected areas.
Symptom: Knot slippage during watering.
Solution: Square knots tied with insufficient tension or reversed sequence. Confirm right-over-left then left-over-right pattern. Retie with 15 pounds of downward force.
Symptom: Uneven plant growth, foliage leaning 30 degrees.
Solution: Inadequate light distribution. Rotate the hanger 90 degrees weekly to expose all sides to the primary light source. Suspended plants require rotation because they lack ground-based anchorage that triggers gravitropic correction.
Symptom: Substrate drying within 24 hours post-watering.
Solution: Elevated evapotranspiration from increased air exposure. Add 20 percent perlite and 10 percent vermiculite to the mix. These amendments increase cation exchange capacity and water retention by 35 percent.
Maintenance
Water suspended specimens when the top 1 inch of substrate registers dry to touch. Conduct moisture checks by inserting a wooden dowel 2 inches deep. For most tropical foliage, this interval occurs every 4 to 5 days under 65 to 75 degrees Fahrenheit ambient conditions.
Apply liquid fertilizer at half the manufacturer's recommended concentration every 14 days during active growth. Suspended containers leach nutrients 40 percent faster due to enhanced drainage. Use balanced 10-10-10 NPK formulations or 3-1-2 ratios for flowering species.
Inspect cords monthly for wear. Replace hangers annually in high-humidity environments where fungal degradation accelerates. Cords exhibiting fraying across more than 15 percent of their diameter require immediate replacement.
Prune trailing stems when they extend 6 inches beyond the desired aesthetic boundary. Make cuts at 45-degree angles 0.25 inches above leaf nodes to promote lateral branching. This pruning angle maximizes auxin redistribution, yielding 3 to 4 new shoots per cut.
FAQ
How much weight can a macramé plant hanger support?
Properly constructed hangers with 4-millimeter cord and eight-strand construction support 20 to 25 pounds. This accommodates 10-inch pots with wet substrate. Hangers using six strands or 3-millimeter cord reduce capacity to 12 pounds.
Which plants work best in macramé hangers?
Trailing species with adventitious root systems thrive. Pothos develops aerial roots that tolerate air exposure. String of pearls stores water in succulent leaves, tolerating the 25 percent faster drying rate. Boston ferns require daily misting to compensate for evaporation.
Can I use synthetic rope instead of cotton?
Nylon and polyester provide superior tensile strength but lack moisture-wicking properties. Synthetic fibers create 15 percent higher humidity directly against the pot, promoting fungal growth on porous containers. Use synthetics only with glazed ceramic or plastic pots.
How do I prevent the hanger from spinning?
Install two hooks 6 inches apart. Attach separate cords to each hook, connecting them to opposite sides of the gathering ring. This two-point suspension eliminates rotation caused by air currents or watering impacts.
What is the ideal hanging height?
Position trailing plants so the pot rim sits at 72 inches above floor level. This allows 36 inches of vine growth before stems reach eye level. Upright specimens require the pot base at 60 inches to maintain foliage within the 48 to 66-inch optimal viewing zone.