7 Best Wall-Mounted Organizers for Vegetable Garden Hand Tools
Muddy trowels caked with clay. Pruners lost beneath overturned pots. Hand forks tangled with twine in the shed corner. These scenes plague even experienced growers until they install one of the best vegetable garden tool organizers designed for wall mounting. A proper wall-mounted system transforms chaotic tool storage into an accessible, efficient command center that protects cutting edges, extends tool longevity, and saves an average of 12 minutes per garden session.
Materials
Wall-mounted organizers require structural integrity and corrosion resistance. Powder-coated steel frames (neutral pH, no soil interaction) provide 15-year lifespans in humid environments. Galvanized steel mesh panels tolerate pH ranges from 4.0 to 8.5 without oxidation. Cedar backing boards (naturally rot-resistant, containing thujaplicins with antifungal properties) offer organic aesthetics without requiring synthetic preservatives.
Mounting hardware must match substrate composition. For wood studs, use 3-inch deck screws with 8-10 threads per inch. Masonry walls demand 1/4-inch concrete anchors rated for 50 pounds each. Metal shed walls require self-tapping screws with EPDM washers to prevent galvanic corrosion. Apply marine-grade silicone sealant around penetration points to exclude moisture.
Hook materials influence tool preservation. Vinyl-coated steel hooks (NPK neutral, zero leaching) prevent handle abrasion on ash and hickory grips. Stainless steel S-hooks resist the acidic residues from composted manure (typical pH 6.8-7.2). Rubberized tool clips protect aluminum handles from surface scratches that compromise structural integrity.
Timing
Install wall-mounted organizers during dormant seasons when garden activity declines. In USDA Hardiness Zones 3-5, complete installation 4-6 weeks before first frost when soil work diminishes. Zones 6-8 benefit from late autumn mounting (October through November) after harvest but before winter rains saturate wood surfaces. Zones 9-11 should install during the dry season, typically December through February, when relative humidity drops below 60 percent.
Temperature stability matters for adhesive sealants. Silicone curing requires ambient temperatures above 40°F for 24 hours. Polyurethane construction adhesives demand 50°F minimums. Plan installation when three-day forecasts predict stable conditions without precipitation.
Phases

Planning and Layout
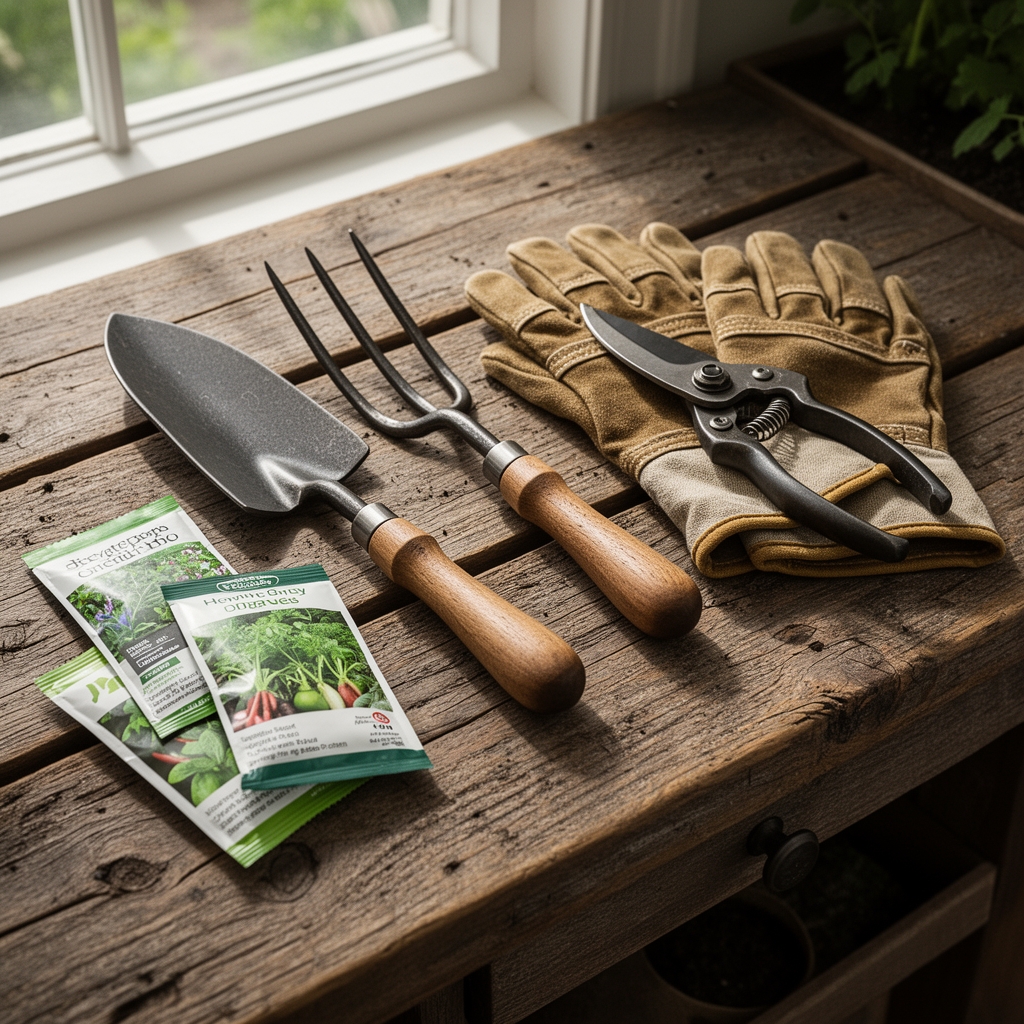
Measure tool inventory before purchasing organizers. Count hand tools by category: cultivators (4-6 inches wide), trowels (2-3 inches), pruners (1 inch), and hoes (8-10 inches at blade). Map wall space at heights between 48 and 72 inches for ergonomic access without bending or reaching.
Position frequently used tools (transplanting trowels, bypass pruners) in the dominant-hand zone. Place seasonal implements (bulb planters, soil knives) in peripheral locations. Reserve lower hooks for heavy tools (mattocks, digging forks) to reduce lifting strain.
Pro-Tip: Apply a 15-degree forward angle to hooks holding long-handled tools. This prevents handles from sliding off during vibration from adjacent door closures or wind gusts in open sheds.
Installation
Locate wall studs using electronic stud finders or by tapping for solid return sounds every 16 inches. Mark stud centers with pencil, then position organizer brackets to align with at least two studs. Drill pilot holes 1/16 inch smaller than screw diameter to prevent wood splitting in older framing.
Level the first bracket using a 24-inch spirit level. Check plumb on vertical components before driving final fasteners. Install the second bracket, maintaining consistent height within 1/8 inch. Mount cross-rails or mesh panels, ensuring weight distributes across multiple attachment points.
Pro-Tip: Install a drip edge 2 inches above the organizer if the wall lacks eave protection. This aluminum flashing (0.019-inch thickness) diverts condensation and prevents rust blooms on tool shanks.
Organization
Group tools by function and frequency. Establish a soil-prep zone (trowels, cultivators, transplanters) separate from a maintenance zone (pruners, shears, scissors). Create a pest-management area for organic applicators like diatomaceous earth dusters or neem spray bottles.
Clean tools before hanging. Remove soil particles that harbor fungal spores (Fusarium, Pythium species). Wipe metal surfaces with linseed oil to establish a protective barrier against oxidation. Sharpen cutting edges to 20-25 degree bevels using diamond files before storage.
Pro-Tip: Embed rare-earth magnets (1/2-inch neodymium discs) into wooden backing boards. These hold small steel items like dibbers, soil thermometers, and plant tags without requiring dedicated hooks.
Troubleshooting
Symptom: Rust spots appear on carbon steel blades within three weeks of hanging.
Solution: Increase air circulation with a 4-inch battery-powered fan (20 CFM minimum). Coat blades with camellia oil (superior moisture displacement compared to mineral oil) after each use.
Symptom: Wooden handles develop longitudinal cracks near ferrules.
Solution: Apply boiled linseed oil monthly to maintain 8-12 percent moisture content. Sand handles with 220-grit paper before application to open wood pores for absorption.
Symptom: Organizer panels sag under tool weight after six months.
Solution: Add intermediate support brackets every 24 inches. Upgrade from 18-gauge to 14-gauge steel mesh panels rated for 8 pounds per square foot.
Symptom: Tools slide off hooks during temperature fluctuations.
Solution: Install vinyl end caps on hook terminals. These create friction stops without scratching handles.
Symptom: Mold growth appears on leather handle wraps.
Solution: Reduce relative humidity below 55 percent using desiccant canisters. Treat leather with lanolin-based conditioner containing antifungal agents.
Maintenance
Inspect mounting hardware every 90 days. Tighten screws that back out from thermal expansion cycles. Replace any fasteners showing corrosion or thread stripping.
Clean organizer surfaces monthly with dilute vinegar solution (1 part white vinegar to 4 parts water, pH approximately 3.5). This removes mineral deposits from irrigation overspray without damaging powder coating.
Apply 0.5 inches of tool-grade lubricant to moving parts on clippers and pruners before hanging. Use PTFE-based products that resist dust adhesion better than petroleum oils.
Verify weight distribution annually. Relocate heavy tools if you observe bracket deflection exceeding 1/8 inch. Maximum safe loads average 40 pounds per linear foot for standard wall studs.
FAQ
How many tools can a 36-inch organizer hold?
Between 12 and 18 hand tools depending on handle length. Calculate 2-3 inches of horizontal space per tool to prevent crowding and handle damage.
What wall materials support organizers safely?
Solid wood studs, concrete block, brick, and metal framing all work. Avoid drywall-only mounting. Hollow walls require toggle bolts rated for 50 pounds minimum.
Should organizers go inside or outside the shed?
Indoor mounting protects tools from UV degradation and temperature extremes. Outdoor installation requires marine-grade stainless steel and waterproof backing.
How high should I mount the lowest hooks?
Position bottom hooks 36-40 inches above floor level to prevent soil splash contamination while maintaining easy reach for most users.
Do plastic organizers work as well as metal?
UV-stabilized polypropylene lasts 5-8 years in covered areas. Metal versions provide 15-20 year service lives and support heavier loads (60 vs. 30 pounds).