6 Timing Steps for Repotting a Fiddle Leaf Fig
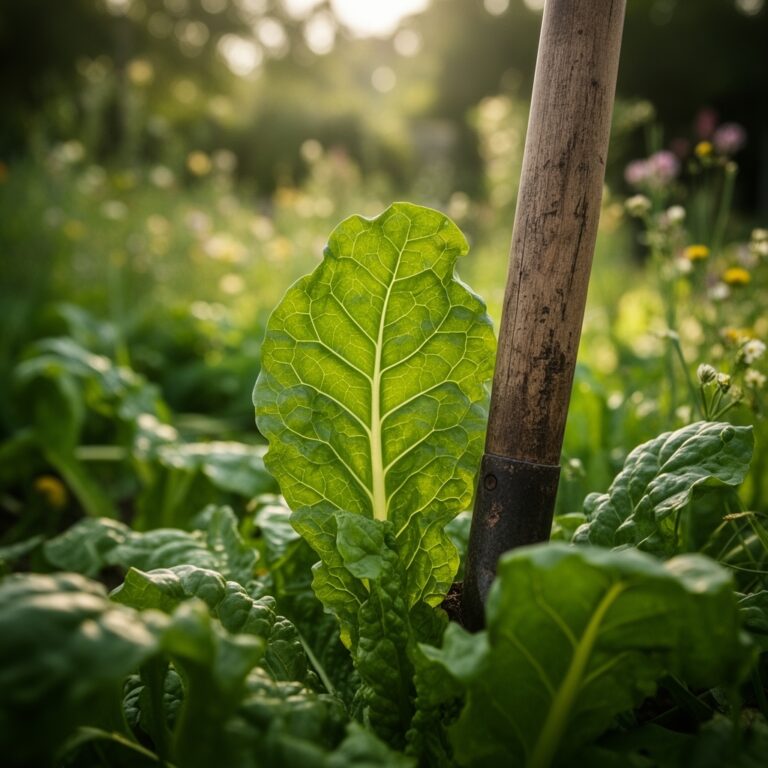
The thick, waxy leaves of Ficus lyrata curl inward when the root system exhausts its growing medium. Soil compaction creates anaerobic pockets that suffocate feeder roots, triggering leaf drop and stunted growth. Understanding the precise steps for repotting a fiddle leaf fig prevents transplant shock and reestablishes the auxin distribution needed for upright growth. This process demands attention to root architecture, substrate chemistry, and seasonal dormancy patterns.
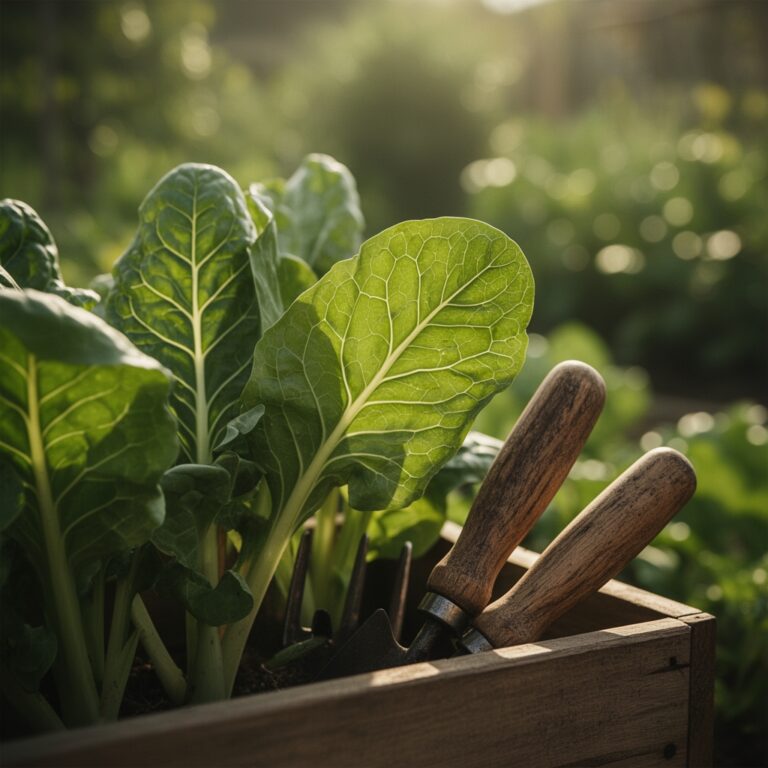
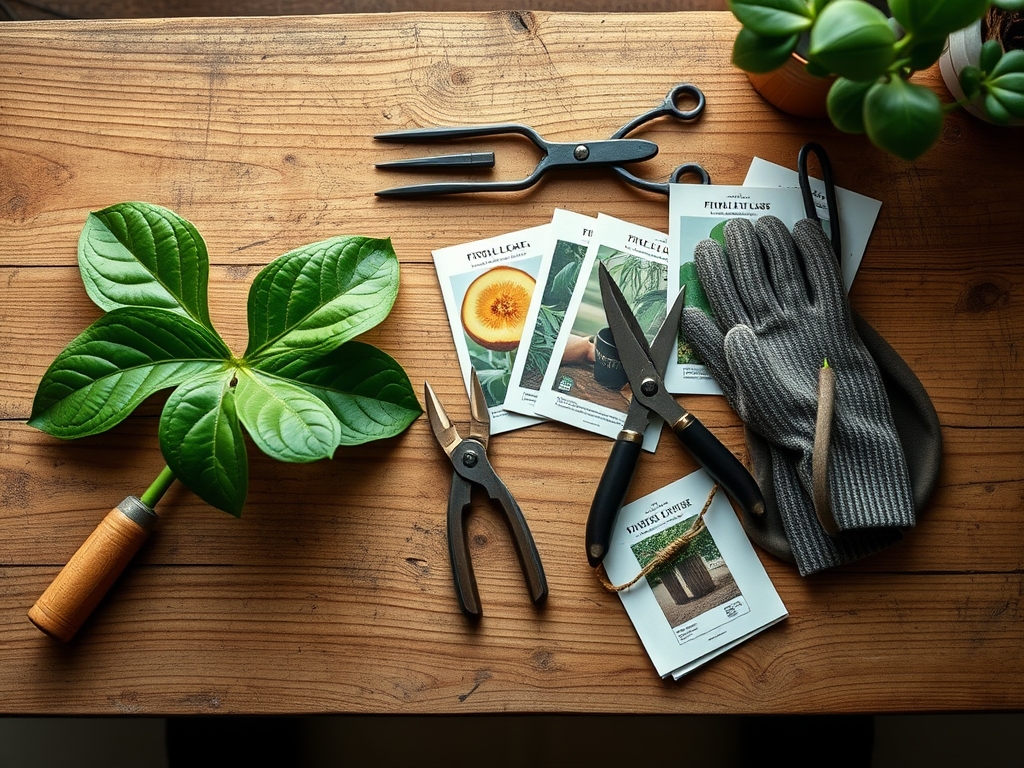
Materials
Assemble these components before disturbing the root ball:
Substrate (pH 6.0–7.0)
- Peat-based potting mix (3 parts) for cation exchange capacity
- Perlite (1 part) to maintain 40% air-filled porosity
- Aged pine bark (1 part) for slow-release lignin
Fertilizer
- 3-1-2 NPK granular formulation (controlled-release, 90-day)
- Mycorrhizal inoculant (Glomus intraradices) at 150 propagules per gram
Containers
- Nursery pot 2–4 inches wider than current diameter
- Drainage holes minimum 0.5 inches diameter
- Unglazed terracotta for high transpiration environments
Tools
- Pruning shears sterilized in 10% bleach solution
- Root hook or wooden chopstick for teasing root mass
- pH meter calibrated to 0.1 resolution
Timing
Hardiness & Seasonality
Ficus lyrata thrives in USDA zones 10–12 outdoors. Indoor specimens experience artificial climate but retain circadian sensitivity to photoperiod. Repot during active growth phase from late March through June in northern latitudes. Southern growers in zones 9–10 can extend the window through early August.
Frost-Date Considerations
Though grown indoors, fiddle leaf figs respond to decreasing autumn light by slowing cambial activity. Avoid repotting within 8 weeks of the autumn equinox. Root regeneration stalls when day length drops below 11 hours. In heated greenhouses with supplemental HPS lighting (400–600 μmol/m²/s), this restriction does not apply.
Frequency Protocol
Young specimens (under 3 years): annual repotting in March. Mature trees (over 5 feet): every 24–36 months. Root-bound symptoms appear when roots circle the drainage holes three full rotations.
Phases
Step 1: Pre-Transplant Irrigation
Water the root ball 48 hours before extraction. Hydrated roots exhibit 30% greater tensile strength than desiccated tissue. This reduces shear damage during removal. Soil moisture at field capacity (water potential of -10 kPa) allows the root ball to slide cleanly from the container.
Pro-Tip: Add 1 tablespoon of blackstrap molasses per gallon of irrigation water to feed beneficial bacteria. Microbial populations peak 36 hours post-application, creating a protective biofilm around root hairs.
Step 2: Root Ball Extraction
Invert the container and strike the base with an open palm. Support the trunk at soil level. Slide the pot upward, not the plant downward. Maintain the structural integrity of the root ball during this phase.

Step 3: Root Inspection and Pruning
Examine for circling roots thicker than 0.25 inches. Use sterilized shears to make cuts at 45-degree angles, removing the outer 0.5–1 inch of root mass on all sides. Healthy roots appear cream to tan with turgid texture. Dark, mushy sections indicate Pythium or Phytophthora infection. Excise all necrotic tissue until white cambium appears.
Pro-Tip: Dust cut surfaces with cinnamon powder (contains cinnamaldehyde, a natural antifungal) or apply rooting hormone containing 0.1% IBA (indole-3-butyric acid) to stimulate lateral root formation.
Step 4: Container Preparation
Layer 1–2 inches of substrate in the new pot. Create a soil mound at center to support the root crown at its original depth. Planting too deep suffocates the root collar and invites stem rot. The root flare should sit 0.5 inches below the container rim.
Step 5: Positioning and Backfilling
Center the root ball and fill gaps with prepared substrate. Tamp lightly with fingers to eliminate air pockets, working from the perimeter inward. Avoid compressing the root ball itself. Maintain bulk density below 0.6 g/cm³ for optimal gas exchange.
Pro-Tip: Incorporate 2 tablespoons of mycorrhizal inoculant into the backfill mix at the outer edge of the root zone. Fungal hyphae extend water and phosphorus uptake by 10–100 times root surface area.
Step 6: Post-Transplant Irrigation
Apply water until it drains freely, approximately 0.25 gallons per 10-inch pot. This settles substrate and establishes hydraulic connectivity between old and new soil. Do not fertilize for 4 weeks. Damaged roots cannot regulate nutrient uptake, risking salt accumulation and osmotic stress.
Troubleshooting
Symptom: Leaf Drop Within 2 Weeks
Solution: Transplant shock from severed feeder roots. Maintain relative humidity above 50% using a pebble tray or humidifier. Reduce light intensity by 30% for 10 days to decrease transpirational demand.
Symptom: Brown Leaf Edges Post-Repot
Solution: Fertilizer burn or residual salts in new substrate. Leach pot with distilled water (3 times container volume) and delay feeding for 6 weeks.
Symptom: Yellowing Lower Leaves, Wet Soil
Solution: Overwatering in oversized container. Root zone exceeds active root mass. Transplant to smaller pot or allow 7–10 days drying between irrigations.
Symptom: Wilting Despite Moist Soil
Solution: Root rot (Pythium aphanidermatum). Remove plant, excise all brown roots, repot in sterile substrate, and drench with mefenoxam fungicide at labeled rate.
Symptom: New Growth Stunted, Pale
Solution: Nitrogen deficiency or mycorrhizal establishment lag. Apply foliar spray of 1% fish emulsion (5-1-1 NPK) every 10 days for 30 days.
Maintenance
Water when the top 2 inches of substrate feel dry to touch. Deliver 0.5 inches of water per week, adjusted for temperature and humidity. In winter (December–February), reduce frequency by 40% as growth slows.
Feed every 4 weeks during the growing season with diluted liquid fertilizer (3-1-2 NPK) at half manufacturer's recommended strength. Cease fertilization from October through February.
Rotate the pot 90 degrees weekly to ensure even light distribution and prevent phototropic leaning. Maintain ambient temperatures between 65–75°F. Avoid cold drafts below 55°F, which cause leaf necrosis.
Prune competing leaders to maintain single-trunk architecture. Make cuts 0.25 inches above nodes at 45-degree angles during late spring.
FAQ
How often should I repot a fiddle leaf fig?
Young plants require annual repotting each spring. Mature specimens need repotting every 24–36 months or when roots protrude from drainage holes.
Can I use garden soil for repotting?
No. Garden soil compacts in containers, reducing oxygen availability to roots. Use a peat-based potting mix with perlite and bark for proper drainage.
Should I water immediately after repotting?
Yes. Thorough irrigation settles the substrate and eliminates air pockets around roots. Allow excess to drain completely.
What size pot should I choose?
Select a container 2–4 inches wider than the current pot. Oversized pots retain excess moisture and increase root rot risk.
Why are leaves dropping after repotting?
Transplant shock from root disturbance reduces water uptake capacity. Maintain high humidity and reduce light for 10–14 days while roots regenerate.