6 Sand-Barrier Steps to Treat Fungus Gnats in Pots
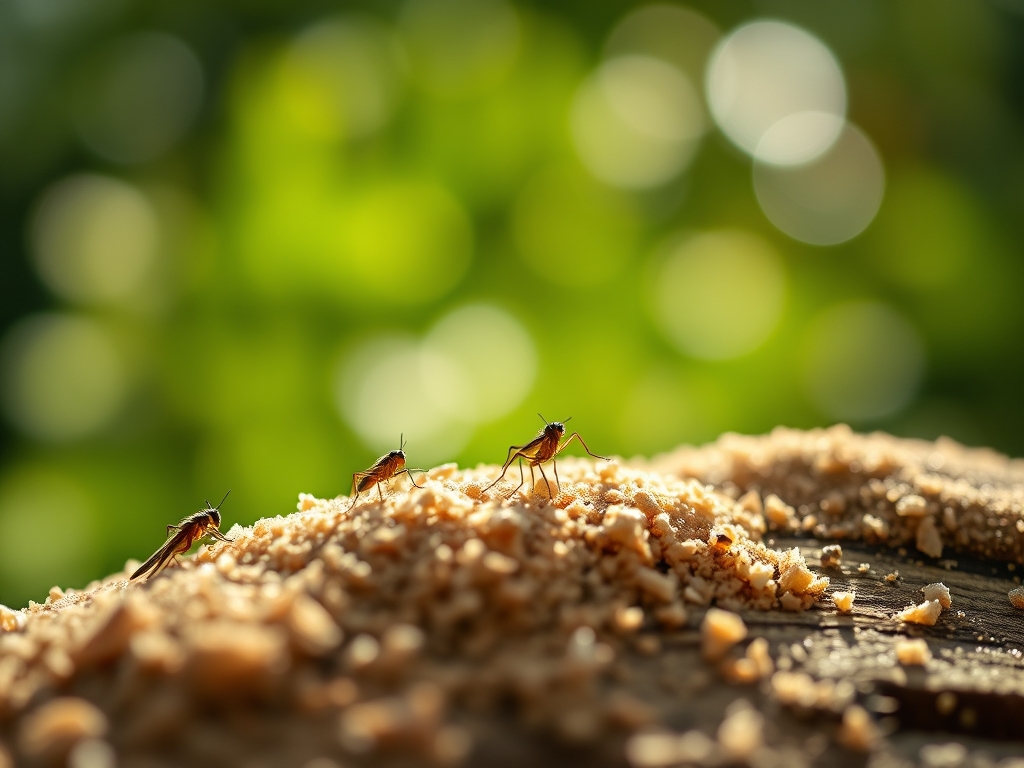
The smell of damp peat and the crisp turgor of a rigid leaf indicate a healthy rhizosphere; however, a sudden cloud of Bradysia species adults hovering above the soil signals a systemic failure in moisture management. These pests thrive in decaying organic matter where larvae consume delicate root hairs. Implementing the correct steps for treating fungus gnats with sand creates a physical barrier that interrupts the insect life cycle by desiccating eggs and preventing adult emergence. Effective remediation requires a precise application of sharp, horticultural-grade silica to ensure the substrate remains aerobic while the surface stays inhospitable.
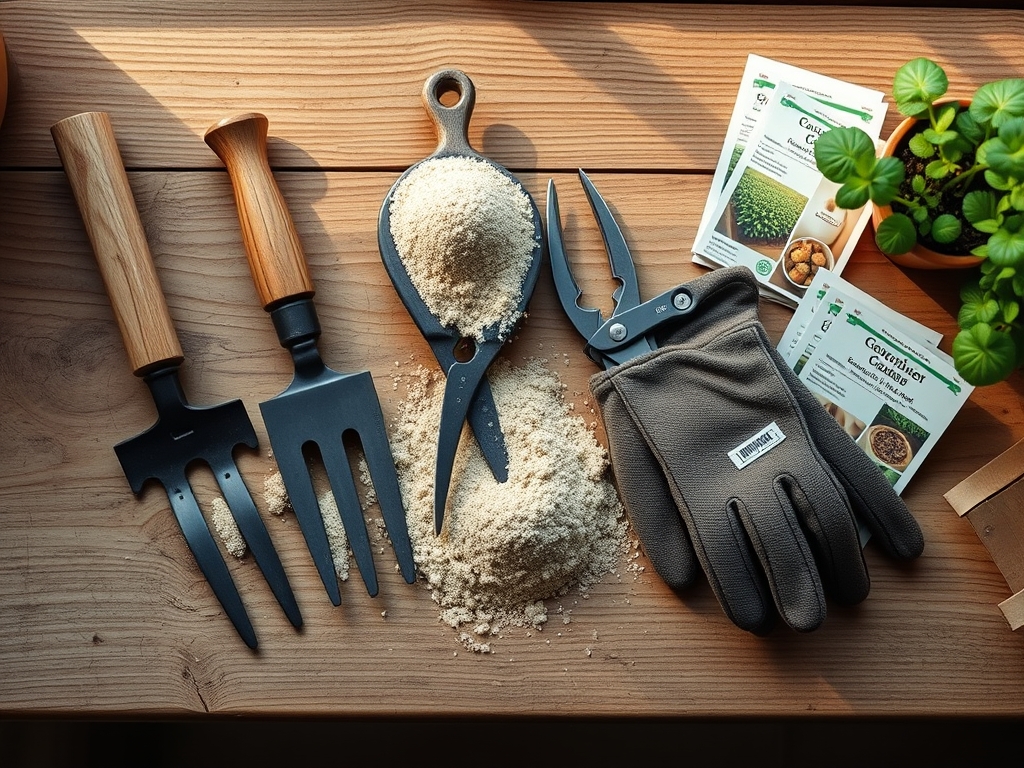
Materials:
A successful sand barrier requires a substrate with high Cation Exchange Capacity (CEC) to maintain nutrient density while the surface is sealed. The ideal growing medium is a **friable loam** consisting of 40 percent silt, 40 percent sand, and 20 percent clay. This balance ensures a **soil pH between 6.0 and 7.0**, which optimizes the availability of macronutrients.
When preparing the pot, incorporate a slow-release fertilizer with an NPK ratio of 5-10-5 for root development or 10-10-10 for general maintenance. The sand itself must be coarse-grained, washed horticultural sand. Do not use play sand or beach sand; these contain fine silts that clog soil pores or salts that disrupt osmotic pressure. You will also need a soil moisture meter to monitor the internal hydration levels once the surface is obscured.
Timing:
In Hardiness Zones 3 through 11, fungus gnat activity peaks when indoor humidity exceeds 50 percent or during the transition from the vegetative stage to the reproductive stage. As plants move into their reproductive phase, increased transpiration rates can lead to overwatering. The biological clock of the gnat is temperature-dependent; at 75 degrees Fahrenheit, the life cycle from egg to adult completes in approximately 21 days.
Initiate the sand treatment at the first sign of adult flight or when larval tracking is visible on the soil surface. For outdoor containers, this typically aligns with the window between the last spring frost and the summer solstice. Monitoring the photoperiod is essential, as shorter days in autumn reduce the plant's metabolic rate and water requirements, making the sand barrier even more critical to prevent late-season infestations.
Phases:

Sowing and Surface Preparation
Clear all debris, fallen leaves, and mulch from the top of the potting medium. The soil surface must be level and slightly compacted to prevent the sand from migrating into the lower soil horizons. Ensure the plant is not in a state of senescence, as the sand barrier can slightly alter gas exchange at the surface.
Pro-Tip: Maintaining a clean surface prevents the accumulation of pathogens. This is vital because mycorrhizal symbiosis requires a stable environment where the fungi can colonize roots without competing with gnat larvae for organic carbon.
Transplanting and Sand Application
Apply a uniform layer of coarse sand exactly 0.75 to 1 inch thick across the entire soil surface. Ensure the sand makes direct contact with the rim of the pot and the primary stem of the plant. There should be no visible soil. This depth is the mechanical threshold required to prevent adult gnats from reaching the moist organic matter to oviposit.
Pro-Tip: Use a funnel to apply sand around delicate stems to avoid mechanical damage. This protects the auxin suppression zones in the lower stem, ensuring the plant maintains its apical dominance and upward growth trajectory.
Establishing the Barrier
After application, water the plant exclusively from the bottom using a saucer or reservoir. This keeps the sand layer bone-dry while the roots draw moisture upward through capillary action. Monitor the turgor pressure of the leaves; if the plant wilts, increase the bottom-watering duration but do not wet the sand.
Pro-Tip: Bottom-watering encourages hydrotropism, where roots grow deeper into the pot in search of moisture. This strengthens the root system and moves the biological activity away from the gnat-prone surface zone.
The Clinic:
Symptom: Yellowing of lower leaves (Chlorosis).
Solution: This often indicates Nitrogen deficiency. If the sand barrier prevents top-dressing, switch to a water-soluble fertilizer with a high N-value (e.g., 20-10-10) during your bottom-watering cycle to restore chlorophyll production.
Symptom: Stunted growth and brown root tips.
Solution: This suggests larval herbivory or root rot. Reduce watering frequency. Ensure the soil temperature remains between 65 and 75 degrees Fahrenheit to promote root healing.
Symptom: White crust on the sand surface.
Solution: This is a buildup of soluble salts. Flush the soil with distilled water equal to twice the volume of the pot, then dry the sand layer thoroughly with a fan to prevent gnat re-entry.
Fix-It for Nitrogen Chlorosis: If leaves show interveinal yellowing, apply a chelated iron supplement. Ensure the soil pH has not drifted above 7.5, as high alkalinity locks out iron and manganese, regardless of their presence in the substrate.
Maintenance:
Consistency is the hallmark of a professional horticulturist. Use a soil moisture meter daily; insert the probe at least 4 inches deep to bypass the dry sand layer. Most tropical houseplants require the top 2 inches of actual soil to dry before re-watering. For woody perennials in pots, aim for 1.5 inches of water per week delivered to the root zone.
When pruning dead tissue, use bypass pruners sterilized with 70 percent isopropyl alcohol to prevent the spread of fungal spores. If you need to check root health, use a hori-hori knife to gently probe the edge of the root ball without disturbing the central sand seal. If the sand layer becomes contaminated with soil during maintenance, remove the top 0.5 inch and replace it with fresh, dry silica.
The Yield:
For flowering or fruiting potted plants, the elimination of fungus gnats results in higher energy allocation toward reproductive structures. Harvest flowers when they reach 70 percent anthesis (full bloom) for maximum vase life. For fruiting plants, harvest when the fruit detaches with a slight tug, indicating the formation of the abscission layer.
To maintain "day-one" freshness, plunge the stems of harvested flowers into 40-degree Fahrenheit water immediately. This rapid cooling slows the metabolic rate and preserves the turgor pressure within the vascular bundles. For edibles, store in a high-humidity environment at 35 to 40 degrees Fahrenheit to prevent desiccation.
FAQ:
How thick should the sand layer be?
The sand layer must be 0.75 to 1 inch thick. Anything thinner allows gnats to burrow through to the organic matter. Anything thicker may impede necessary gas exchange between the rhizosphere and the atmosphere.
Can I use playground sand?
No. Playground sand is too fine and lacks the angularity required to deter insects. It also tends to compact when wet, which can lead to anaerobic conditions and root rot. Use coarse horticultural silica.
Does sand affect soil pH?
Pure silica sand is chemically inert and will not alter the soil pH. However, avoid using crushed limestone or sea sand, as these contain calcium carbonate which will raise the pH and cause nutrient lockout.
How do I water with a sand barrier?
Utilize bottom-watering by placing the pot in a tray of water for 20 minutes. This keeps the sand dry, which is essential for breaking the gnat life cycle, while ensuring the roots receive adequate hydration.
When can I remove the sand?
Keep the sand in place for at least four weeks. This duration covers two full life cycles of the Bradysia gnat, ensuring that any dormant eggs or pupae have emerged and died without reproducing.