6 Orchid Steps to Prepare a Tropical Orchid Plant Shelf
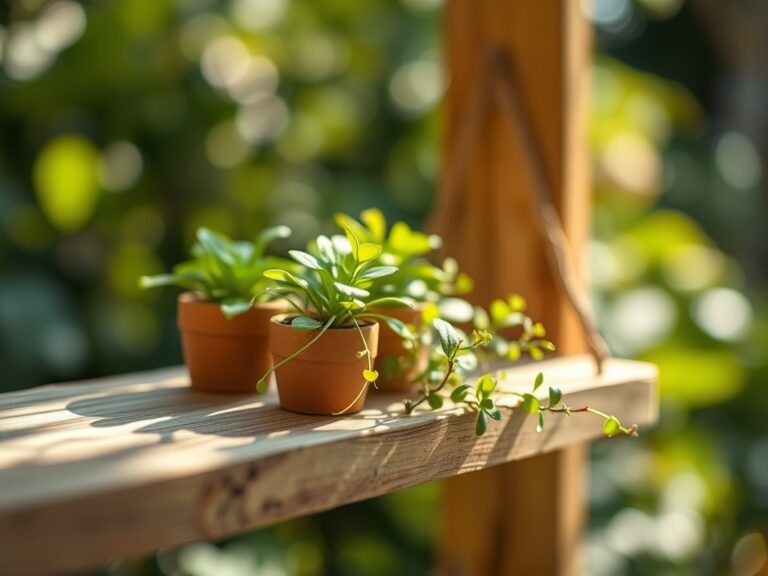
Crushing a handful of aged fir bark releases the sharp scent of tannins and damp wood; this is the olfactory baseline for a healthy orchid environment. High turgor pressure in a leaf indicates a vascular system operating at peak efficiency. To master how to prepare a plant shelf for orchids, you must transition from a casual hobbyist to a micro-climate engineer. A shelf is not just furniture. It is a controlled ecosystem where humidity, light intensity, and air circulation must be calibrated to sustain epiphytic growth. Most failures occur because of stagnant air or improper light gradients. Success requires a rigid adherence to the physiological needs of the plant. You are building a life-support system that mimics the dappled light and high-velocity air of a tropical canopy. Every component, from the shelving material to the supplemental lighting, must serve a specific metabolic function.
Materials:
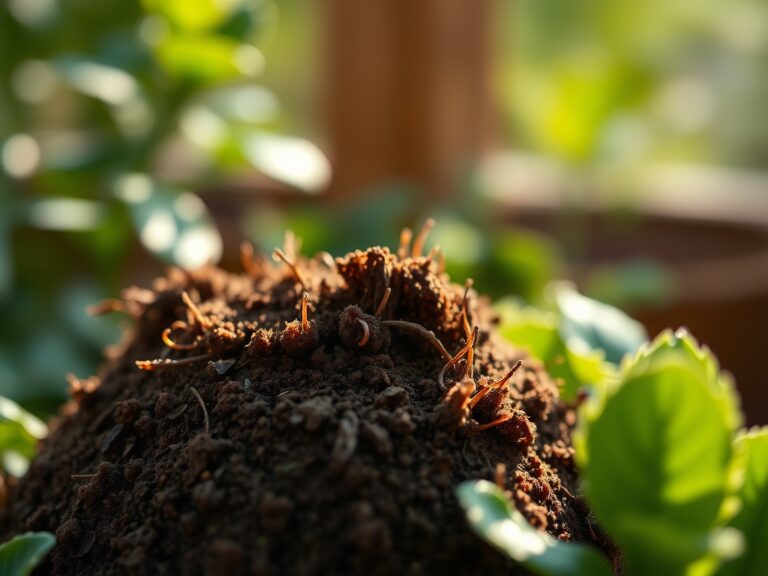
Orchids do not grow in standard garden soil; they require a substrate that facilitates high gas exchange in the **rhizosphere**. The ideal substrate is a **friable mix** of 70 percent medium-grade fir bark, 15 percent horticultural charcoal, and 15 percent perlite. This combination ensures a **Cation Exchange Capacity (CEC)** that allows for efficient nutrient uptake without salt buildup.
The target pH for the substrate should be between 5.5 and 6.5. For fertilization, utilize a water-soluble NPK ratio of 20-20-20 during periods of active vegetative growth. If using bark-based media, a higher nitrogen ratio like 30-10-10 is necessary to compensate for the nitrogen consumed by the decomposing wood. Ensure you have a digital hygrometer to monitor humidity and a PAR meter to measure Photosynthetically Active Radiation. Waterproof shelving, preferably made of heavy-duty plastic or powder-coated steel, prevents the accumulation of pathogens in porous wood surfaces.
Timing:
Orchid metabolism is governed by the photoperiod and temperature fluctuations. In USDA Hardiness Zones 9 through 11, many tropical orchids can survive outdoors, but for indoor shelf setups, the "biological clock" is managed through artificial lighting. The transition from the vegetative stage to the reproductive stage often requires a "cool down" period.
For many Phalaenopsis species, a drop in night temperatures to 55 to 60 degrees Fahrenheit for four consecutive weeks triggers the emergence of an inflorescence. This usually aligns with the natural shortening of days in late autumn. If your shelf is indoors, you must simulate this seasonal shift. Avoid placing shelves near drafty windows during frost-date windows in northern zones, as a sudden drop below 50 degrees Fahrenheit can cause mesophyll collapse in tropical species.
Phases:
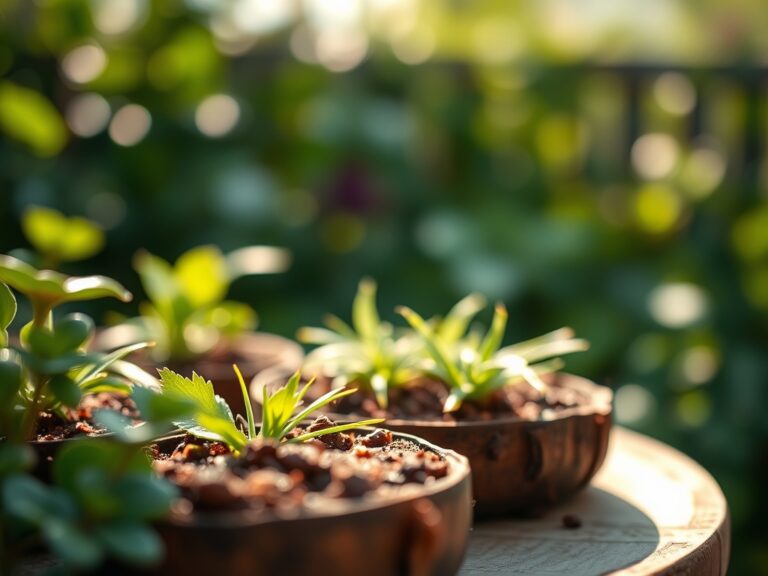
Sowing and Potting
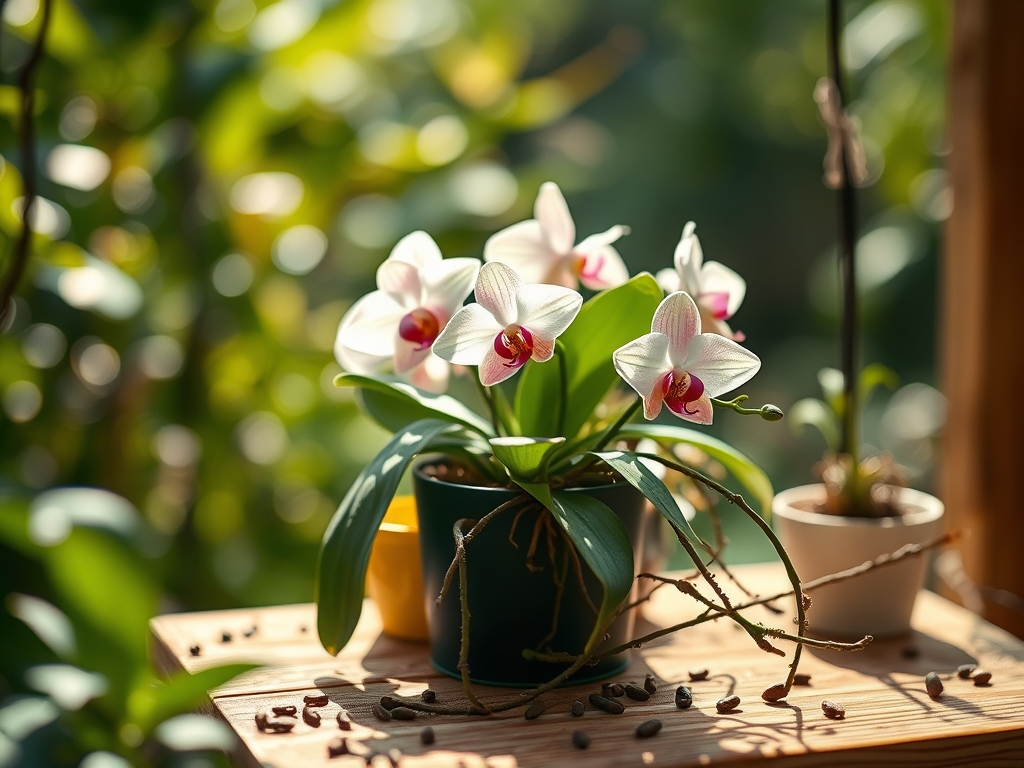
Orchids are rarely grown from seed by enthusiasts due to their need for mycorrhizal symbiosis or sterile agar environments. When "sowing" a new orchid into your shelf system, choose a pot with ample drainage holes. Position the oldest pseudobulbs against the rim to allow the new lead room to expand across the surface.
Pro-Tip: Ensure the medium is pre-soaked for 24 hours. This increases the water holding capacity and prevents the dry bark from wicking moisture away from the sensitive root velamen, which can lead to immediate desiccation.
Transplanting and Acclimation
Moving a plant to a new shelf requires a 14-day acclimation period. Gradually increase light intensity over this period to avoid solarizing the leaves. Use a soil moisture meter to verify that the core of the media is drying out at a rate of roughly 15 percent per day.
Pro-Tip: Use a kelp-based hormone supplement during transplanting. The natural auxins stimulate root branching, which helps the plant establish a firm anchor in the new substrate more rapidly.
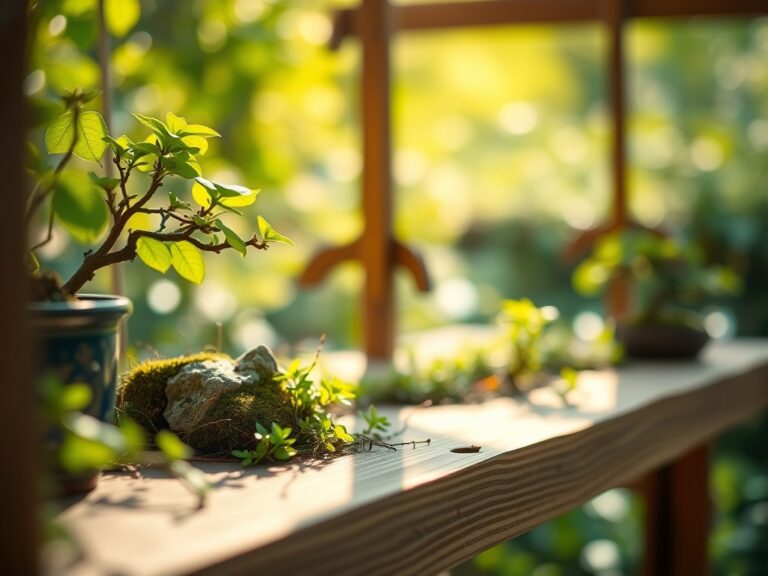
Establishing the Micro-Climate
Once the plants are positioned, group them by water needs. Place high-light species like Cattleyas on the top shelf within 6 to 12 inches of the light source. Place lower-light genera like Paphiopedilums on the bottom shelf.
Pro-Tip: Install small computer fans on each level. Constant air movement prevents the formation of "boundary layers" of stagnant air, which reduces the risk of fungal spores germinating on the leaf surface.
The Clinic:
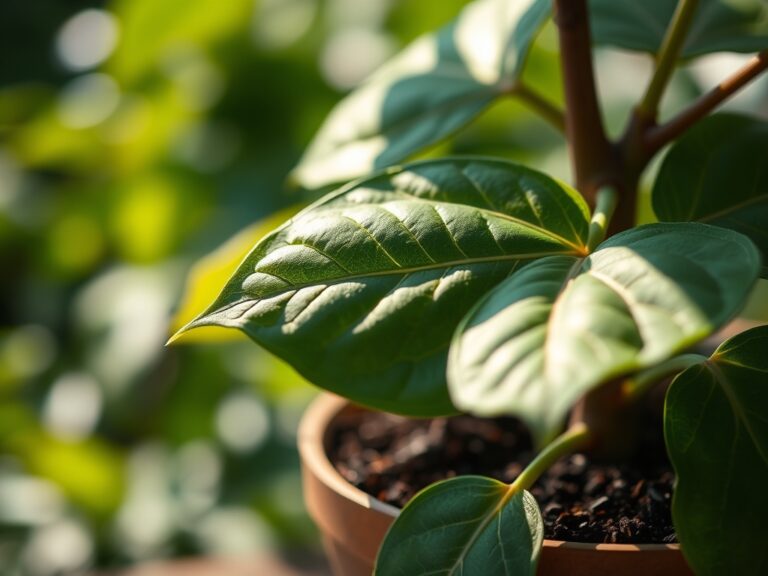
Physiological disorders often mimic infectious diseases. Accurate diagnosis is critical before applying any treatment.
- Symptom: Nitrogen Chlorosis. Leaves turn a uniform pale yellow, starting with the older growth.
- Solution: Increase the frequency of fertilization using a high-nitrogen (30-10-10) formula. Ensure the water pH is below 7.0 to facilitate uptake.
- Symptom: Edema. Small, blister-like bumps on the underside of leaves.
- Solution: This is caused by the roots absorbing water faster than the leaves can transpire it. Reduce watering frequency and increase air circulation.
- Symptom: Tip Burn. The ends of the leaves turn black or brown and brittle.
- Solution: This indicates a buildup of mineral salts. Flush the pots with distilled water equal to three times the volume of the pot to leach the substrate.
- Symptom: Anthracnose. Sunken, circular black spots on the foliage.
- Solution: This is a fungal issue exacerbated by high humidity and low air movement. Increase fan speed and treat with a copper-based fungicide strictly according to the label.
Maintenance:
A precise maintenance schedule is the difference between survival and thriving. Use a soil moisture meter daily. Most orchids require watering when the top one inch of media feels dry. When watering, apply enough volume so that it runs freely from the drainage holes; this flushes out metabolic wastes.
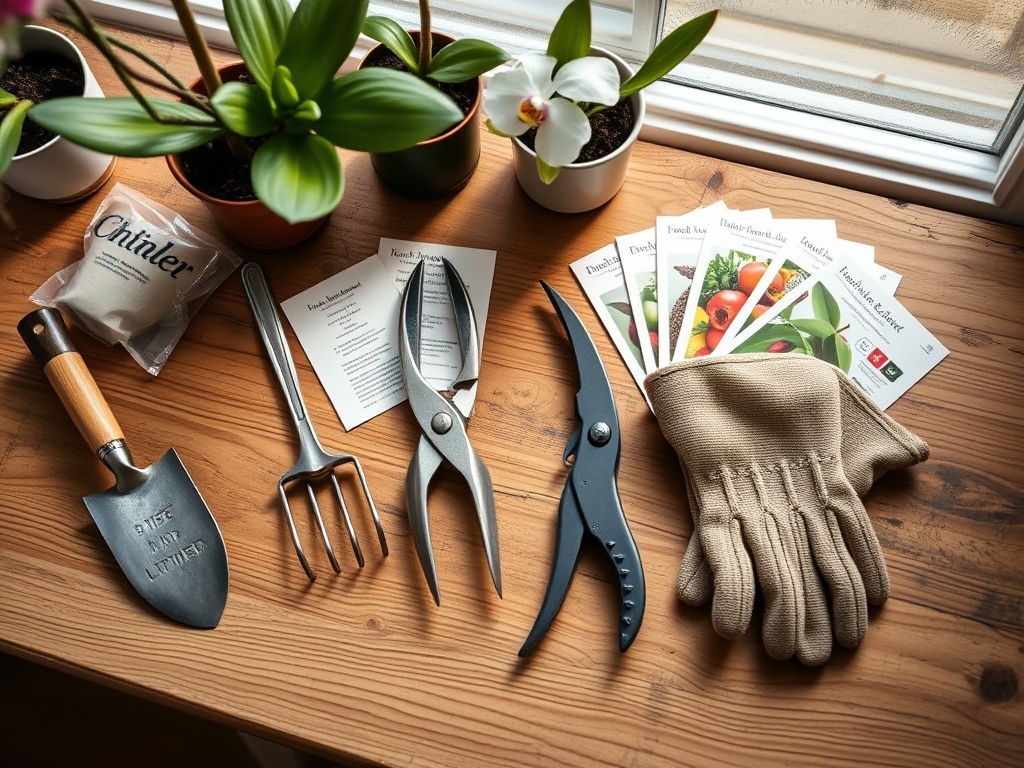
Keep a hori-hori knife and bypass pruners sterilized with 70 percent isopropyl alcohol at all times. Use the pruners to remove senescent (dead) tissue, which can otherwise harbor pathogens. Every six months, wipe down the shelving unit with a mild bleach solution to eliminate algae and mineral crusts. If using supplemental LED bars, clean the dust off the diodes monthly to ensure the lumen output remains consistent.
The Yield:
For orchids, the "yield" is the floral display. To maximize the longevity of the blooms, move the plant to a slightly cooler location with lower light once the first bud opens. This slows the plant's metabolism and extends the life of the flower.
When the bloom cycle finishes, use sterilized bypass pruners to cut the spike. For Phalaenopsis, cutting above the second "node" may trigger a secondary flush of flowers. For other genera, remove the spike entirely at the base to allow the plant to redirect energy into vegetative growth and pseudobulb development. Handle the plant with care to avoid bruising the cuticle, which serves as the primary barrier against infection.
FAQ:
How much light do my orchids need on a shelf?
Most orchids require 1,000 to 3,000 foot-candles. Use a light meter to verify. If leaves turn dark green, increase light; if they turn yellow or red, decrease light intensity immediately to prevent tissue damage.
What is the best humidity for an orchid shelf?
Maintain a relative humidity between 50 and 70 percent. Use a humidifier or humidity trays filled with pebbles and water. Ensure the pots sit above the water line to prevent root rot from anaerobic conditions.
How often should I fertilize orchids on a shelf?
Follow the "weakly, weekly" rule. Use a balanced fertilizer diluted to one-quarter strength every time you water. Flush the pots with plain water once a month to prevent harmful salt accumulation in the bark.
Can I use tap water for my orchids?
It depends on the Total Dissolved Solids (TDS). If your tap water is "hard" (above 200 ppm), use rainwater or distilled water. High mineral content can damage sensitive root tips and inhibit nutrient absorption.