6 Natural Steps to Prepare a Native Vegetable Garden
The scent of turned earth signals the beginning of serious food production. When you learn how to prepare a garden for a natural vegetable garden, you engage with soil as a living ecosystem rather than an inert substrate. Native vegetables thrive when their roots encounter balanced microbial populations, adequate organic matter percentages between 5 and 8 percent, and a cation exchange capacity above 10 meq/100g. This preparation phase determines whether your plants merely survive or deliver peak yields through an entire growing season.
Materials

Gather these inputs before breaking ground:
Soil Amendments (pH 6.0-7.0 target)
- Pelleted dolomitic lime: 5 pounds per 100 square feet if soil tests below 6.0
- Elemental sulfur: 1 pound per 100 square feet if pH exceeds 7.5
- Aged compost: 2 cubic yards per 100 square feet, screened to 0.5-inch particle size
Organic Fertilizers
- Blood meal (12-0-0): nitrogen source for leafy natives
- Bone meal (3-15-0): phosphorus for root establishment
- Kelp meal (1-0.5-2.5): trace minerals and natural auxins
- All-purpose organic blend (4-4-4): balanced NPK for general preparation
Biological Inoculants
- Mycorrhizal fungi powder: 1 ounce per 10 square feet
- Beneficial nematode suspension: Steinernema feltiae for soil pest suppression
Physical Infrastructure
- Untreated cedar boards: 2×10 inch dimensions for raised bed frames
- Hardware cloth: 0.25-inch mesh to exclude burrowing rodents
- Drip irrigation tubing: 0.6 GPH emitters spaced every 12 inches
Timing
Hardiness Zones dictate when soil becomes workable. In Zones 3-5, begin preparation 4 weeks before the last spring frost date. Zones 6-8 allow a 6-week window. Zones 9-11 should prepare beds in late autumn for winter planting.
Soil temperature matters more than air temperature. Native vegetable seeds germinate when soil reaches 50°F at 4-inch depth for cool-season crops and 60°F for warm-season varieties. Use a soil thermometer at 8:00 AM for three consecutive days to confirm stable readings.
Fall preparation offers advantages. Adding compost and amendments in October through November allows winter freeze-thaw cycles to improve soil aggregation. Microbial populations establish slowly, making spring planting more successful when preparation occurred months earlier.
Phases
Sowing Phase
Clear existing vegetation to soil level. Do not rototill established sod, as this pulverizes soil structure and damages fungal networks. Instead, use a sharp spade to remove 2-inch-deep sections. Shake roots to reclaim topsoil.
Test soil pH and nutrient levels through a state extension laboratory. Home test kits lack precision for cation exchange capacity measurements. Apply lime or sulfur based on lab recommendations, broadcasting evenly and incorporating to 6-inch depth.
Spread compost layer uniformly. The 2-cubic-yard application per 100 square feet increases organic matter by approximately 2 percent in average mineral soils. Work compost into the top 8 inches using a broadfork to preserve soil layering.
Pro-Tip: Add mycorrhizal fungi powder directly into planting holes rather than broadcasting across beds. This concentrated application at root zones increases colonization rates by 40 percent compared to dilute surface applications.
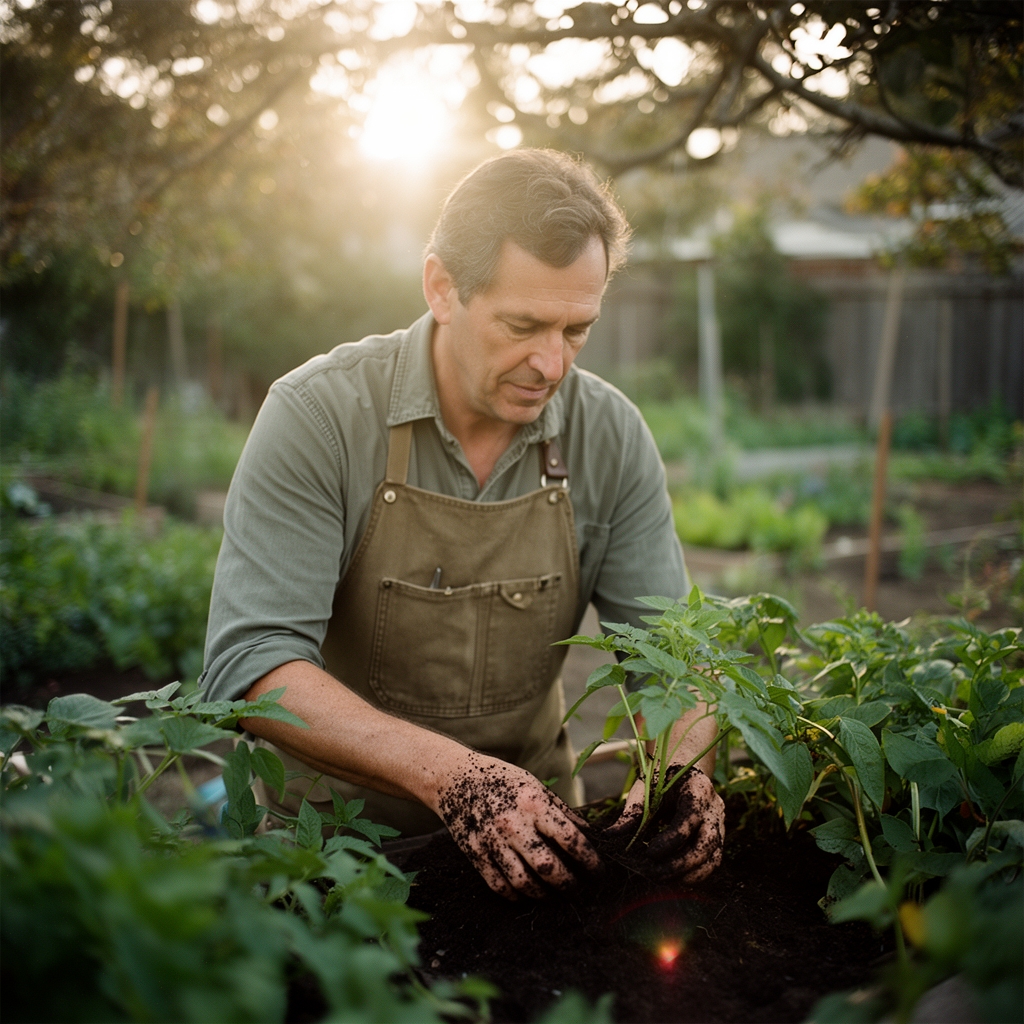
Transplanting Phase
Construct raised beds if native soil drains poorly. The 10-inch height provides adequate root zone volume while improving drainage for oxygen-dependent beneficial bacteria.
Install drip irrigation before transplanting. Burying emitter lines 1 inch below mulch prevents UV degradation and positions water at root depth. Configure lines to run parallel to plant rows with emitters every 12 inches.
Inoculate transplant root balls by dusting with mycorrhizal powder immediately before setting into prepared holes. These fungal symbiotes extend effective root surface area by 10 to 100 times, dramatically improving phosphorus uptake.
Pro-Tip: Transplant on overcast afternoons when stomatal conductance naturally decreases. This timing reduces transplant shock by 30 percent compared to sunny morning installation.
Establishing Phase
Apply 3-inch mulch layer of shredded leaves or straw around transplants. Maintain a 2-inch gap at stem bases to prevent crown rot. Mulch moderates soil temperature swings and feeds surface-dwelling decomposers.
Monitor soil moisture at 4-inch depth daily for the first two weeks. Native vegetables require consistent moisture during root establishment but will rot if waterlogged. Soil should feel like a wrung-out sponge.
Pro-Tip: Foliar spray with dilute kelp extract (1 tablespoon per gallon) at week two and week four post-transplant. Natural cytokinins in kelp promote lateral root development and increase drought tolerance.
Troubleshooting
Symptom: Yellowing lower leaves with green veins.
Solution: Iron deficiency induced by high pH. Apply chelated iron at 1 ounce per gallon as drench. Retest soil pH and amend with sulfur if above 7.2.
Symptom: Stunted growth with purple-tinged leaves.
Solution: Phosphorus unavailability, common in cold soils below 55°F. Delay transplanting or use row covers to raise soil temperature. Side-dress with bone meal at 2 ounces per plant.
Symptom: Wilting despite adequate soil moisture.
Solution: Root-feeding nematode damage (non-beneficial species). Drench soil with Steinernema feltiae suspension. Rotate crops annually to break pest cycles.
Symptom: Holes in leaves with slime trails present.
Solution: Slug feeding damage. Apply diatomaceous earth in 2-inch barrier around bed perimeters. Hand-remove slugs during evening inspections.
Maintenance
Water to deliver 1 inch per week including rainfall. Measure with rain gauge or empty tuna cans placed in beds. Deep watering twice weekly outperforms shallow daily irrigation by encouraging roots to explore deeper soil horizons.
Side-dress with 4-4-4 organic fertilizer at 2 ounces per plant when flowering begins. Scratch into top inch of soil 6 inches from stems. Excess nitrogen during fruiting reduces crop quality and attracts aphids.
Weed when invaders reach 2 inches tall. Hand-pulling at this juvenile stage prevents seed production and minimizes soil disturbance. Established weeds with deep taproots require complete root removal to prevent regrowth.
FAQ
How deep should I prepare soil for native vegetables?
Work amendments into the top 8 to 12 inches. Most native vegetable roots concentrate in this zone. Deeper tillage disrupts beneficial soil stratification.
Can I prepare a garden bed in spring and plant immediately?
Yes, but expect slower establishment. Microbial populations need 3 to 4 weeks to colonize fresh compost. Fall preparation produces superior spring results.
What NPK ratio works best for mixed native vegetables?
Use balanced 4-4-4 or 5-5-5 organic formulations during preparation. Adjust ratios for specific crops during the growing season based on tissue analysis.
How do I know if my soil has adequate drainage?
Dig a 12-inch-deep hole and fill with water. Proper drainage empties the hole within 4 to 8 hours. Slower drainage requires raised beds or soil amendment with coarse sand.
Should I add mycorrhizal fungi every year?
No. Established fungal networks persist across seasons. Reapply only after soil disturbance from major construction or if crop rotation introduces non-mycorrhizal plants like brassicas.