6 Indoor Steps to Prepare Your Home for a Productive Vegetable Garden
The scent of basil crushed between fingertips in January. The snap of a pod pea in February while snow presses against the window. Learning how to prepare a garden for an indoor vegetable garden transforms any dwelling into a year-round production zone, independent of frost dates and hardiness zones. This preparation demands more than scattering seeds in potting mix. It requires engineered light spectra, calculated air exchange, and substrate chemistry that mimics the cation exchange capacity of living soil.
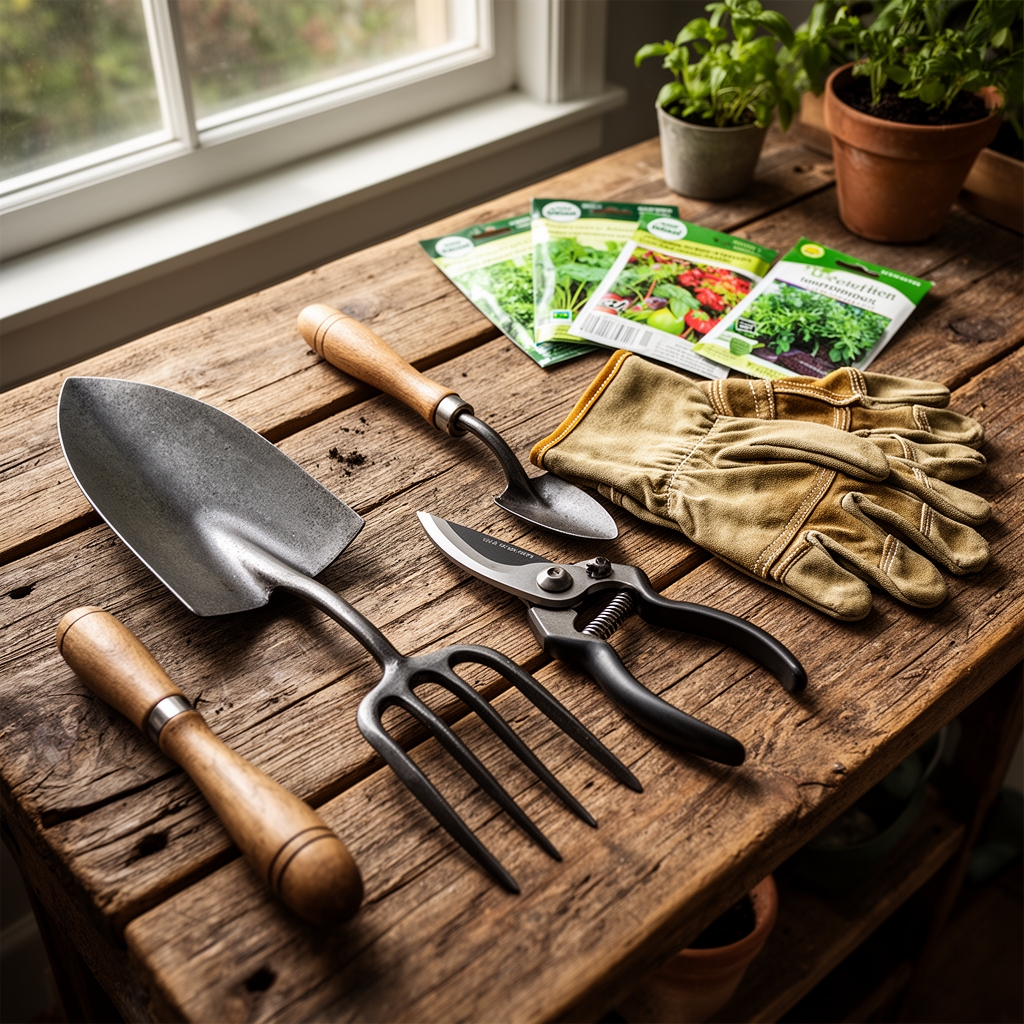
Materials
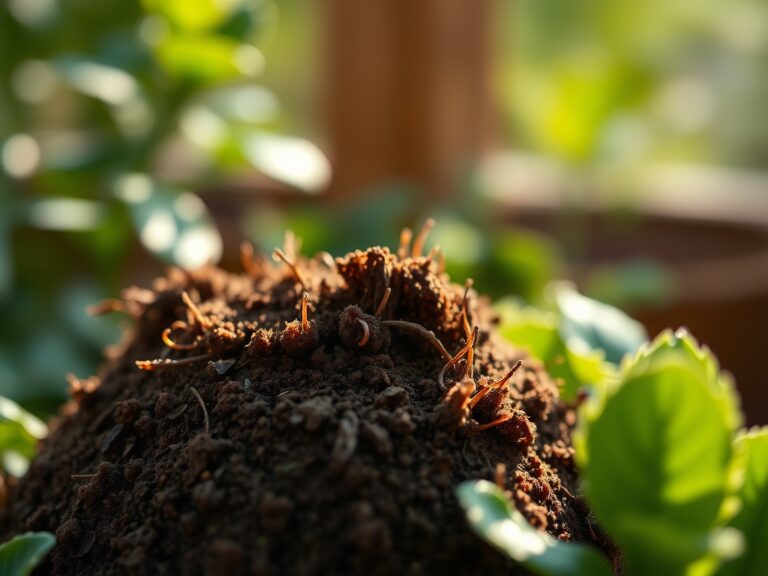
Substrate selection drives root architecture and nutrient availability. A base blend of 40% coco coir (pH 5.5-6.5), 30% perlite (grade 3), and 30% vermicompost delivers both aeration and moisture retention. Amend this foundation with a 4-4-4 organic meal (feather meal, bone meal, kelp meal) at 2 tablespoons per gallon of mix. For heavy feeders like tomatoes and peppers, incorporate additional rock phosphate at 1 tablespoon per gallon to ensure phosphorus availability during flowering.
Full-spectrum LED grow lights rated at 400-600 PPFD (photosynthetic photon flux density) at canopy level support fruiting crops. Position fixtures 12-18 inches above seedlings, adjusting as plants mature. A basic timer maintains 14-16 hour photoperiods for vegetative growth.
Fabric grow bags (5-gallon minimum for indeterminate tomatoes, 2-gallon for determinate varieties and greens) permit superior oxygen diffusion to root zones compared to solid containers. Mycorrhizal fungi inoculant (Rhizophagus irregularis species) applied at transplant colonizes roots and extends phosphorus uptake radius by 100-fold.
Standard equipment includes a soil pH meter (calibrated monthly), TDS meter for monitoring electrical conductivity in runoff, oscillating fan (prevents damping-off), and humidity gauge (target 50-65% for most crops).
Timing
Indoor cultivation eliminates conventional hardiness zone constraints, but replicating seasonal light cues optimizes yields. Begin brassicas (kale, collards) and lettuce in September for winter harvest under 12-hour days. These crops tolerate lower light intensity (200-300 PPFD).
Start tomatoes and peppers 8-10 weeks before desired first harvest. Indoor environments allow continuous production, but auxin distribution patterns respond to cumulative light hours. A second planting 60 days after the first staggers production and prevents harvest glut.
Root crops (carrots, radishes) and bush beans tolerate 10-12 hour photoperiods but require deeper containers (12 inches minimum). Succession planting every 3 weeks maintains steady availability.
Phases
Sowing Phase
Press seeds into pre-moistened starting mix at twice their diameter depth. Tomatoes and peppers require 75-85°F soil temperature for germination. Use seedling heat mats to maintain consistent warmth. Cover trays with humidity domes until 70% emergence occurs, then remove to prevent excessive stem elongation.
Pro-Tip: Coat tomato seeds with Trichoderma harzianum before sowing. This beneficial fungus colonizes roots and suppresses fusarium wilt by 40-60% in controlled studies.
Transplanting Phase
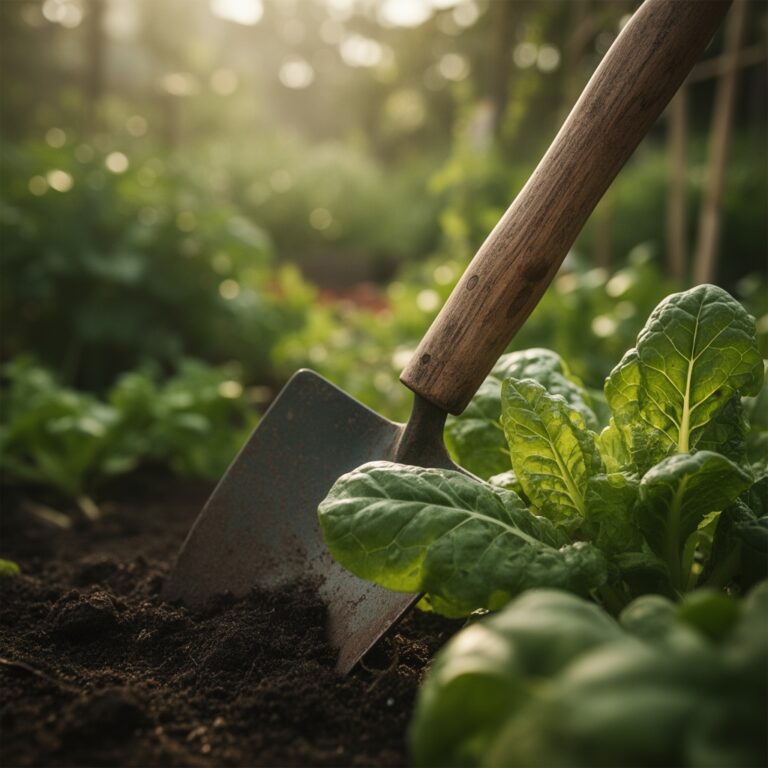
Transplant when seedlings develop true leaves (the second set of leaves after cotyledons). Water the cell pack thoroughly 2 hours before transplanting to reduce root trauma. Bury tomato seedlings up to their lowest true leaves. Adventitious roots emerge from buried stem tissue and double effective root mass.
Handle peppers by leaves, never stems. Their brittle stems fracture easily, creating entry points for bacterial soft rot. Firm substrate around the root ball without compressing. Water immediately with a dilute kelp solution (1 tablespoon liquid kelp per gallon) to stimulate root hormone production.
Pro-Tip: Prune tomato seedlings at a 45-degree angle to primary stems when removing suckers. Angled cuts shed water and reduce botrytis infection compared to flush cuts.
Establishing Phase
Monitor soil moisture by weight. A 5-gallon fabric pot at field capacity weighs approximately 7 pounds more than at wilting point. Lift containers daily for the first week to calibrate your assessment.
Begin quarter-strength liquid fertilization (5-5-5 fish emulsion or equivalent) 14 days post-transplant, increasing to half-strength at flowering. Apply beneficial nematodes (Steinernema feltiae) to substrate surface if fungus gnats appear. These microscopic predators parasitize larval stages.
Pro-Tip: Pollinate fruiting crops manually by vibrating flower clusters with an electric toothbrush for 2-3 seconds per cluster. This replicates wind pollination and increases fruit set by 30% compared to passive methods.
Troubleshooting
Symptom: Interveinal chlorosis on new growth, leaf margins remain green. Solution: Iron deficiency induced by high substrate pH. Drench soil with chelated iron (Fe-EDDHA) at labeled rates. Verify pH is below 6.5.
Symptom: Blossom end rot (dark, sunken lesions on fruit bottom). Solution: Calcium deficiency despite adequate soil calcium. Cause is inconsistent watering disrupting calcium transport. Maintain even moisture. Apply foliar calcium chloride spray (1 teaspoon per quart) weekly.
Symptom: Powdery white coating on leaf surfaces. Solution: Powdery mildew thrives in stagnant air above 60% humidity. Increase air circulation. Remove affected leaves. Spray remaining foliage with 1 tablespoon baking soda plus 1 teaspoon horticultural oil per quart water.
Symptom: Stunted growth, roots brown and mushy. Solution: Root rot from overwatering and poor drainage. Reduce watering frequency. Ensure containers drain freely. Drench remaining healthy substrate with hydrogen peroxide solution (1 part 3% peroxide to 4 parts water).
Symptom: Tiny white flies emerge when leaves are disturbed. Solution: Whitefly infestation. Deploy yellow sticky traps at canopy level. Spray leaf undersides with insecticidal soap (potassium salts of fatty acids) every 5 days for 3 applications.
Maintenance
Water when the top 2 inches of substrate feel dry to touch. Most vegetables require 1-1.5 inches of water weekly, applied in 2-3 sessions rather than daily light sprinklings. Deep watering encourages downward root growth.
Rotate containers 180 degrees every 3 days to prevent phototropic leaning. Side-dress heavy feeders with additional 4-4-4 organic meal (1 tablespoon per gallon container size) every 4 weeks during active growth.
Prune indeterminate tomatoes to 1-2 main stems by removing axillary shoots weekly. Determinate varieties require no pruning. Harvest leafy greens by removing outer leaves first, allowing centers to continue producing.
Clean leaf surfaces monthly with plain water on a soft cloth to remove dust that reduces photosynthetic efficiency by up to 25%.
FAQ
How much light do indoor vegetables need?
Leafy greens require minimum 200-300 PPFD for 12 hours daily. Fruiting crops (tomatoes, peppers, beans) need 400-600 PPFD for 14-16 hours. Measure with a quantum sensor or PAR meter.
Can I use garden soil indoors?
No. Native soil compacts in containers, restricting oxygen to roots. It also introduces weed seeds, pathogens, and insect eggs. Use only formulated potting substrates with verified drainage characteristics.
Which vegetables produce best indoors?
Determinate tomatoes (Tiny Tim, Micro Tom), compact peppers (Lunchbox, Mohawk), bush beans, salad greens (lettuce, arugula, spinach), herbs (basil, cilantro, parsley), and radishes show highest yield-to-space ratios.
How do I prevent leggy seedlings?
Insufficient light intensity causes elongated, weak stems. Position grow lights 6-8 inches above seedlings. Maintain 14-16 hour photoperiods. Brush seedlings gently daily to stimulate thigmomorphogenesis (mechanical stress response that produces stronger stems).
What temperature range is ideal?
Most vegetables thrive at 65-75°F daytime, 60-65°F nighttime. Temperature differential between day and night cycles triggers proper flowering hormones. Avoid placement near heating vents or cold windows.